Declutter Checklist Room by Room: An Easy Guide for Small Homes
Disclosure: This post contains affiliate links. As an Amazon Associate I earn from qualifying purchases. If you buy through these links, I may earn a small commission at no extra cost to you. Read our full disclaimer.
Decluttering a small home sounds simple until you’re standing in the middle of it, holding a mug you never use and wondering where to start. In a small space, every extra thing is in the way: it’s the reason a cabinet won’t close or the counter never quite stays clear. The good news is that you don’t have to tackle everything at once. This declutter checklist room by room gives you a clear order to follow, so you always know the next small step. It covers the kitchen, bedroom, bathroom, living spaces, kids’ rooms and storage areas, plus how to plan, what mistakes to avoid and how to keep your home clutter-free.
Quick answer: To declutter room by room, start with the space you use most (usually the kitchen), then move to the bedroom and closet, the bathroom, and finally the living room, entryway and paperwork. In each room, clear the surfaces first, then work through cabinets and drawers one at a time, sorting everything into Keep, Donate, Trash and Belongs Elsewhere. Finish each session by putting things back and taking the donate and trash bags out right away.
How to Use This Declutter Checklist Room by Room
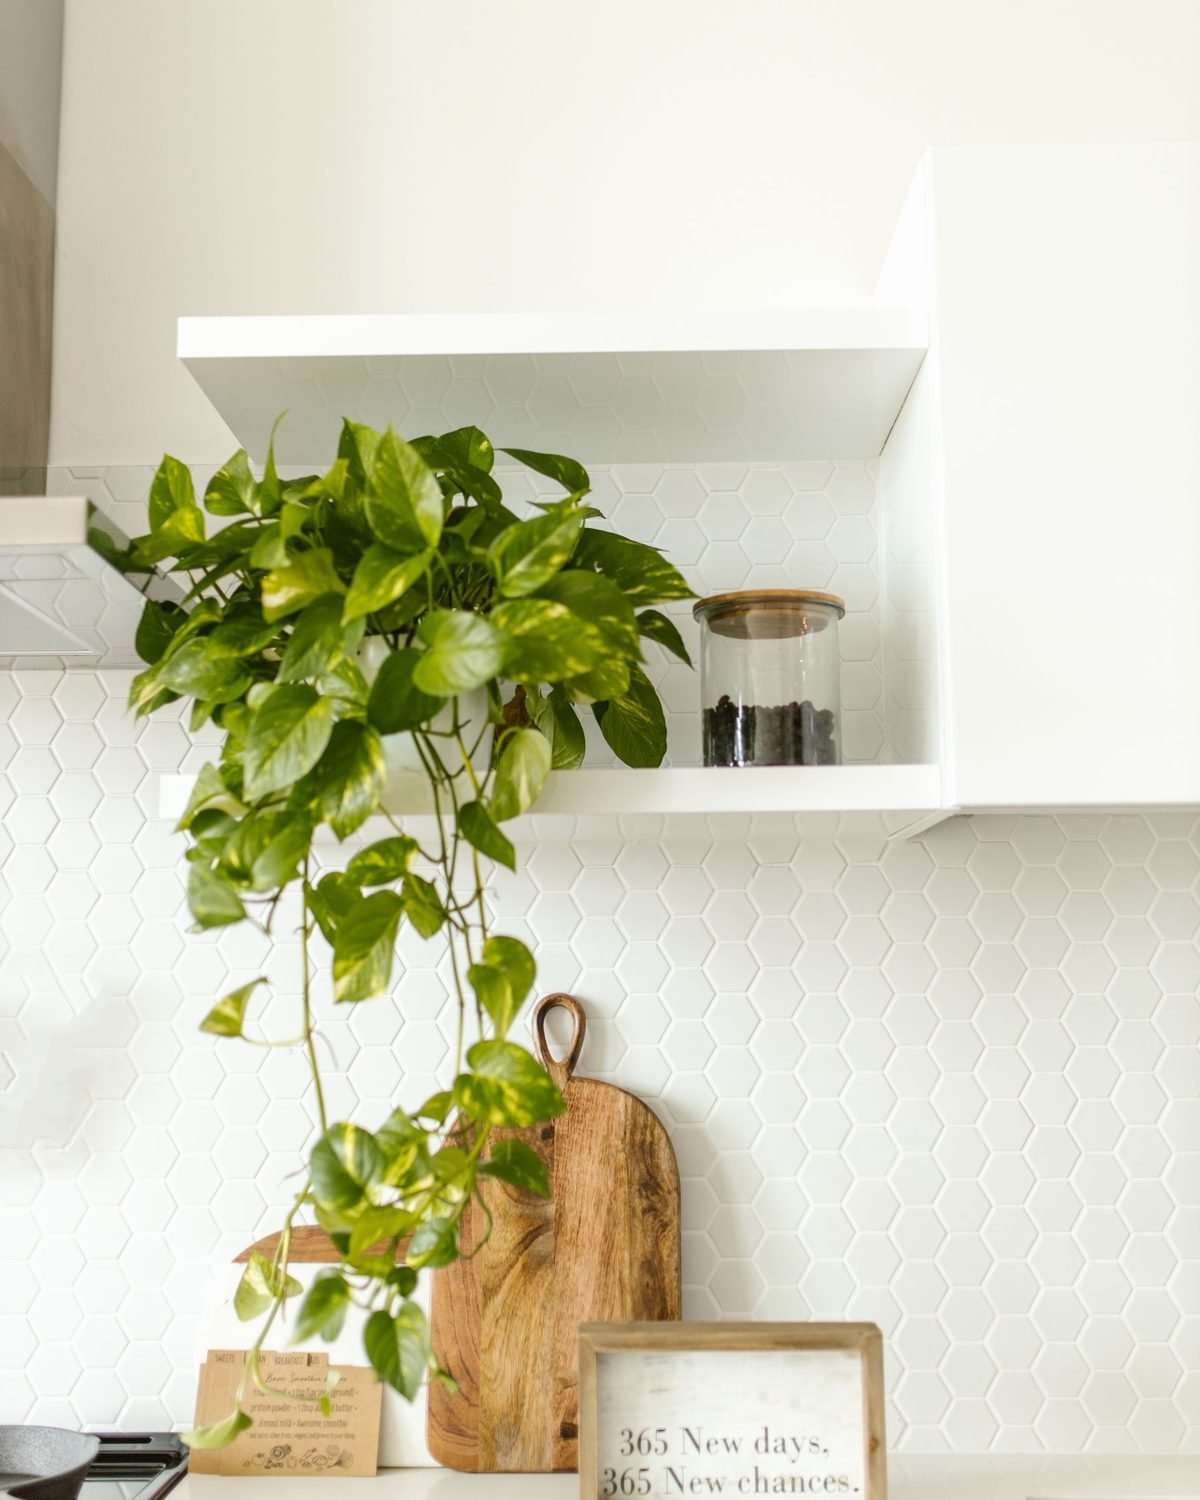
This checklist is meant to be worked through over days or weeks, not in one weekend. Small homes fill up in layers, and you’ll make better decisions when you’re not exhausted. A few ground rules make the whole process easier:
- Work one zone at a time. A zone is one drawer, one shelf, one cabinet or one surface. Finish it before you open the next one, so you never end up with three half-emptied spaces at the same time.
- Set up four bags or boxes. Label them Keep, Donate, Trash and Belongs Elsewhere. The last one keeps you from walking around the house returning items mid-session. Empty it at the end.
- Start with surfaces. Counters, tables and dressers give you the fastest visible result, which helps you keep going.
- Use a timer. Twenty to thirty minutes is a good session length. When the timer goes off, put things back and stop, even if you want to keep going. Stopping before you burn out makes it easier to come back tomorrow.
- Declutter before you buy. Don’t buy bins or organizers until a space is cleared. Once you see what’s left, you’ll know exactly what size and how many you need.
A helpful question for every item: “If I lost this, would I buy it again?” If the answer is no, it’s a good candidate for the donate box. Another one that works well in small homes: “Is this worth the space it takes up?” A bread maker you use twice a year might be worth it to you; that’s your call. The point is to decide on purpose instead of keeping things by default.
Room by room or category by category? Some methods ask you to gather every item of one type, like all your clothes or all your books, from every room at once. That works well in a large house with lots of storage. In a small home, it often means piling everything on the bed or the floor, with nowhere to sleep or sit until you’re done. Going room by room keeps the mess contained to one area at a time. The one exception is categories that are spread everywhere, like chargers, pens or scissors. For those, a quick sweep through the whole home is faster.
Before your first session, set up a few basics:
- A spot for the bags. Choose a corner near the front door for the Donate bag, so it’s easy to grab on your way out.
- A cleaning kit. Keep a spray, a cloth and a small trash bag nearby so you can wipe each shelf while it’s empty.
- A notes list. Use your phone to jot down anything you need to buy, repair or return.
- A plan for the Belongs Elsewhere box. Empty it at the end of every session, room by room, before you stop.
How to tell if you’re keeping too much: If a drawer doesn’t close easily, if you have to move one thing to reach another, or if a shelf is packed edge to edge, it’s still too full. Aim for a little empty space in every drawer and shelf. That breathing room makes it easy to put things away, which is what keeps a small home tidy.
If you’d like a day-by-day version of this process, our 30-day January organization challenge breaks these same rooms into one short task a day.
Kitchen Declutter Checklist
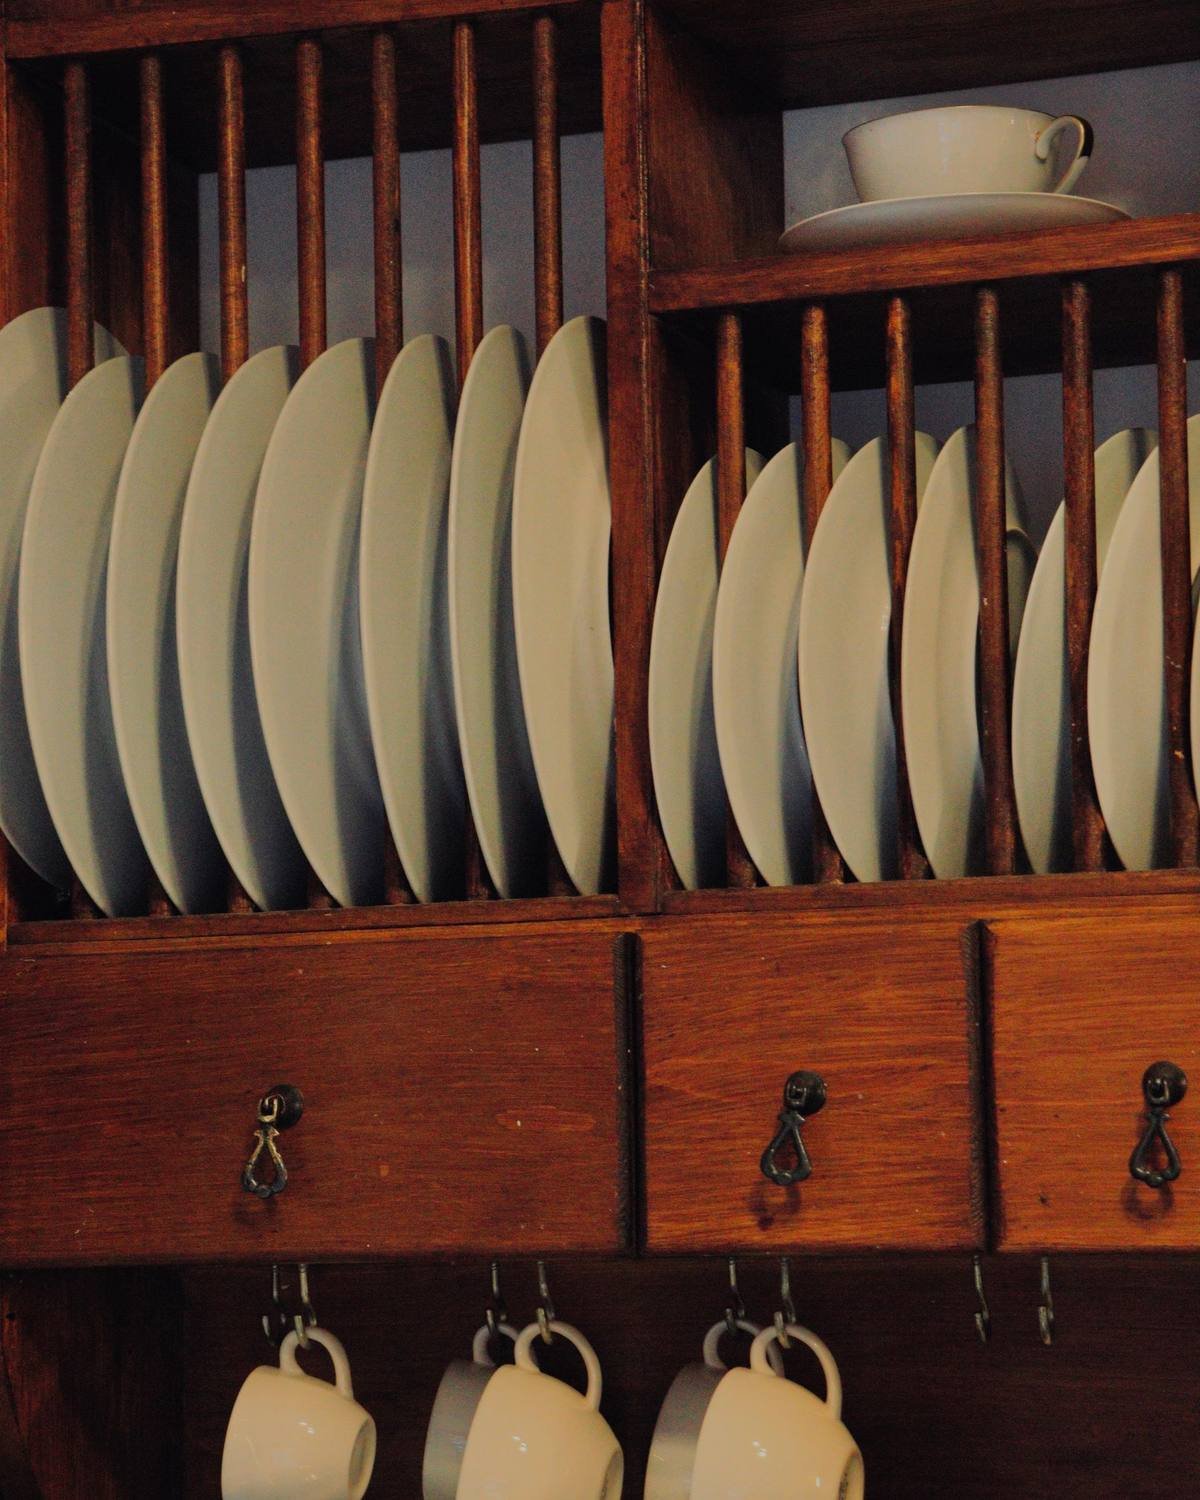
The kitchen tends to collect duplicates, freebies and gadgets, and in a small kitchen those extras push everyday items into hard-to-reach spots. Work through this list in order:
- Counters: Keep only what you use daily. Small appliances you use weekly or less can usually live in a cabinet.
- Fridge and freezer: Toss expired food, old leftovers and condiments that are past their date. Wipe shelves while they’re empty.
- Pantry or food cabinet: Check dates, combine opened packages of the same thing, and move older items to the front so they get used first.
- Food storage containers: Match every container to a lid. Recycle or donate the ones without a partner and any that are cracked or stained.
- Mugs and glasses: Count how many you actually use in a normal week, add a few for guests, and let go of the rest.
- Utensil drawer: Remove duplicates, like the third spatula or the extra can opener, and anything broken.
- Gadgets and small appliances: If you haven’t used it in a year and it’s not seasonal, it’s probably safe to donate.
- Junk drawer: Empty it completely. Throw out dead batteries (following local recycling rules), dried-out pens and mystery keys you can’t match to a lock.
- Under the sink: Toss empty bottles, combine half-used cleaners of the same type, and check for leaks or water damage.
- Linens: Keep a reasonable number of dish towels and oven mitts. Worn towels can become cleaning rags.
When you put things back, store what you use every day between hip and shoulder height, and move rarely used items to high shelves or the back of deep cabinets. That one change makes a small kitchen feel much easier to use.
Quick wins: expired food, lidless containers and takeout menus. They need almost no thought, and they clear space fast.
Tough calls: gifted appliances, specialty bakeware and a large set of matching dishes. Ask how often you’ve used them in the past year. If the answer is never, someone else can probably use them more. If you entertain a few times a year, keep a small guest set and let the rest go. For storage ideas once you’re done, see our small kitchen organization ideas on a budget.
Bedroom and Closet Declutter Checklist

Bedrooms in small homes often double as storage rooms, offices and laundry-folding stations. The goal here is to make the room calm enough to rest in and the closet easy to use.
- Nightstand: Keep only bedtime essentials, such as a lamp, a book, a charger and lip balm. Clear out old receipts, dead pens and loose change.
- Dresser top: Clear it completely and return only a few items you use or love.
- Socks and underwear: Toss anything with holes, stretched elastic or no match.
- Everyday clothes: Pull out pieces that don’t fit, need repairs you won’t make, or that you never reach for. Be honest about the “someday” pile.
- Hanging clothes: Turn all hangers backward. When you wear something, hang it the right way. After a few months, the backward hangers tell you what you don’t wear.
- Shoes: Let go of pairs that hurt, are worn out or haven’t been worn in a year.
- Bags and accessories: Empty every purse and tote. Keep a few you use and donate the rest.
- Under the bed: Pull everything out, vacuum, and decide whether each item really needs to be stored there.
- Bedding: Two sets of sheets per bed is plenty for most people. Extra blankets can be donated to an animal shelter if they accept them; call first.
Quick wins: socks without a pair, hangers from the dry cleaner, worn-out workout clothes and shoes with broken soles.
Tough calls: clothes that don’t fit right now, expensive items you regret buying, and special-occasion outfits. Keep a small “in-between sizes” bin if you need it, but give it a limit. An item you paid a lot for is not worth the space if you never wear it; the money is already spent.
If your closet is still full after this round, our guide on how to organize a small closet with lots of clothes walks through what to do next, and our small bedroom storage ideas for adults can help you find room for what’s left.
Bathroom Declutter Checklist
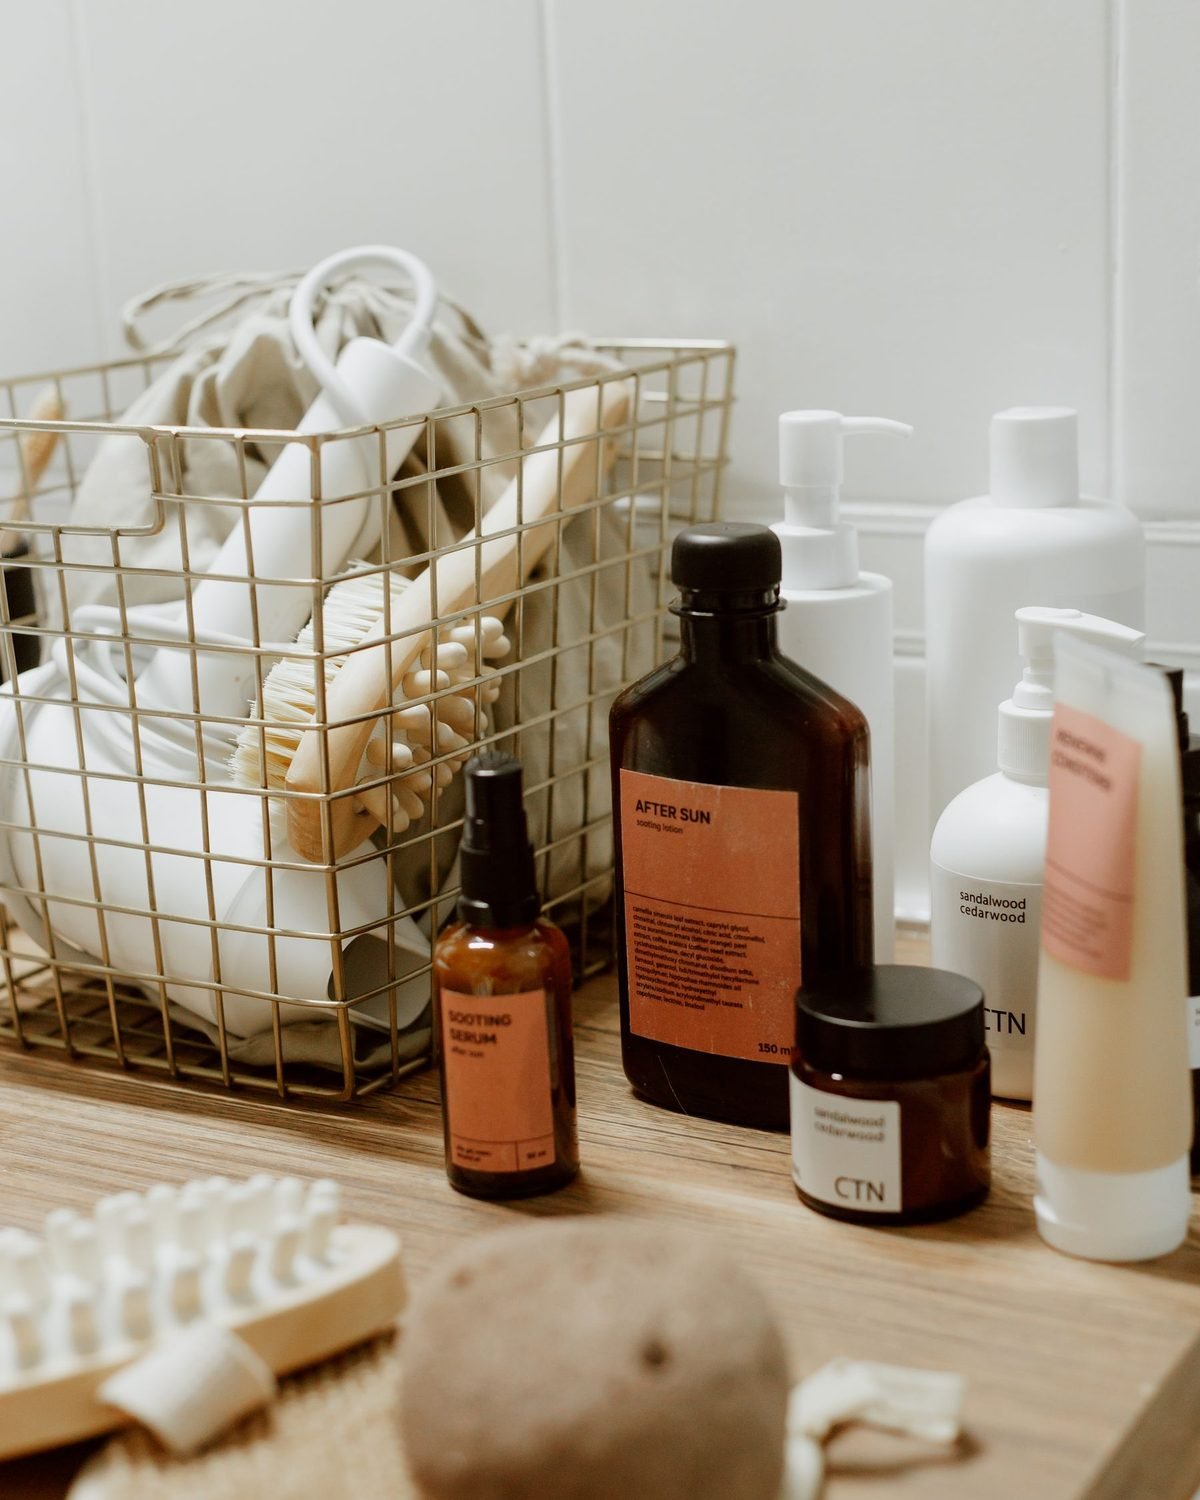
Bathrooms are small, so a little clutter goes a long way. Most of what you’ll remove here is half-used product and things that expired a while ago.
- Counter: Keep only what you use every day. Everything else can go in a drawer, cabinet or basket.
- Medicine cabinet: Check expiration dates on medications and first aid supplies. Many pharmacies and local programs offer take-back options for old medications. The FDA’s guide to disposing of unused medicines explains what to do if there’s no take-back option near you.
- Makeup: Toss anything that has dried out, separated or changed smell or color.
- Skincare and hair products: Finish what you have before opening something new. Donate unopened products you won’t use if a local shelter accepts them.
- Shower and tub: Keep one of each product open at a time and recycle the nearly empty bottles.
- Under the sink: Group what’s left by type, such as cleaning supplies, extra toiletries and hair tools. Our under bathroom sink organization ideas help you make the most of that cabinet.
- Towels: Keep two or three bath towels per person plus a couple for guests. Worn ones can become cleaning cloths.
- Hair tools and accessories: Let go of broken tools, extra brushes and hair ties that have lost their stretch.
Quick wins: empty bottles, hotel samples you’ll never use, and old toothbrushes.
Tough calls: pricey skincare that didn’t work for you and gifted fragrance sets. If a product irritates your skin or you don’t like it, using it up isn’t worth it. Unopened items can often go to a friend or a local shelter.
Living Room, Entryway and Paper Declutter Checklist

The living room and entryway are shared spaces, so clutter here affects everyone. Paperwork tends to pile up in both, which is why it’s on this list too.
- Coffee table and side tables: Clear them off and keep just a few things, like the remote, a coaster and one decor piece.
- TV stand and media: Recycle old cables you can’t identify (many electronics stores accept them) and let go of DVDs and games no one uses.
- Bookshelves: Keep books you love, reference or plan to read. Donate the rest to a library sale, a school or a little free library.
- Decor: Fewer decor items make a small room feel more open. Keep the pieces that mean something to you and store or donate the rest.
- Throw pillows and blankets: Keep what fits on the couch and in one basket.
- Entryway: Clear the floor, keep only in-season shoes and coats by the door, and give keys a single home. See our small entryway organization ideas for a few ways to do that.
- Mail and paper: Sort into three piles: Action, File and Shred. Recycle junk mail before it lands on a surface.
- Important documents: Gather IDs, insurance papers, tax records and warranties in one labeled folder or file box. If you aren’t sure how long to keep a document, check with the issuing company or a tax professional.
- Digital clutter: It’s not visible, but it adds to the mental load. Make one pass through your phone’s photos for screenshots and blurry shots, too. Delete unused apps, clear your downloads folder and unsubscribe from emails you never open.
Kids’ Rooms and Toys Declutter Checklist
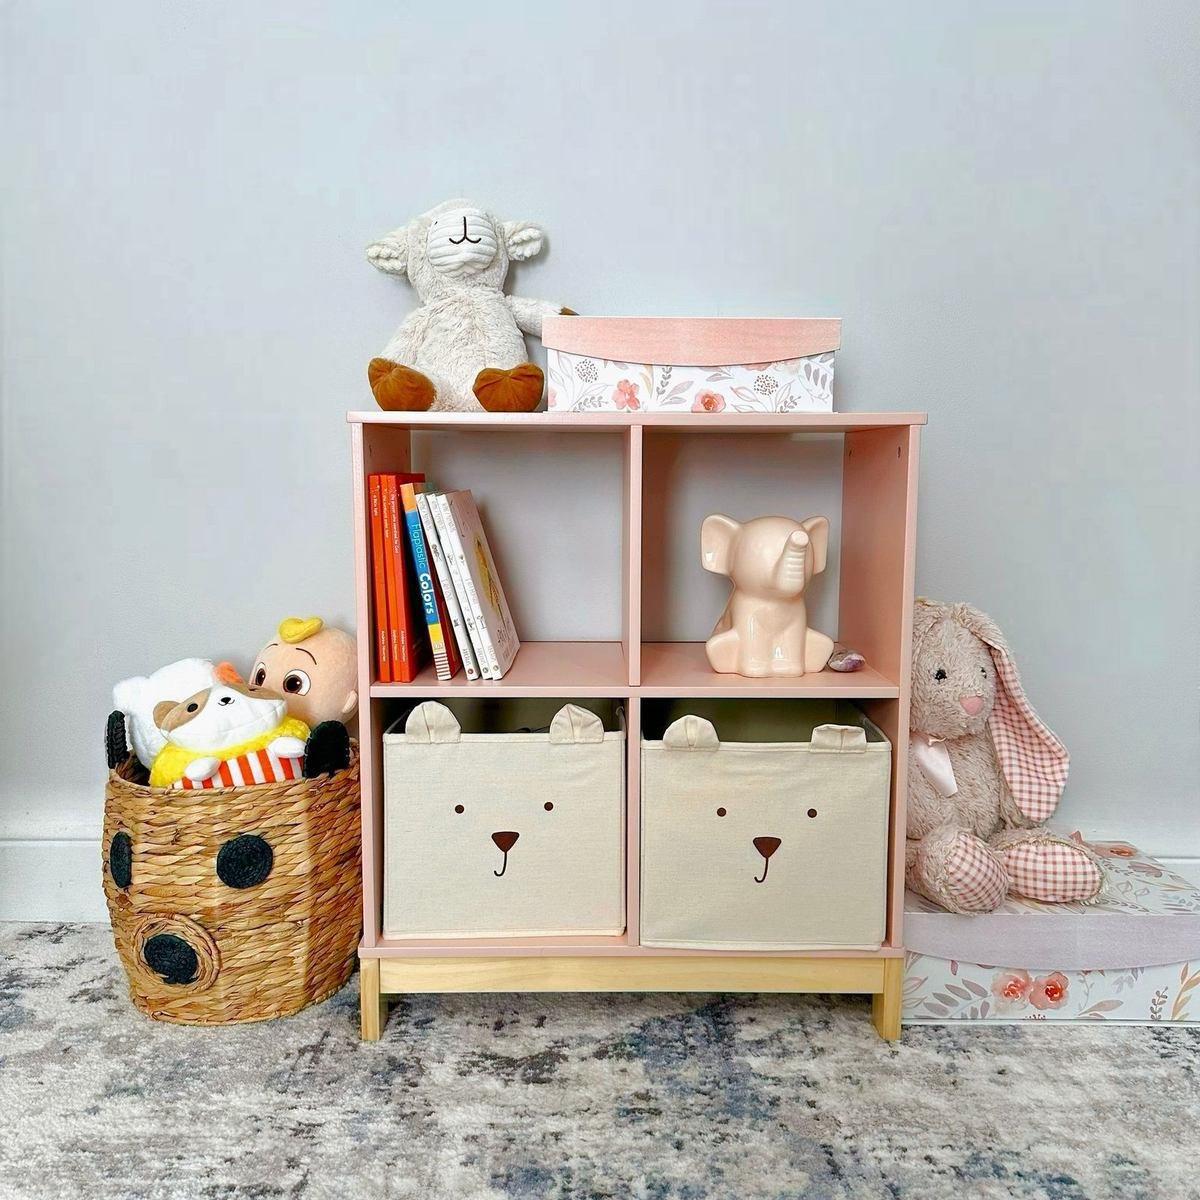
Kids’ things multiply fast, and in a small home they spill into every room. Involve your kids where you can. They’re more likely to keep a space tidy if they helped decide what stays.
- Toys: Remove broken toys and ones with missing pieces. Keep favorites out and store the rest in a closet bin to rotate every few weeks.
- Books: Keep the books your kids read now. Pass on baby books they’ve outgrown to friends or a library sale.
- Clothes: Pull out anything that’s too small. Keep a bin for hand-me-downs only if a younger sibling will actually use them soon.
- Art and schoolwork: Keep a few favorite pieces in a folder or box per child per year, and take photos of the rest.
- Stuffed animals: Pick a set number, like what fits in one basket, and let your child choose which ones stay.
- Party favors and small trinkets: Most can go. These tiny items cause much of the clutter in kids’ rooms.
Low open bins and simple picture labels help younger kids put things back on their own. Keep the number of toys out small enough that cleanup takes five minutes.
Tough calls: toys from grandparents and expensive items your child has outgrown. Let older kids decide, and pass gently used items to younger cousins or friends. For babies and toddlers, check that any passed-on items like car seats or cribs meet current safety standards before giving them away.
Storage Closet, Laundry and Garage Declutter Checklist

Storage areas are where things go when we don’t want to decide about them. That’s why they fill up fastest. Tackle these last, once you’ve built some momentum.
- Hall or linen closet: Remove old towels, sheets for beds you no longer have and expired toiletries. Group what’s left by type.
- Cleaning supplies: Combine duplicates and toss empty or dried-out products. Keep one of each type you actually use.
- Laundry area: Clear the top of the washer, recycle empty bottles and keep detergent and supplies in one bin.
- Holiday and seasonal decor: Keep what you put out every year. Donate decorations that stayed in the box last season.
- Tools and hardware: Keep one basic toolkit. Donate duplicate tools and recycle old paint according to local rules.
- Garage or storage unit: If you have one, sort it by zone: sports gear, tools, seasonal items. Anything you’ve forgotten you owned is a good candidate to let go.
- Batteries and electronics: Old phones, chargers and batteries need special handling. The EPA’s guide to electronics donation and recycling explains your options.
If you rent, check whether you’re allowed to store things in shared basements or hallways before you move overflow there.
Quick wins: empty boxes from past purchases, dried-out paint and broken holiday lights. Tough calls: “someday” project supplies. If you haven’t started the project in a year, let the supplies go to someone who will.
How to Plan Your Room-by-Room Declutter

A plan turns a big job into small, doable steps. Here’s a simple way to schedule the whole home:
- List your rooms and zones. Write down every room, then break each into zones: counters, cabinets, drawers, closet, under the bed.
- Rank them. Start with the room that bothers you most or the one you use most. Leave storage areas and sentimental items for last.
- Pick a session length. Twenty to thirty minutes works for most people. Longer sessions lead to burnout.
- Schedule sessions. Put them on your calendar, like any other appointment. Three or four sessions a week is a good pace.
- Plan drop-offs. Decide when you’ll take donations and recycling out each week, so the piles leave your home.
- Review and adjust. After the first week, check what’s working. If you’re falling behind, shorten sessions instead of skipping them.
Sample pace for a one-bedroom apartment: one week for the kitchen, one for the bedroom and closet, a few days for the bathroom, one week for living spaces and paper, and a final week for storage areas. That’s about a month, working a little each day.
Common Decluttering Mistakes to Avoid

Avoiding a few common mistakes saves time and keeps you from redoing rooms:
- Starting with sentimental items. Photos and keepsakes are the hardest decisions. Save them for the end, when deciding is easier.
- Pulling everything out at once. Emptying an entire room creates chaos and burnout. Work one zone at a time.
- Buying organizers first. You can’t know what you need until you’ve decluttered.
- Moving clutter instead of removing it. Shifting things into a storage bin or closet isn’t decluttering. Make a real decision.
- Keeping things “just in case.” If it’s cheap and easy to replace, let it go.
- Decluttering for others. Don’t throw away a partner’s or roommate’s things without asking.
- Letting donations sit. Bags in the hallway tend to get unpacked. Drop them off within a week.
Be kind to yourself, too. Most people collect stuff over years. It’s normal for decluttering to take weeks.
How to Keep Your Home Clutter-Free
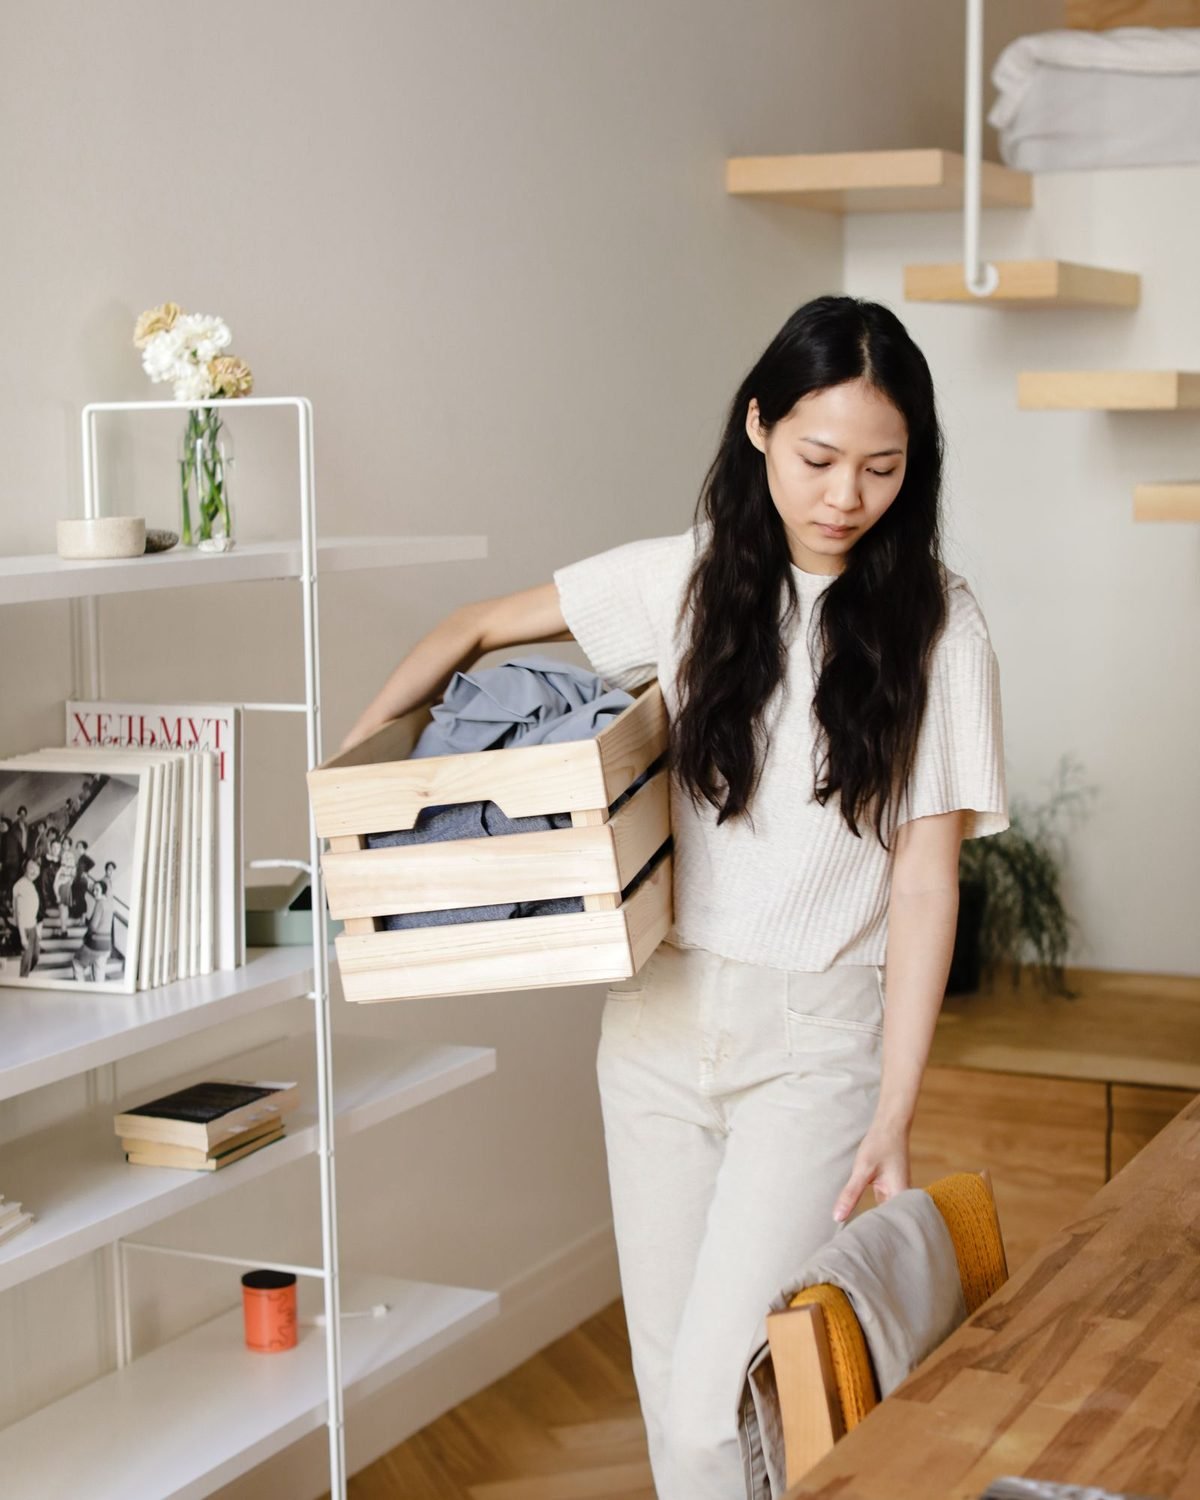
Decluttering is the big job. Maintenance is the small one that keeps it from coming back:
- Do a daily reset. Spend ten minutes before bed putting things back where they belong.
- Follow one in, one out. When you buy something new, let go of something similar.
- Keep a donate bag in a closet. Add items as you notice them, and drop off the bag when it’s full.
- Handle mail right away. Recycle junk mail at the door and put everything else in an action folder.
- Review one zone each week. Choose a drawer, a shelf or a cabinet and spend five minutes on it.
- Do a seasonal sweep. Twice a year, go through your closet and seasonal storage with this declutter checklist room by room.
A short checklist on the fridge with your daily and weekly tasks makes the habit easier to stick with.
Quick wins for living areas: old magazines, dead batteries, tangled cables you can’t identify and junk mail.
Tough calls: books, family heirlooms and decor you feel you should like. Keep books you’d reread or lend. For heirlooms, keep the pieces you’d display or use, and take photos of the rest before passing them to a relative who wants them.
What to Do With the Things You Remove
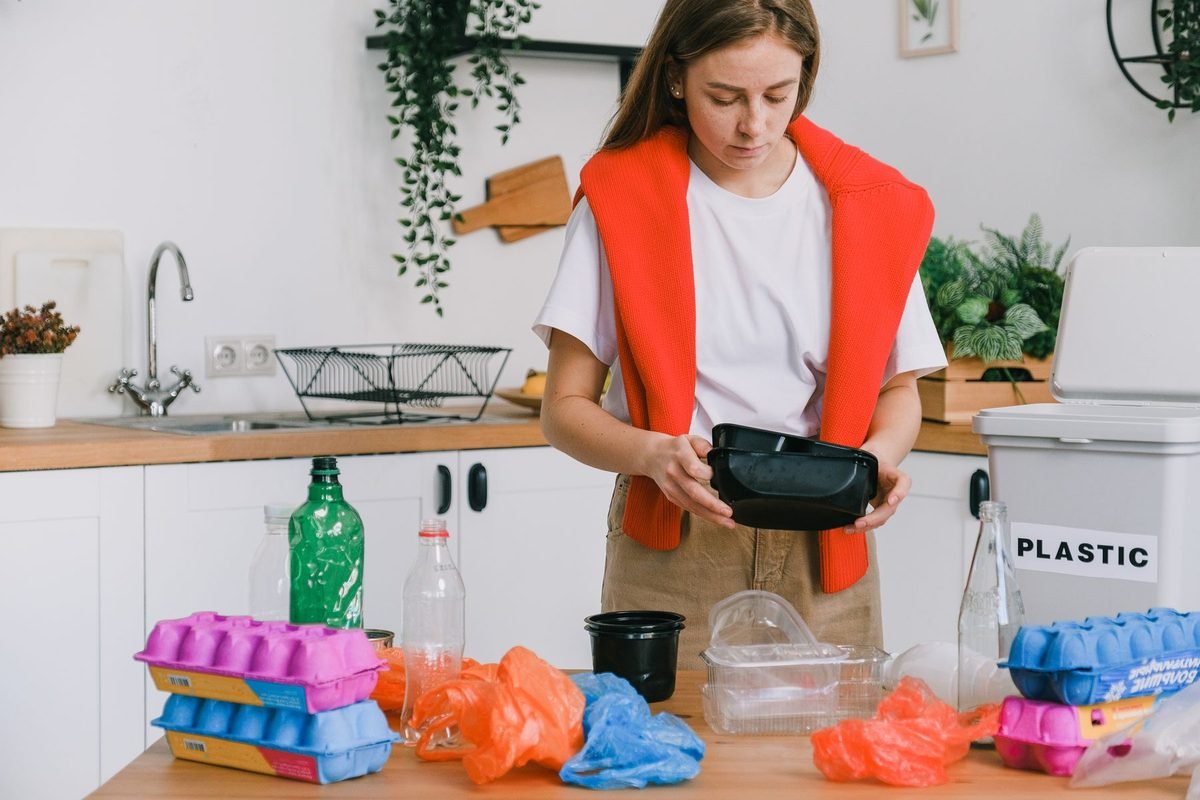
Decluttering only helps if the things actually leave your home. A bag of donations sitting in the hallway is still clutter. Make a plan for each pile before you start:
- Donate: Most thrift stores and charities accept clothing, household goods and books in good condition. Worn-out clothes and linens can often go to textile recycling instead; the EPA’s textile data shows how much ends up in landfills. Policies vary, so check a local donation center’s website before you drop off furniture, electronics or opened items.
- Sell: For larger or more valuable pieces, a local marketplace app or a consignment shop can work. Give yourself a deadline, such as two weeks; if it hasn’t sold by then, donate it.
- Give away: Friends, family, neighbors and local “buy nothing” groups are great homes for things that still have life left in them.
- Recycle: Check your city’s recycling rules for paper, plastic and glass. Electronics, batteries and paint often need special drop-off.
- Trash: Some things really are just trash. It’s okay to let them go.
The most useful habit: put the donate box in your car or by the front door at the end of every session, and drop it off within the week.
Once each room is cleared, a few basics help keep it that way. Simple tools like lidded storage bins, drawer dividers and a label maker make it easy to give everything a home without buying a whole room of organizers.
Declutter Checklist Room by Room: FAQ

Which room should I declutter first?
Start with the room you use most or the one that stresses you out the most. For many people, that’s the kitchen, because you see the results every day. If the kitchen feels overwhelming, start with a smaller space like the bathroom or entryway to build momentum.
How long does it take to declutter a small home room by room?
It depends on how much stuff you have and how often you work on it. Doing one or two short sessions a day, most people can work through a small apartment over a few weeks. Going slowly is fine as long as you keep going.
How do I decide what to get rid of?
Ask whether you’ve used it in the past year, whether you’d buy it again, and whether it’s worth the space it takes up. If you’re unsure, put it in a box with a date written on it. If you haven’t opened the box in a few months, donate it without looking inside.
Do I need to buy organizers after decluttering?
Not necessarily. Many small homes need far fewer organizers once the extras are gone. Measure the space and buy only what solves a specific problem, such as a drawer divider for a messy utensil drawer.
How often should I declutter?
A big room-by-room declutter once a year works for most people, with a quick seasonal sweep in spring and fall. Daily resets and a donate bag in the closet keep clutter from building up between rounds.
What if I feel guilty getting rid of gifts?
A gift has done its job once it’s been given. If you don’t use or love it, it’s okay to pass it on to someone who will. You can keep a photo if it matters to you.
How do I declutter when I feel overwhelmed?
Start with one tiny zone, like a single drawer, and set a ten-minute timer. A quick win builds momentum. Trash is the easiest place to start, because it needs no decisions.
How do I declutter with kids at home?
Work in short sessions while they’re busy or asleep, and involve them in decisions about their own things. Keep it positive and focused on making room for what they love.
Should I declutter before a move?
Yes. Everything you let go of is one less thing to pack, move and unpack. Start a few weeks before moving day, and use this declutter checklist room by room so nothing gets skipped.
Is there a printable version of this checklist?
You can print this page or copy each room’s list into a note on your phone. Checking items off as you go makes the process feel more manageable.
Final Thoughts
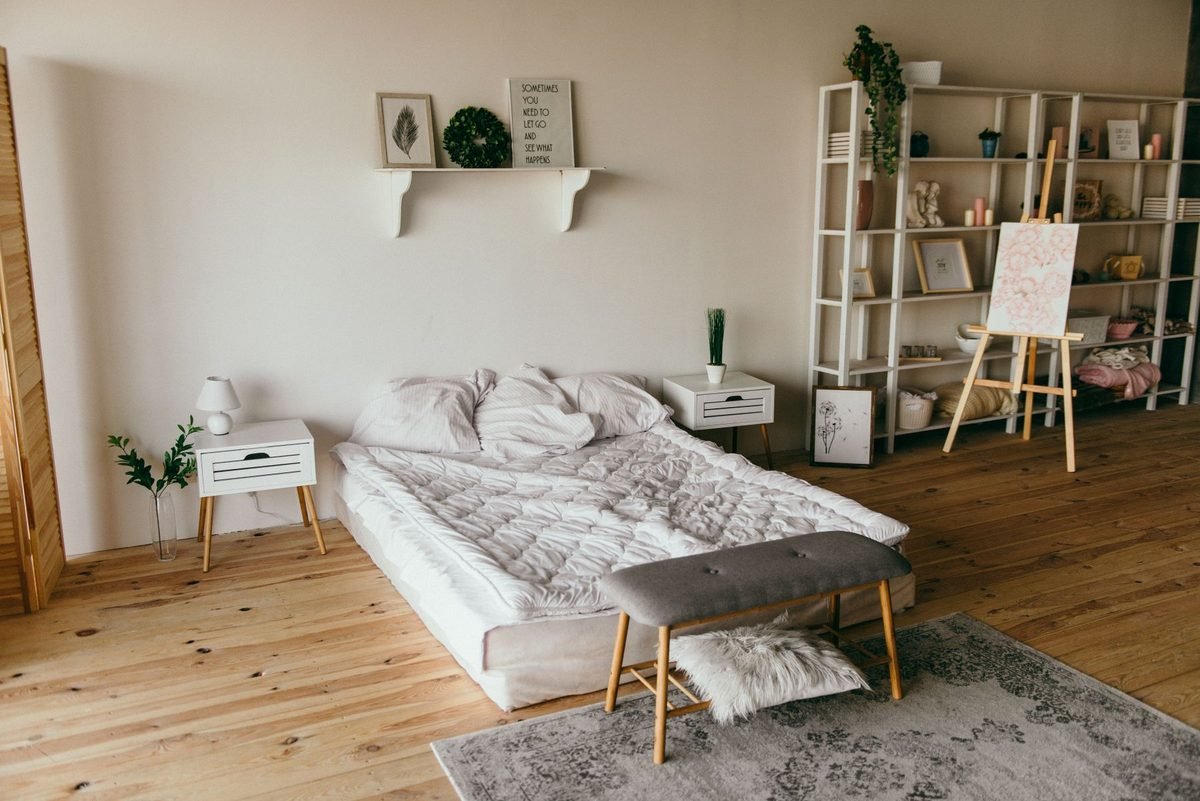
A room-by-room declutter checklist works because it breaks a big, vague goal into small decisions you can actually make. You don’t need to finish the whole home this week. Clearing one drawer, one shelf or one counter is real progress, and each cleared space makes the next one easier.
Takeaway: declutter first, organize second, and get the removed items out of your home quickly. Once the extras are gone, a short daily reset keeps it that way. If you want help building that habit, our weekly cleaning schedule for working moms is a simple routine that works for any busy household.
Your next step: Pick one room from this declutter checklist and schedule your first 20-minute session for today or tomorrow. Start with the counters or a single drawer, use the four boxes, and stop when the timer rings. When that room is done, check it off and move to the next one on the checklist. If you get stuck, go back to the quick wins in each room; they’re the easiest way to restart. And remember that declutter progress counts even when it’s slow. A home that’s a little lighter each week adds up to a very different space a few months from now.
For more ideas, browse our Cleaning & Printables section or our small apartment storage ideas on a budget.