
Tiny Pantry Ideas: 13 Smart Ways to Organize a Small Pantry
Disclosure: This post contains affiliate links. As an Amazon Associate I earn from qualifying purchases. If you buy through these links, I may earn a small commission at no extra cost to you. Read our full disclaimer.
A small pantry fills up fast. One grocery run, a couple of bulk buys and a bag of chips that won’t close, and suddenly you can’t find the rice behind the cereal. You buy another jar of peanut butter because you couldn’t see the one you already had. If that sounds familiar, these tiny pantry ideas will help you see everything, use every inch and keep it that way.
The good news is that small pantries are easier to fix than big ones. There’s less to sort, and a few simple changes make a big difference. These ideas work in a closet pantry, a single cabinet or a few kitchen shelves. They’re budget-friendly, renter-friendly and focused on one goal: being able to see what you have and grab it fast.
Quick answer: The best tiny pantry ideas are to empty and edit first, decant dry goods into clear labeled jars, group food into zones, keep everyday items at eye level, use shelf risers and a step stool for vertical space, store produce like potatoes and onions in separate wire baskets, use trays or turntables for oils and sauces, and set up a coffee and tea station. Keep a running list and do a quick reset every week.
Why Small Pantries Get Messy So Fast

Small pantries tend to fail for a few predictable reasons. Once you know them, the fixes make sense.
Everything is stored in its original packaging. Boxes and bags come in every size and shape, so they don’t stack well and waste space. Half-empty boxes take up as much room as full ones.
There’s no system for where things go. Without zones, food lands wherever there’s a gap. Pasta ends up in three places, and you can’t tell how much you have.
Deep or tall shelves hide things. Items get pushed to the back or stacked so high they’re forgotten. That leads to buying duplicates and throwing away expired food.
There’s no room for backstock. When you buy in bulk or stock up on sale, there’s nowhere for the extras to go, so they crowd everything else.
The ideas below tackle each of those problems. If your pantry has especially deep shelves, our step-by-step guide on how to organize a small pantry with deep shelves goes into more detail.
Signs your pantry layout isn’t working:
- You buy things you already have because you couldn’t see them.
- You find expired food at the back more than once in a while.
- Things fall out when you open the door.
- Only one person in the home knows where anything goes.
- You avoid cooking because finding ingredients is a hassle.
If two or more of these sound familiar, the ideas below will help.
Before You Start: Empty, Edit and Measure
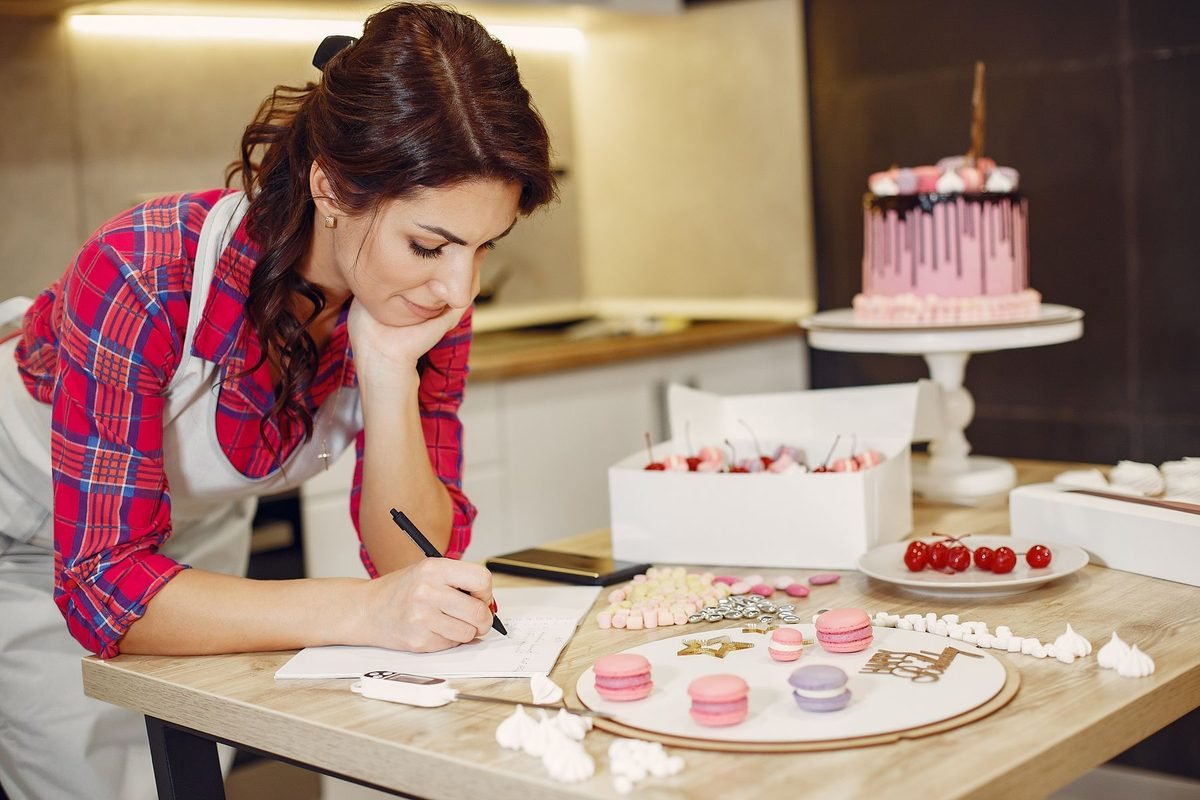
It’s tempting to start by buying containers. But the best pantry setups start with what you already have.
1. Empty everything. Take every item out of the pantry and put it on the counter or table. Yes, everything. It’s the only way to see what you really have.
2. Check dates and toss what’s gone. Throw out anything stale, opened too long ago or past its date. Keep in mind that most “best by” dates are about quality, not safety. The USDA explains the difference in its guide to food product dating. Use your judgment and toss anything that smells off, looks wrong or has signs of pests.
3. Group like with like. Put all the pasta together, all the canned goods together, all the snacks together and so on. You’ll quickly see what you have too much of.
4. Donate what you won’t use. Unopened, in-date food you won’t eat can go to a local food bank or pantry.
5. Wipe the shelves. While it’s empty, wipe the shelves and check for crumbs or signs of pests.
6. Measure. Measure the width, depth and height of each shelf. Write the numbers down. You’ll need them before you buy any containers.
A starter list for a small pantry. If you’re short on space, it helps to decide what’s worth keeping on hand. A typical small pantry might hold:
- One or two grains, like rice and oats
- Two or three pasta shapes
- A few canned goods you use often, like beans, tomatoes and tuna
- Baking basics: flour, sugar, baking soda and baking powder
- Cooking oil, vinegar and a few sauces
- Breakfast items and a small snack bin
- Coffee or tea
You don’t need to stock every ingredient for every recipe. Buy specialty items when a recipe calls for them, and use them up before buying more.
Tiny Pantry Ideas: Containers and Jars That Save Space

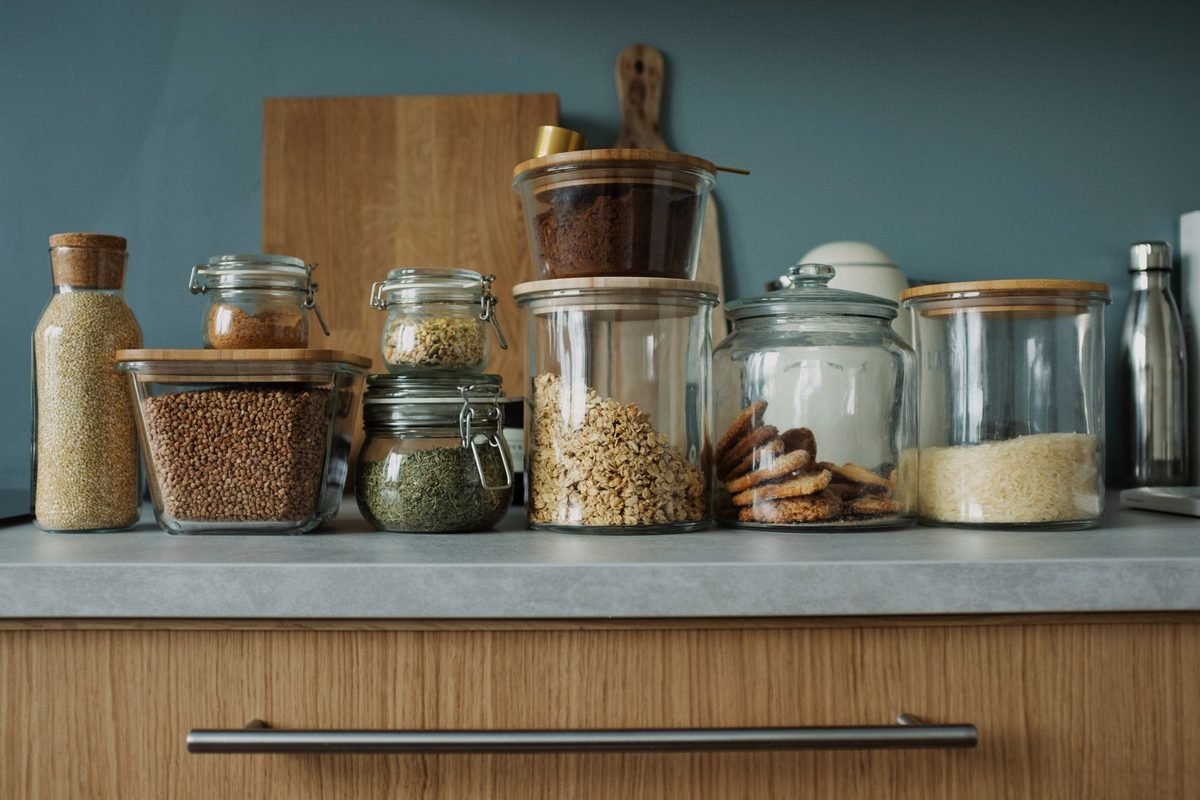
Containers are where most small pantries gain the most space. Clear, matching containers stack neatly, show you how much is left and keep food fresher than an open bag.
1. Decant Dry Goods Into Clear Containers

Move flour, sugar, rice, oats, cereal and other dry goods into clear, airtight containers. Square or rectangular shapes use space better than round ones because they sit flush side by side.
A set of airtight pantry containers in a few sizes covers most needs. Choose sizes based on how much you usually buy, so a full bag fits in one container.
You don’t have to decant everything. Start with the things you use most and the bags that tend to spill. Some foods, like snacks in single packs, are easier kept in a bin.
Keep a note of cooking directions or the date you opened something if you need it. You can cut the instructions off the bag and tape them to the back of the container.
How to decant without a mess: Use a wide funnel, or roll a sheet of paper into a cone, for rice, sugar and lentils. Pour over a baking sheet to catch spills. Only decant into a clean, completely dry container, since any moisture can make dry goods clump or spoil.
On a budget: Clean glass jars from pasta sauce, pickles and peanut butter make great free containers. Soak off the labels and use them for small amounts of beans, seeds or spices.
Make it work: Line up containers by zone, with the tallest at the back and the shortest at the front. Leave a finger’s width between them so you can grab one without knocking over its neighbor.
2. Store Pasta in Tall Jars
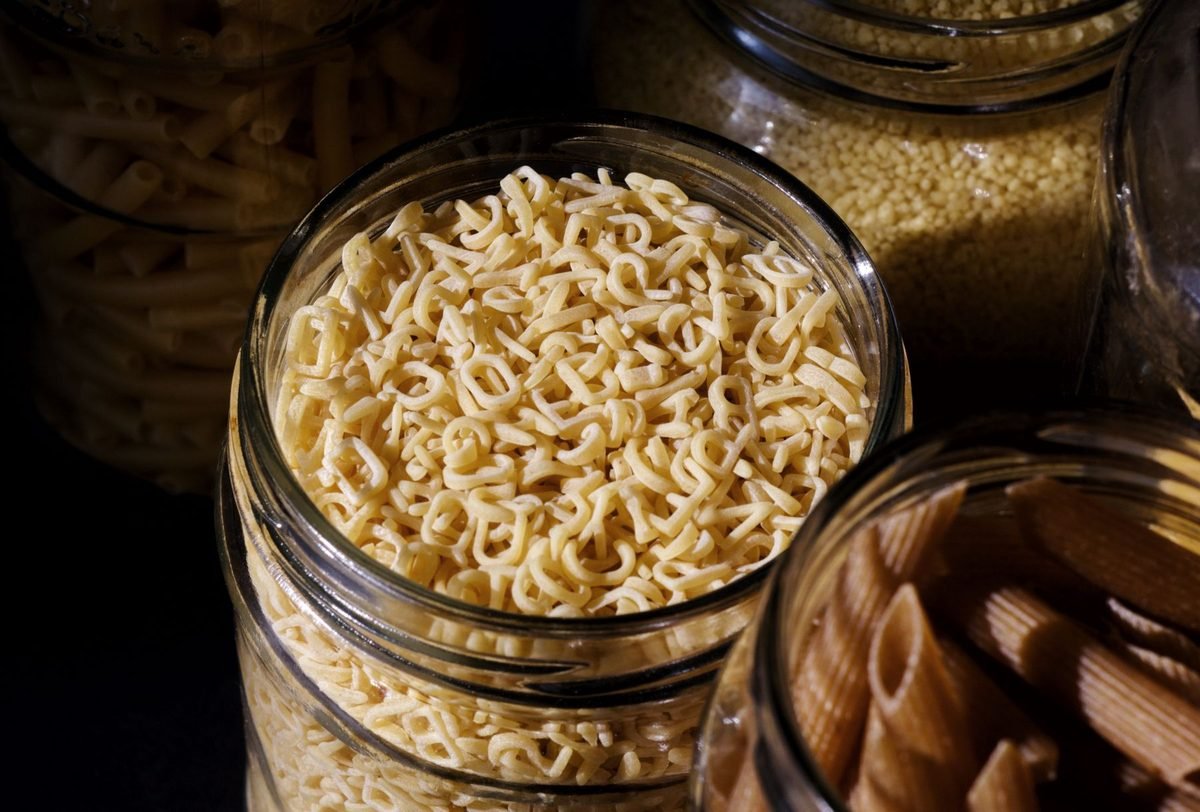
Pasta boxes are bulky and fall over. Tall containers keep long pasta like spaghetti upright and short shapes neatly stacked.
A tall, narrow pasta container uses vertical space well, especially on shelves with lots of height. Keep shorter jars for shapes like penne and farfalle.
If you have several half-used boxes of the same shape, combine them into one jar. You’ll free up space right away.
Make it work: If spaghetti is too long for your container, break it in half before storing. Many people find it cooks just as well, and it fits in a much shorter jar.
3. Label Everything

Labels help everyone in your home find things and put them back in the right place. They also stop the “is this sugar or salt?” guessing game.
You can use a label maker, chalkboard labels or simple masking tape and a marker. Put labels on the front of containers and on shelf edges for zones.
Add the date you opened the item or a “use by” date if you like. That’s especially helpful for flour, nuts and other foods that can go stale.
Keep a small set of baking items, like sugar cubes, baking soda and sprinkles, in smaller labeled jars. They’re easier to find than a pile of small bags.
Make it work: Use the same label style across the whole pantry. Matching labels make even mismatched jars look tidy, and they’re easier for everyone in the home to read.
Shelf Zones and Vertical Space

Zones and vertical space make sure every shelf has a purpose and every inch is used.
Use the back of the door. An over-the-door pantry organizer adds a whole column of storage without taking up shelf space. Use it for spices, snack packs, foil and wrap, or small jars. Check that the door closes fully once it’s loaded, and that the hooks fit your door’s thickness.
Use the floor. The pantry floor is great for heavy items like bottled water, bulk rice and pet food. A rolling bin makes them easy to pull out.
Renter-friendly pantry upgrades. If you rent, you can still change how a pantry works without changing the shelves. Tension rods can hold a curtain over open pantry shelves or create a divider for trays and cutting boards. Removable adhesive hooks inside the door can hold aprons, bag clips or a measuring cup set. Clip-on under-shelf baskets slide onto existing shelves without any tools. And a freestanding wire shelf unit can turn an empty corner or closet into a pantry, then move with you to your next place.
4. Create Zones for Each Type of Food

Zones are simple groups of similar foods on the same shelf or in the same bin. They make it easy to see what you have and what you need.
Common zones include:
- Breakfast: cereal, oats, pancake mix and syrup.
- Baking: flour, sugar, baking soda, chocolate chips and vanilla.
- Grains and pasta: rice, quinoa, pasta and couscous.
- Canned goods: beans, tomatoes, soup and tuna.
- Snacks: chips, crackers, bars and nuts.
- Oils and sauces: cooking oil, vinegar, soy sauce and hot sauce.
Label each zone on the shelf edge. When you unpack groceries, each item has a clear home.
Make it work: Keep zones in the same spot every time. If baking is always on the left side of the second shelf, you’ll reach for it without thinking.
5. Keep Everyday Items at Eye Level

The easiest-to-reach shelves should hold what you use most. For many homes that’s breakfast foods, snacks and cooking basics.
Put heavy items, like cans and big bottles, on lower shelves. Lighter, less-used items can go up high.
If you have kids, put their snacks on a low shelf they can reach. That cuts down on requests and helps them get used to putting things back.
Make it work: Use a clear bin for small packets like gravy mix, seasoning packets and drink mixes. Stand them upright, like files, so you can flip through them.
6. Use the Top Shelf for Backstock
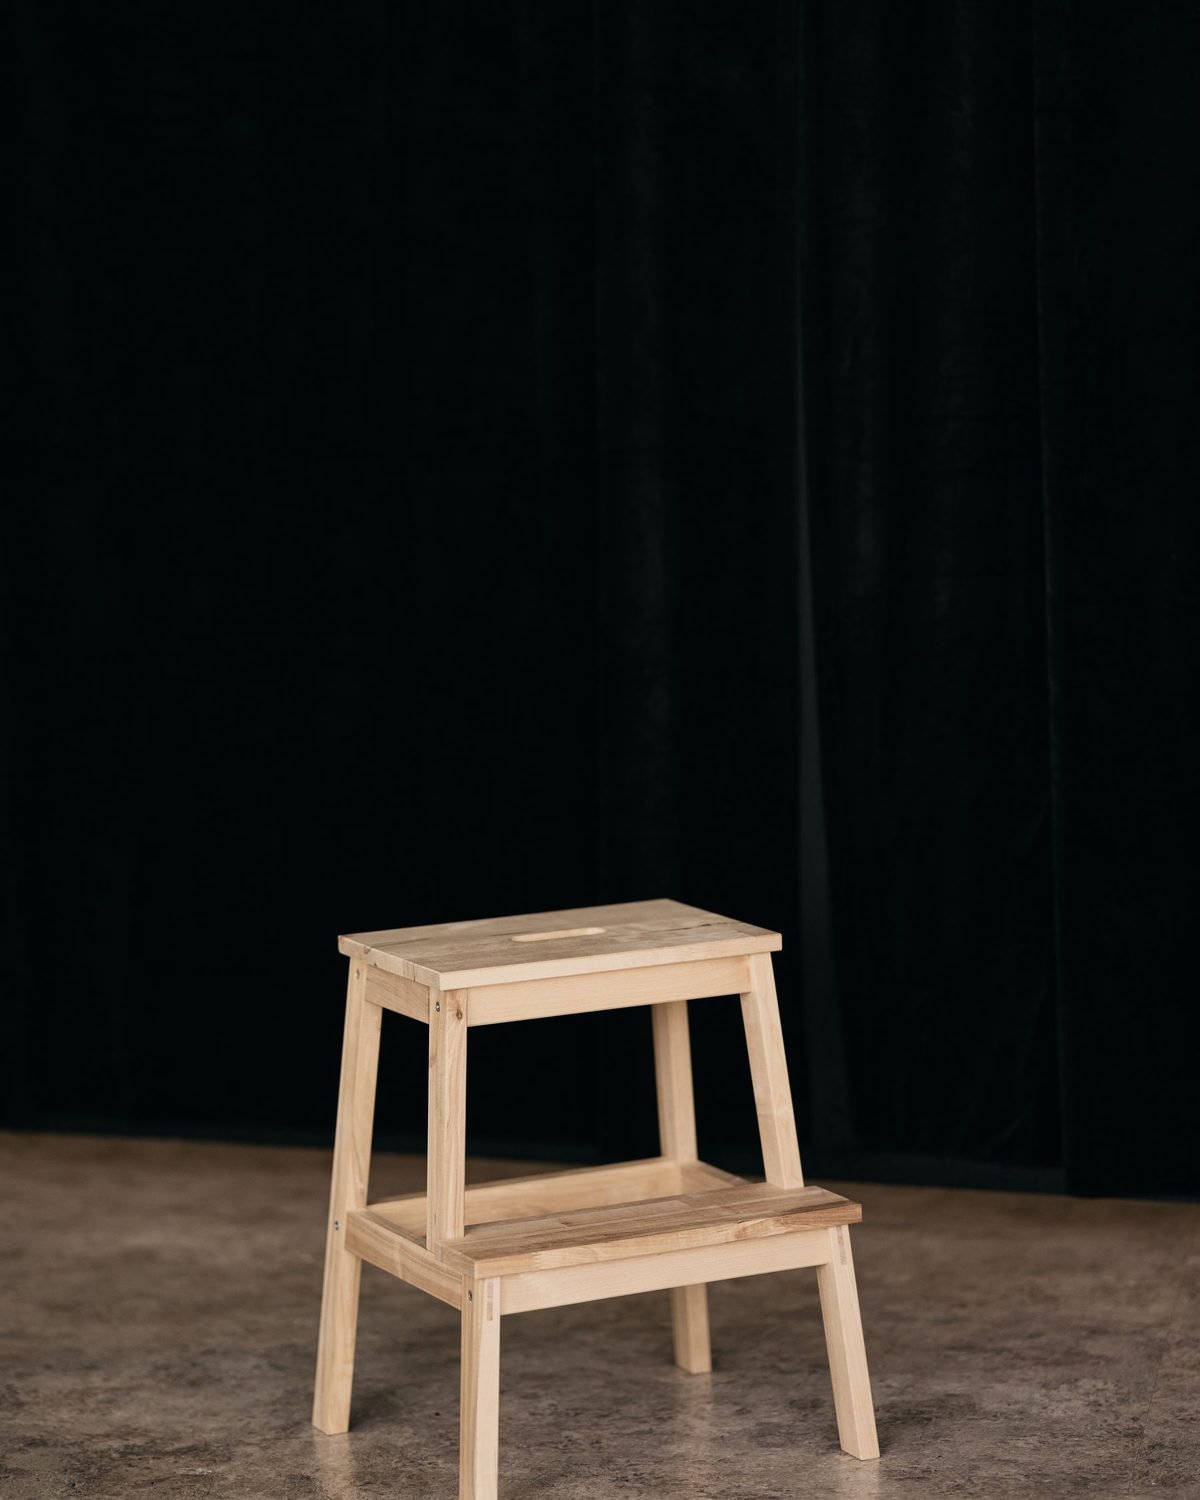
The top shelf of a pantry is often wasted because it’s hard to reach. Use it for backstock, party supplies and things you use only a few times a year.
Store backstock in labeled bins with handles, so you can pull a bin down instead of reaching for individual items. Keep a folding step stool nearby so you can reach the top shelf safely.
Have a simple rule for backstock: when you open the last one from the main shelf, bring the backup down and add the item to your shopping list.
Make it work: Limit backstock to one or two of each item. Stocking up on sales only saves money if you’ll use the food before it goes stale.
7. Turn a Kitchen Cabinet Into a Pantry

No pantry closet? A single kitchen cabinet can work as a pantry. Pick the one closest to where you cook, or the tallest one you have.
Use the same tricks as a bigger pantry: clear containers, zones and labels. A cabinet with a door also keeps food out of sight, which looks tidier in an open kitchen.
For more ways to make a small kitchen work, see our small kitchen organization ideas on a budget.
Make it work: In a cabinet pantry, put a pull-out bin or a turntable on each shelf. Cabinets tend to be deep, and bins stop food from getting lost in the back.
8. Add Shelf Risers to Double Your Space

Most pantry shelves are spaced far apart, leaving empty space above your food. Shelf risers add a second level so you can store more on the same shelf.
Expandable shelf risers fit different widths. Use them for cans, jars and small containers. Tiered risers let you see the back row of cans without moving the front.
You can also use under-shelf baskets that slide onto an existing shelf. They’re good for bread, wraps and snack bags.
Make it work: Place risers so the labels on cans face out. When you unpack groceries, put new cans behind the old ones so you use the older ones first.
Baskets, Bins and Trays
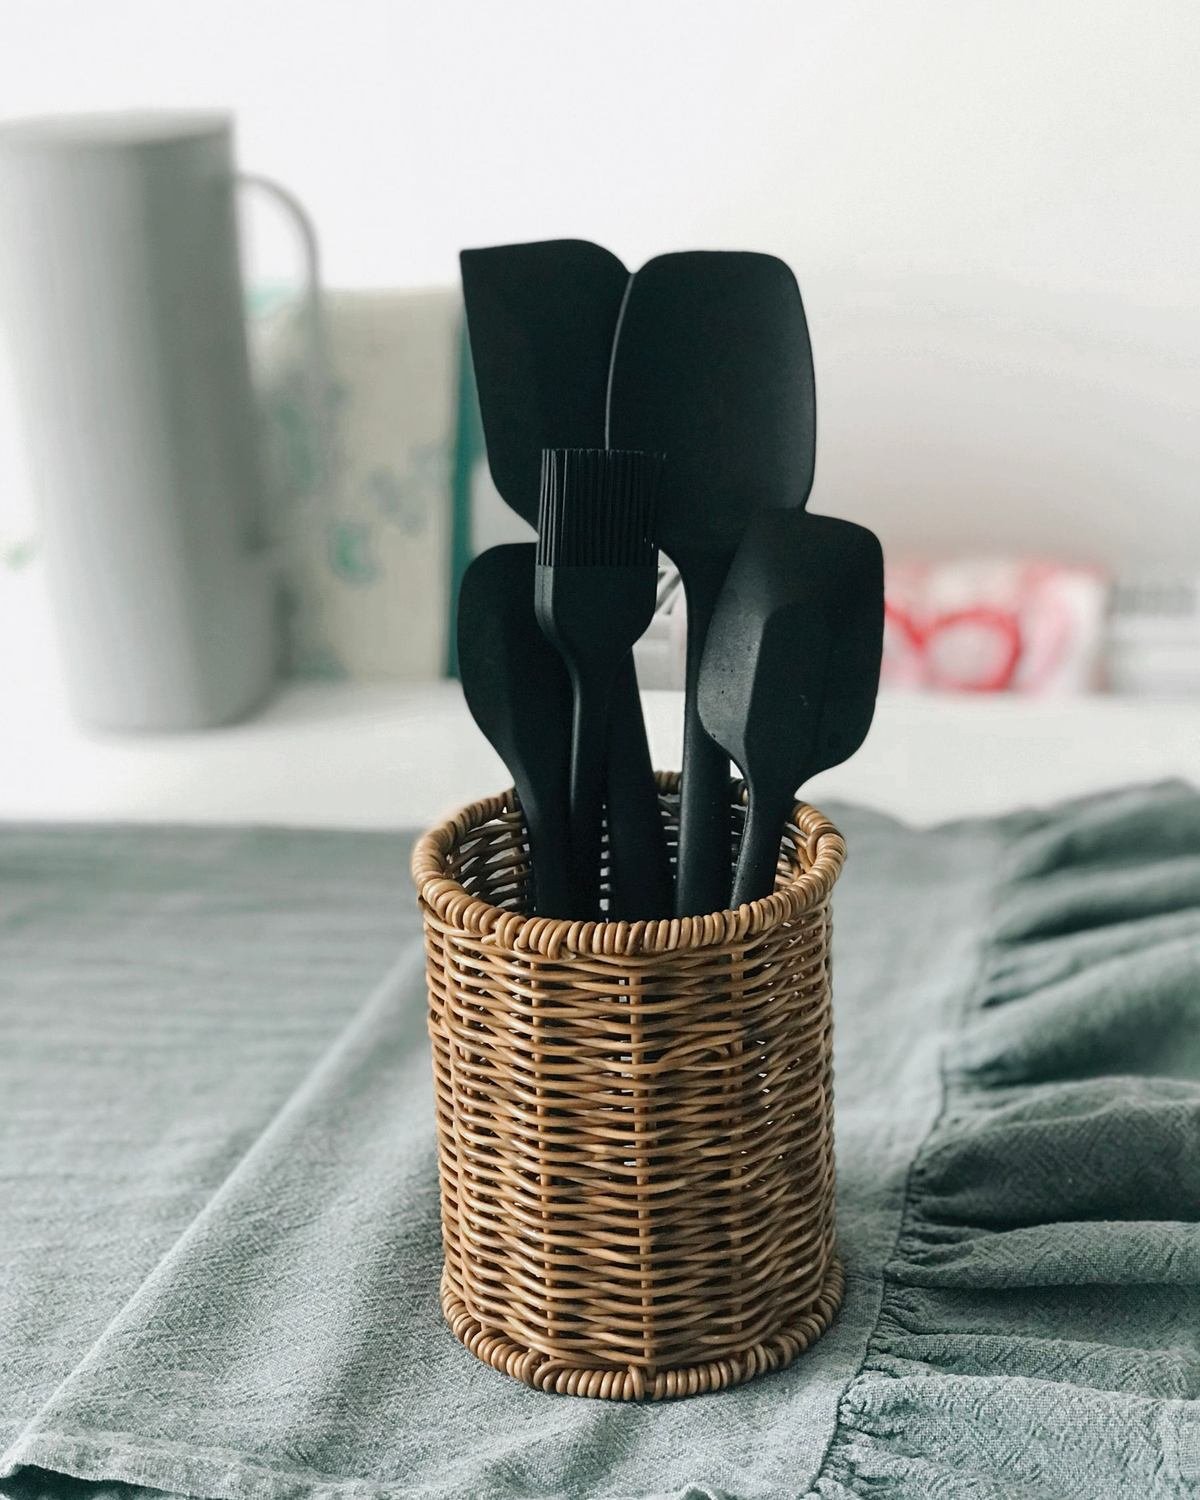
Not everything fits neatly in a jar. Baskets, bins and trays hold awkward items and make deep shelves easier to use.
Set up grab-and-go snack bins. Snacks are often the messiest part of a pantry because they come in so many bag and box shapes. Open the boxes and move single packs into one or two bins with handles. One bin for salty snacks and one for sweet, or one per person, works well.
Kids can grab what they want, and you can see at a glance when it’s time to restock. Recycle the empty boxes right away instead of putting them back on the shelf.
9. Store Potatoes and Onions in Wire Baskets
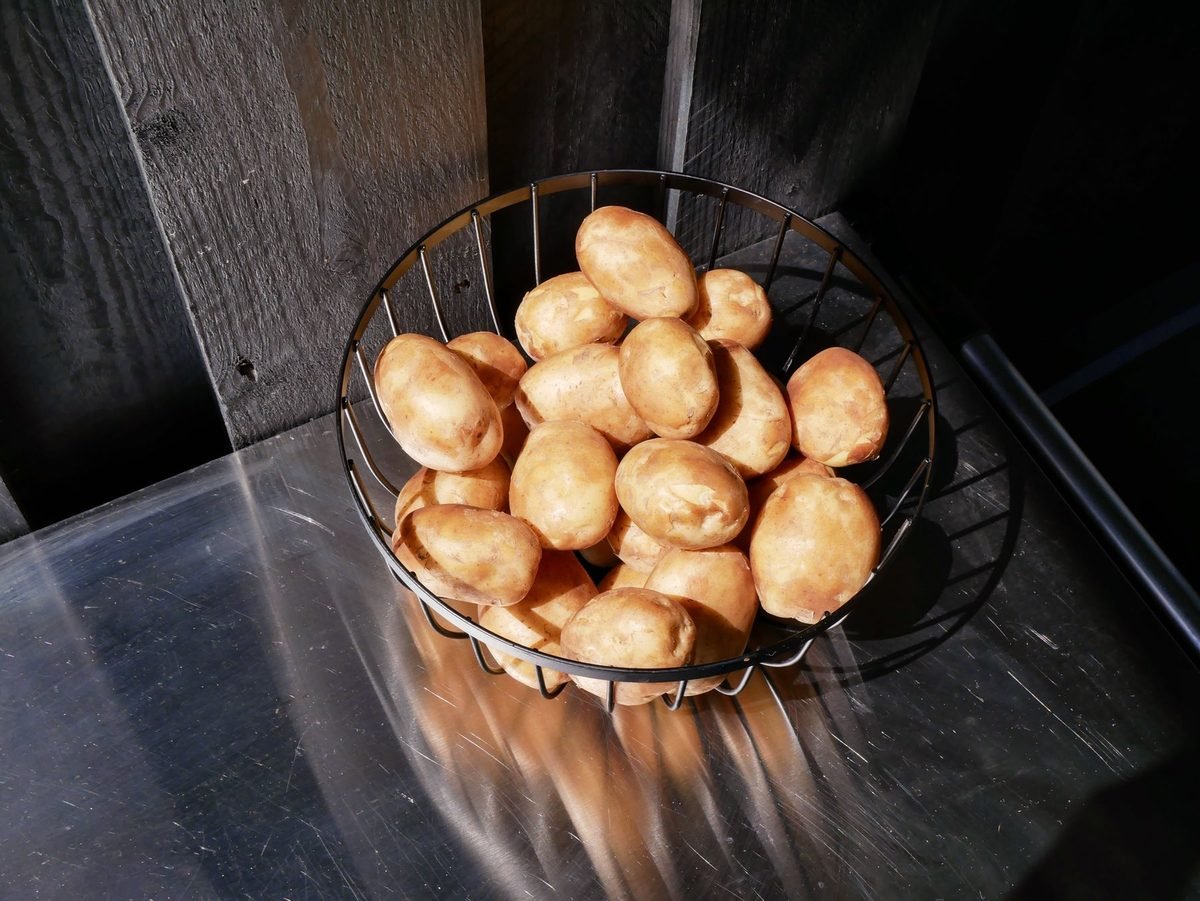
Root vegetables last longer with some airflow. Open wire baskets let air move around them.
Many cooks keep potatoes and onions in separate baskets, since onions can make potatoes sprout faster. Store them in a cool, dark spot like the bottom of the pantry, away from heat.
Stackable wire baskets save floor and shelf space. Check them every few days and remove anything soft or sprouting so it doesn’t spoil the rest.
Make it work: Wire baskets can leave dirt and bits of skin on the shelf. Put a paper towel or a washable liner under them, and shake it out each week.
10. Keep Fruit Out of the Pantry

Some fruits, like bananas, apples and stone fruits, are better stored on the counter or in the fridge than in a closed pantry. Having them in sight also means you’re more likely to eat them.
A tiered fruit basket on the counter frees pantry space and keeps fruit where you’ll see it. Keep bananas a little away from other fruit, since they can speed up ripening.
For food you keep cold, our fridge organization ideas cover zones and containers for the fridge.
Make it work: Keep a small bowl on the counter for fruit that’s ripening. Once it’s ripe, move it to the fridge to make it last a few days longer.
11. Use Trays and Turntables for Oils and Sauces

Bottles of oil, vinegar and sauce often leave sticky rings on shelves. A tray catches drips and makes it easy to pull all of them out at once.
A lazy susan works well in corners and deep shelves. Spin it to find what you need instead of moving everything.
Wipe the tray once a week. It’s much easier than scrubbing a shelf.
Make it work: Group bottles by how often you use them. Daily oil and salt go on the front turntable. Specialty sauces can go on a second one farther back.
Coffee and Tea Station Ideas
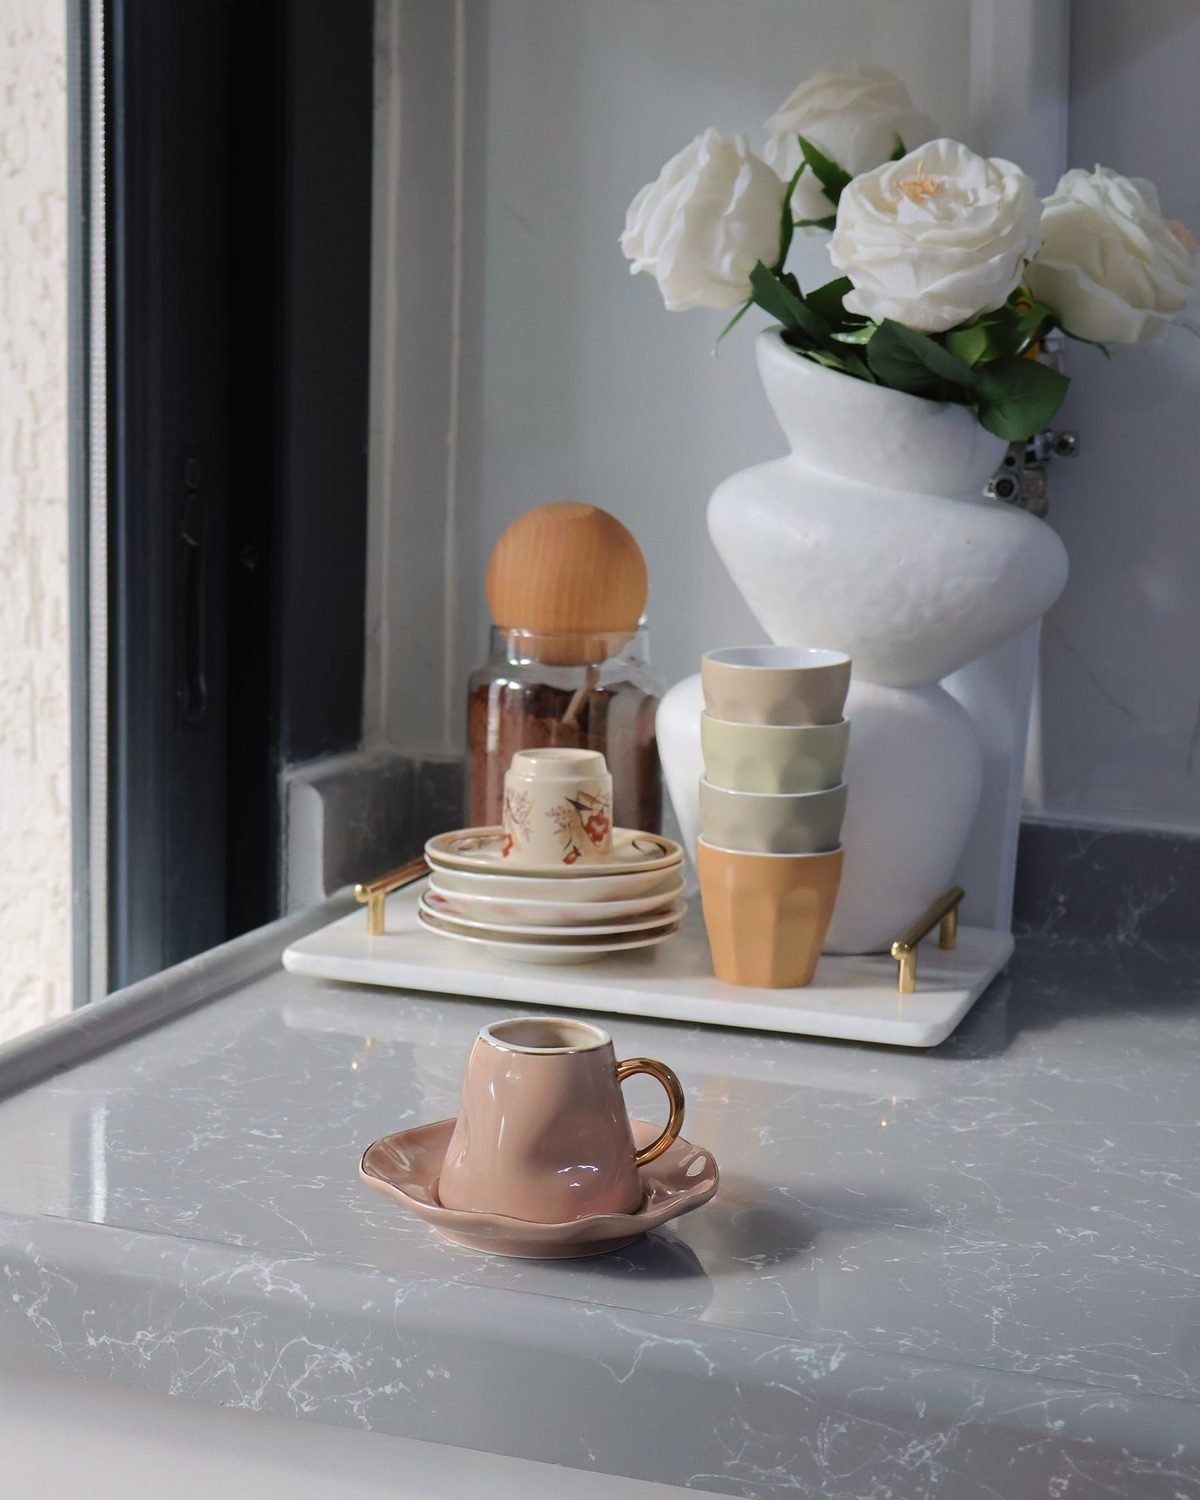
If you drink coffee or tea every day, give it its own small zone. It saves time in the morning and keeps the pantry from getting cluttered with boxes.
Make a baking bin too. If you bake now and then, gather sprinkles, food coloring, cupcake liners, vanilla and decorating tips in one bin. When it’s time to bake, pull out the whole bin. When you’re done, everything goes back in one place.
12. Keep Coffee Pods and Filters Together

Coffee pods, filters, sugar and stir sticks are easier to manage when they’re stored together near the coffee maker.
A coffee pod drawer can sit under the machine, or you can use a small basket or jar on a shelf. Keep backup supplies on the top shelf of the pantry.
Make it work: If counter space is tight, use a small tray to hold the coffee maker, mugs and sugar. It makes the area look neater and is easy to wipe.
13. Store Tea in Clear Jars or a Box

Tea boxes come in all shapes. Move tea bags into a tea organizer box or clear jars so you can see your choices at a glance.
Loose-leaf tea keeps better in airtight, opaque containers, away from light and heat. Group herbal teas, black teas and green teas so they’re easy to find.
Make it work: Keep mugs close to the tea and coffee, on a shelf or adhesive hooks under a cabinet. Everything you need for a hot drink lives within a step or two.
What to Buy for a Tiny Pantry (and What to Skip)
What to buy depends on your pantry:
Closet pantry: Shelf risers, bins with handles, an over-the-door organizer and a step stool for the top shelf.
Cabinet pantry: Pull-out bins or drawers, turntables and stackable containers. Deep cabinets benefit most from things you can pull forward.
Open shelves: Matching clear jars and baskets look tidy in plain sight. Keep busy packaging in closed bins.
No pantry at all: A rolling cart, a freestanding shelf or an over-the-door organizer on the kitchen or a closet door can hold the basics.
Worth buying:
- Clear, airtight containers in a few sizes, ideally square or rectangular.
- Shelf risers for cans and jars.
- Bins with handles for snacks and backstock.
- A turntable for oils and sauces.
- Wire baskets for produce.
- Labels or a label maker.
- A step stool for the top shelf.
How to choose containers:
- Shape: Square and rectangular containers use shelf space best. Round ones are fine for small amounts.
- Seal: Look for a tight seal, like a silicone gasket or locking clips, for flour, sugar, cereal and anything that can go stale.
- Material: Plastic is lighter and won’t break if dropped. Glass doesn’t hold smells and looks nice on open shelves, but it’s heavier.
- Size: Match the container to how much you buy. A container that’s too small means you’ll have leftover bags.
- Stackable: Containers with flat lids that stack save a lot of vertical space.
Worth skipping:
- Containers you haven’t measured for. Always check shelf height and depth first.
- Huge container sets. You may not need 30 pieces. Buy a few, see what you use and add more later.
- Round containers on tight shelves. They waste space.
Budget tips: Reuse glass jars, use shoe boxes or cereal boxes cut down as drawer-style bins and check dollar stores for bins and turntables. Our Dollar Tree kitchen organization hacks has more cheap ideas.
Shopping with a pantry plan. Before your next grocery trip, take a quick photo of your pantry shelves. It takes seconds and stops you from buying a fourth jar of cinnamon. Plan two or three meals around what’s already on hand, then shop for the missing pieces. That one habit keeps the pantry from filling up with things you don’t use.
Pantry Organization Mistakes to Avoid

Buying containers before decluttering. You’ll end up with containers you don’t need, or the wrong size.
Decanting everything. It’s a lot of work. Decant the things you use most and leave the rest in packaging or bins.
Forgetting about the back of the shelf. Deep shelves need bins you can pull out, risers or turntables so food doesn’t get lost.
Ignoring dates. Put new groceries behind older ones so you use up older items first.
Overfilling. A packed pantry is hard to keep organized. Leave a little room for new groceries.
Labeling only the front. If you can only see the tops of containers, label the lids too.
Storing food near heat. Avoid keeping pantry food right next to the oven, dishwasher or a sunny window. Heat and light make food go stale faster.
How to Keep Your Pantry Organized
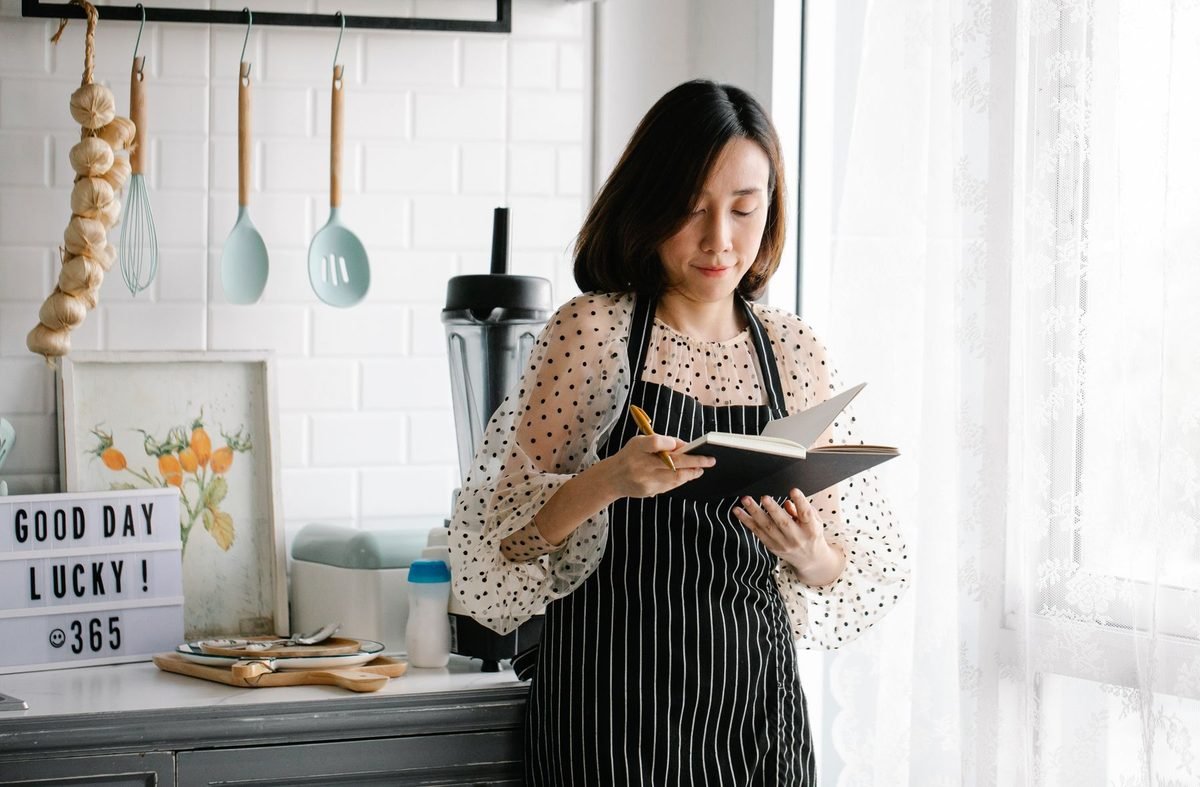
Share the system. Show everyone in your home the zones once, and ask them to put things back where they found them. Labels on shelf edges do most of the teaching for you. If one zone keeps getting mixed up, it may be in the wrong spot, so move it somewhere more natural.
Every week: Do a five-minute reset. Put things back in their zones, wipe up crumbs and add low items to your shopping list.
After every grocery run: Unpack straight into zones, put new items behind older ones, refill containers and recycle empty packaging right away. This takes a few extra minutes but saves a big clean-up later.
Every month: Check dates and move older items to the front. Wipe trays and bins.
Every season: Empty one shelf at a time, wipe it down and remove anything you’re not using.
Keep a list. A magnetic grocery list pad on the pantry door or a shared list on your phone lets everyone add items as they run out.
Using up what you have saves money and cuts waste. The EPA has helpful ideas for preventing wasted food at home, like planning meals around what’s already in your pantry.
A 20-minute pantry reset. When things start to slip, set a timer and do this:
- Pull out anything that’s in the wrong zone and put it back.
- Combine any duplicates, like two open bags of the same pasta.
- Toss empty packaging and anything stale.
- Refill containers from backstock.
- Wipe the shelves and trays.
- Write a short list of what’s running low.
It’s a quick way to get back on track without emptying the whole pantry again.
Tiny Pantry Ideas: FAQ
What are the best tiny pantry ideas if I only have a few minutes?
Start with three quick wins: toss anything expired, move the foods you use every day to eye level and put loose snack packs in one bin. Those three tiny pantry ideas take about 15 minutes and make the biggest visible difference.
How do I organize a small pantry with no shelves?
Add a freestanding shelf, a rolling cart or an over-the-door organizer. You can also turn a cabinet into a pantry.
Should I decant everything into containers?
No. Decant the things you use most and the bags that spill. Leave the rest in their packaging or in bins.
How can I make my pantry look nicer?
Use matching clear containers, labels and baskets in one color or material. Keep the busiest packaging in bins.
What’s the best way to store snacks?
Use bins or baskets by type, and keep kids’ snacks on a lower shelf. Single packs are easier to grab from a bin than a box.
How often should I clean my pantry?
Do a quick weekly reset, a monthly check of dates and a bigger clean once a season.
How do I keep bugs out of my pantry?
Store dry goods in airtight containers, wipe up crumbs and spills and check new packages before putting them away.
How do I organize a pantry for a family?
Use clear zones, label shelves, keep kids’ snacks low and teach everyone where things go. A shared list on the door makes restocking easy.
What’s the best container for flour and sugar?
An airtight container with a wide opening, so you can scoop easily. Choose one large enough to hold a full bag.
Can I store food on the pantry floor?
Yes, especially heavy items. Use bins or a rolling cart to keep them off the floor and easy to clean around.
How do I organize spices in a small pantry?
Use a tiered rack, a turntable, an over-the-door organizer or a drawer insert. Store them away from the stove, where heat makes them lose flavor.
What should I do with bulk purchases?
Decant a small amount into your everyday container and store the rest as backstock on the top shelf or the floor in a labeled bin. Only buy in bulk if you have room and will use it while it’s fresh.
How do I stop my pantry from getting messy again?
Give every item a zone, label the shelves, do a five-minute weekly reset and put groceries away into zones right after shopping.
Are glass or plastic pantry containers better?
Both work. Glass is sturdy, doesn’t stain or hold smells and looks nice on open shelves, but it’s heavier and can break. Plastic is light, cheaper and safer around kids. Many homes use glass for open shelves and plastic for higher or harder-to-reach spots.
How do I organize a pantry with a sloped ceiling or odd shape?
Use the tallest spot for tall containers and brooms, and the low area for short bins or heavy items on the floor. Rolling bins and stackable baskets adapt to odd shapes better than fixed shelves.
The Takeaway

The best tiny pantry ideas all come back to one rule: a small pantry works when you can see everything and every item has a home. Empty and edit first, then use clear containers, zones, risers, baskets and labels. Keep everyday items at eye level and backstock on the top shelf, and do a short reset every week.
Start with one shelf this weekend and build from there. For more ideas, browse our kitchen organization category.