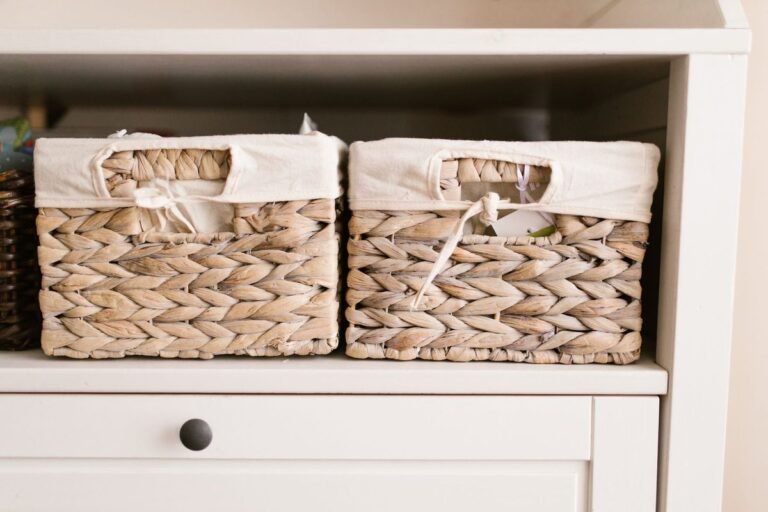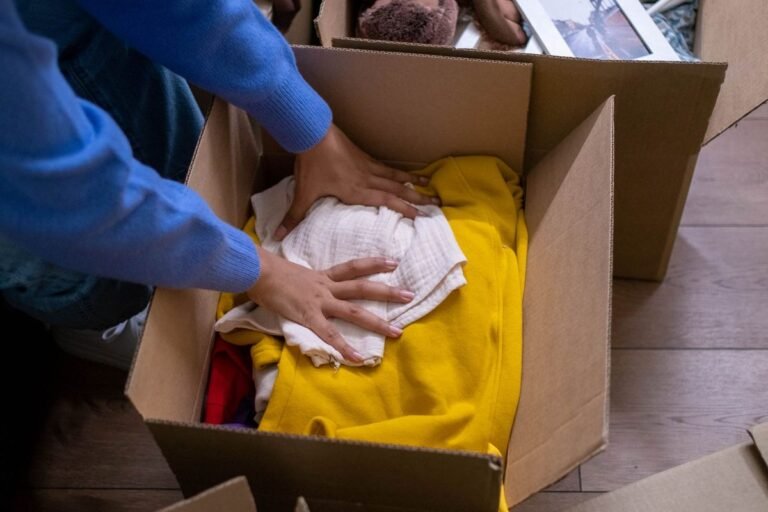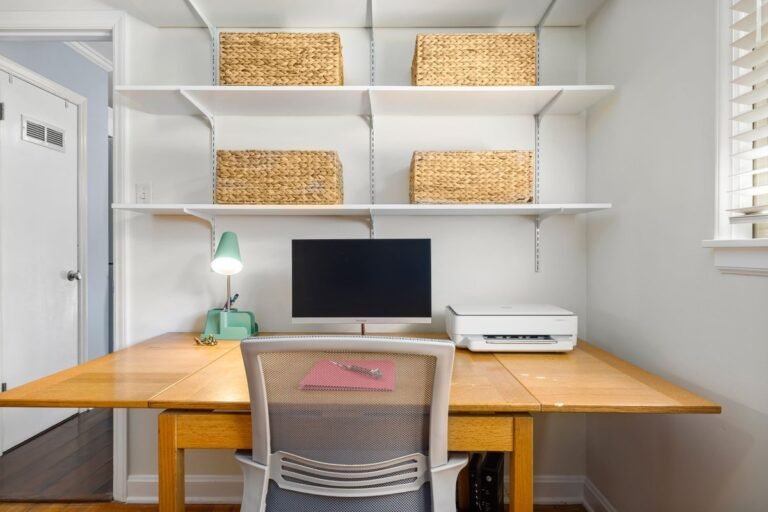

30-Day January Organization Challenge for Small Homes
Disclosure: This post contains affiliate links. As an Amazon Associate I earn from qualifying purchases. If you buy through these links, I may earn a small commission at no extra cost to you. Read our full disclaimer.
January is the month most of us look around and think, “I need to get this place under control.” A January organization challenge turns that feeling into a plan: one small task a day, 30 days, and a home that works better by February. This version is built for apartments and small homes, so every task fits into roughly 15 to 30 minutes and doesn’t require a car full of new bins.
Quick answer: A 30-day January organization challenge breaks your home into four weekly zones: the kitchen in week one, the bedroom and closet in week two, the bathroom, linens and laundry in week three, and living areas, paper and digital clutter in week four. Each day you do one short task, like clearing out the fridge or editing your sock drawer, and the last two days are for catching up and setting up simple habits.
Who this challenge is for: This January organization challenge is designed for renters, apartment dwellers and anyone with a small home who feels buried by stuff but doesn’t have a whole weekend to fix it. It works if you live alone, with a partner, with roommates or with kids. You don’t need any special tools or a big budget, and you won’t be asked to buy anything until the end of each week.
What makes it different: Many declutter challenges ask you to get rid of a set number of items each day. This one is organized by zone instead, so each week ends with one part of your home fully done. That makes progress easy to see, and it means a busy week only delays one zone rather than the whole plan.
How the 30-Day January Organization Challenge Works
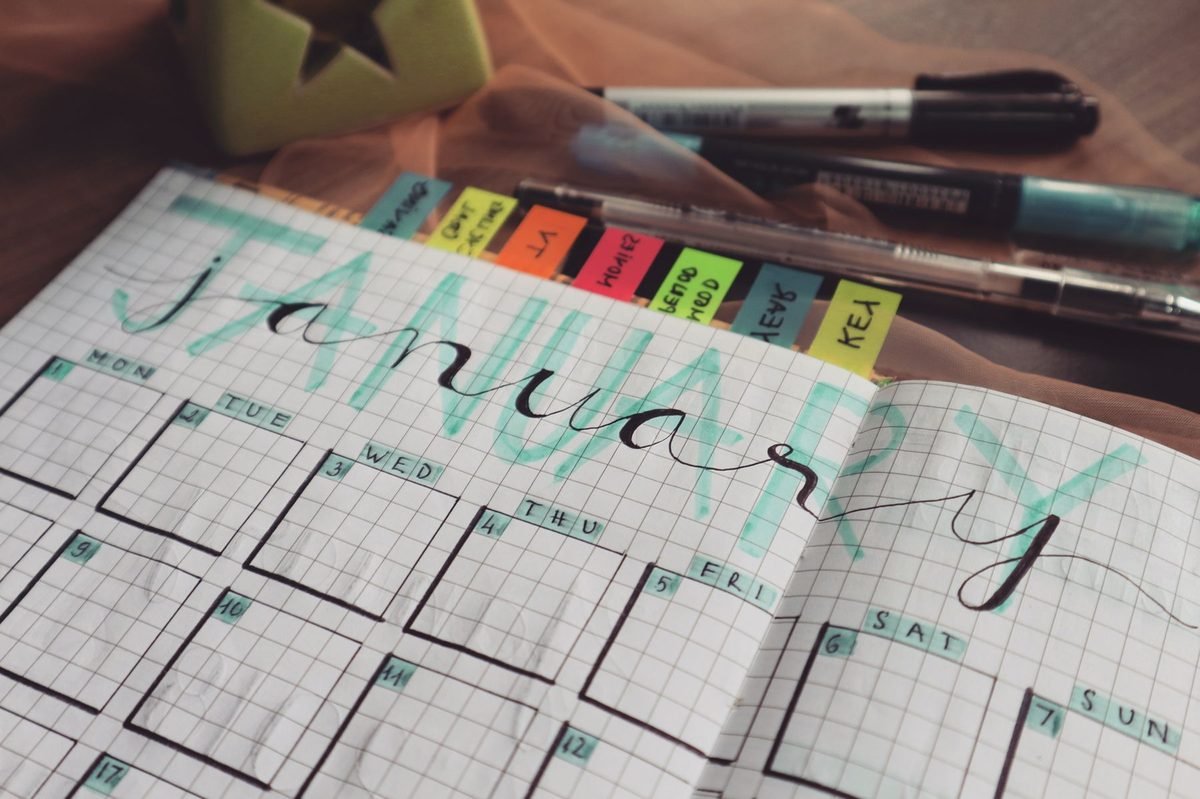
The goal isn’t a magazine-perfect home. It’s fewer things to manage and a clear spot for everything you keep. Here’s how to make it work:
- One task a day. Each daily task is small on purpose. If you have more energy, keep going, but don’t skip ahead to a new zone until the current week is done.
- Set a timer. Fifteen to thirty minutes is enough for most tasks. A timer keeps a small job from turning into an all-day project.
- Use three bags or boxes. Label them Keep Elsewhere, Donate and Trash. Empty the donate box into your car or by the door at the end of each week so it doesn’t sit in your hallway.
- Shop last, not first. Wait until you’ve decluttered an area before buying organizers. You’ll often find you need fewer than you thought.
- Miss a day? Just keep going. Days 29 and 30 are built-in catch-up days.
What you’ll need: You don’t need much. Grab a few trash bags, a box or two for donations, a marker, a roll of masking tape for quick labels, and a basic cleaning spray and cloth so you can wipe down each shelf while it’s empty. A phone timer is all you need for tracking time. Anything else, like bins or drawer dividers, can wait until you know exactly what you’re keeping.
Tips to stay motivated:
- Pick a regular time. Doing your task at the same time each day, like right after dinner, makes it feel automatic.
- Take a before photo. It’s easy to forget how much you’ve done. A quick photo before each task makes progress obvious.
- Invite your household. Give kids or roommates one small job, such as matching food container lids or sorting their own shoes.
- Keep it imperfect. A drawer that’s 80 percent better is still a win. You can always fine-tune it later.
If you want more detail for any room, our room-by-room declutter checklist breaks each space down further.
What One Day of the Challenge Looks Like
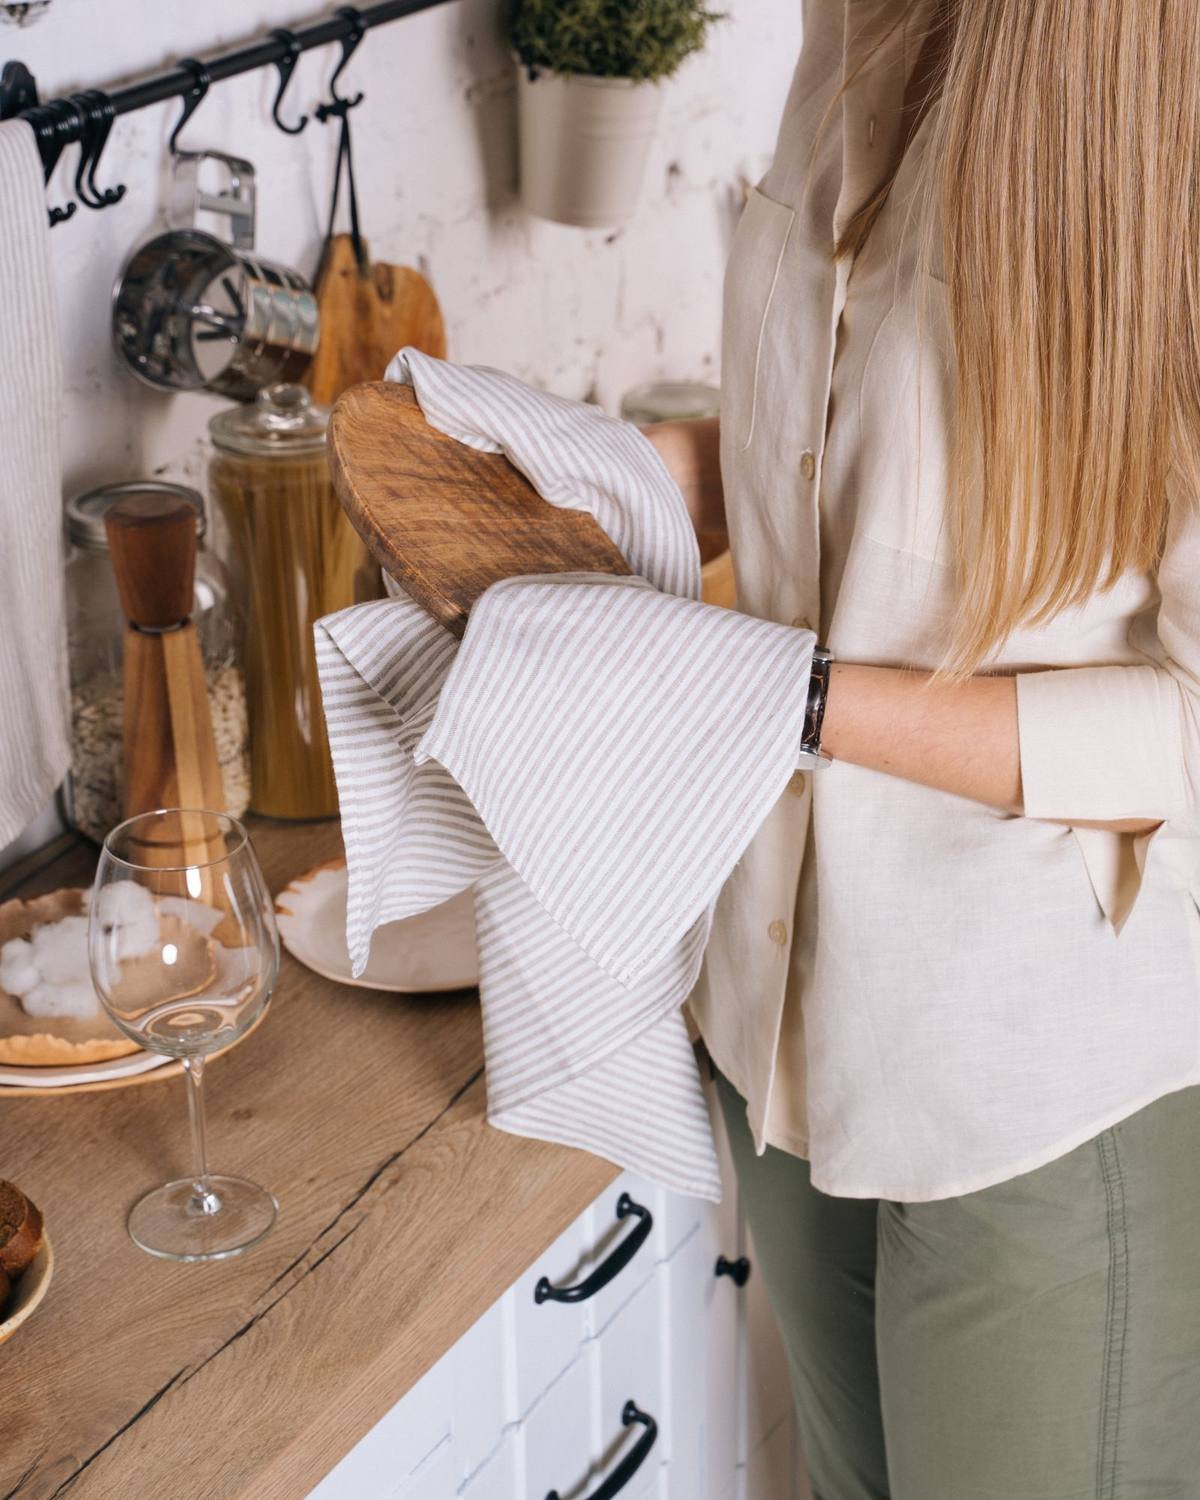
If you’ve never done a declutter challenge, it helps to see how a single day plays out. Here’s Day 1, clearing the counters, broken into steps:
- Set a 20-minute timer. Knowing there’s an end makes it easier to start.
- Take a quick before photo. You’ll want it later.
- Clear one section at a time. Start with the counter next to the stove, then the one by the sink. Move everything to the table.
- Wipe the empty counter. It only takes a minute while nothing’s in the way.
- Put back only daily items. For most people, that’s the coffee maker, a utensil holder, salt and pepper, and dish soap.
- Find homes for the rest. Things you use weekly go in a cabinet. Things that belong in another room go in the Keep Elsewhere box. Broken or expired items go in the trash.
- Take an after photo and stop. Even if the timer hasn’t rung, stop when the task is done.
Every day follows the same pattern: empty one small area, wipe it, keep what you use, find homes for the rest, and stop. Once you’ve done it a few times, it starts to feel automatic.
What to do with the Keep Elsewhere box: Empty it at the end of each session. Walk each item back to the room where it belongs. If you don’t know where something belongs, that’s often a sign you don’t need it.
Before Day 1: How to Prepare for the January Organization Challenge
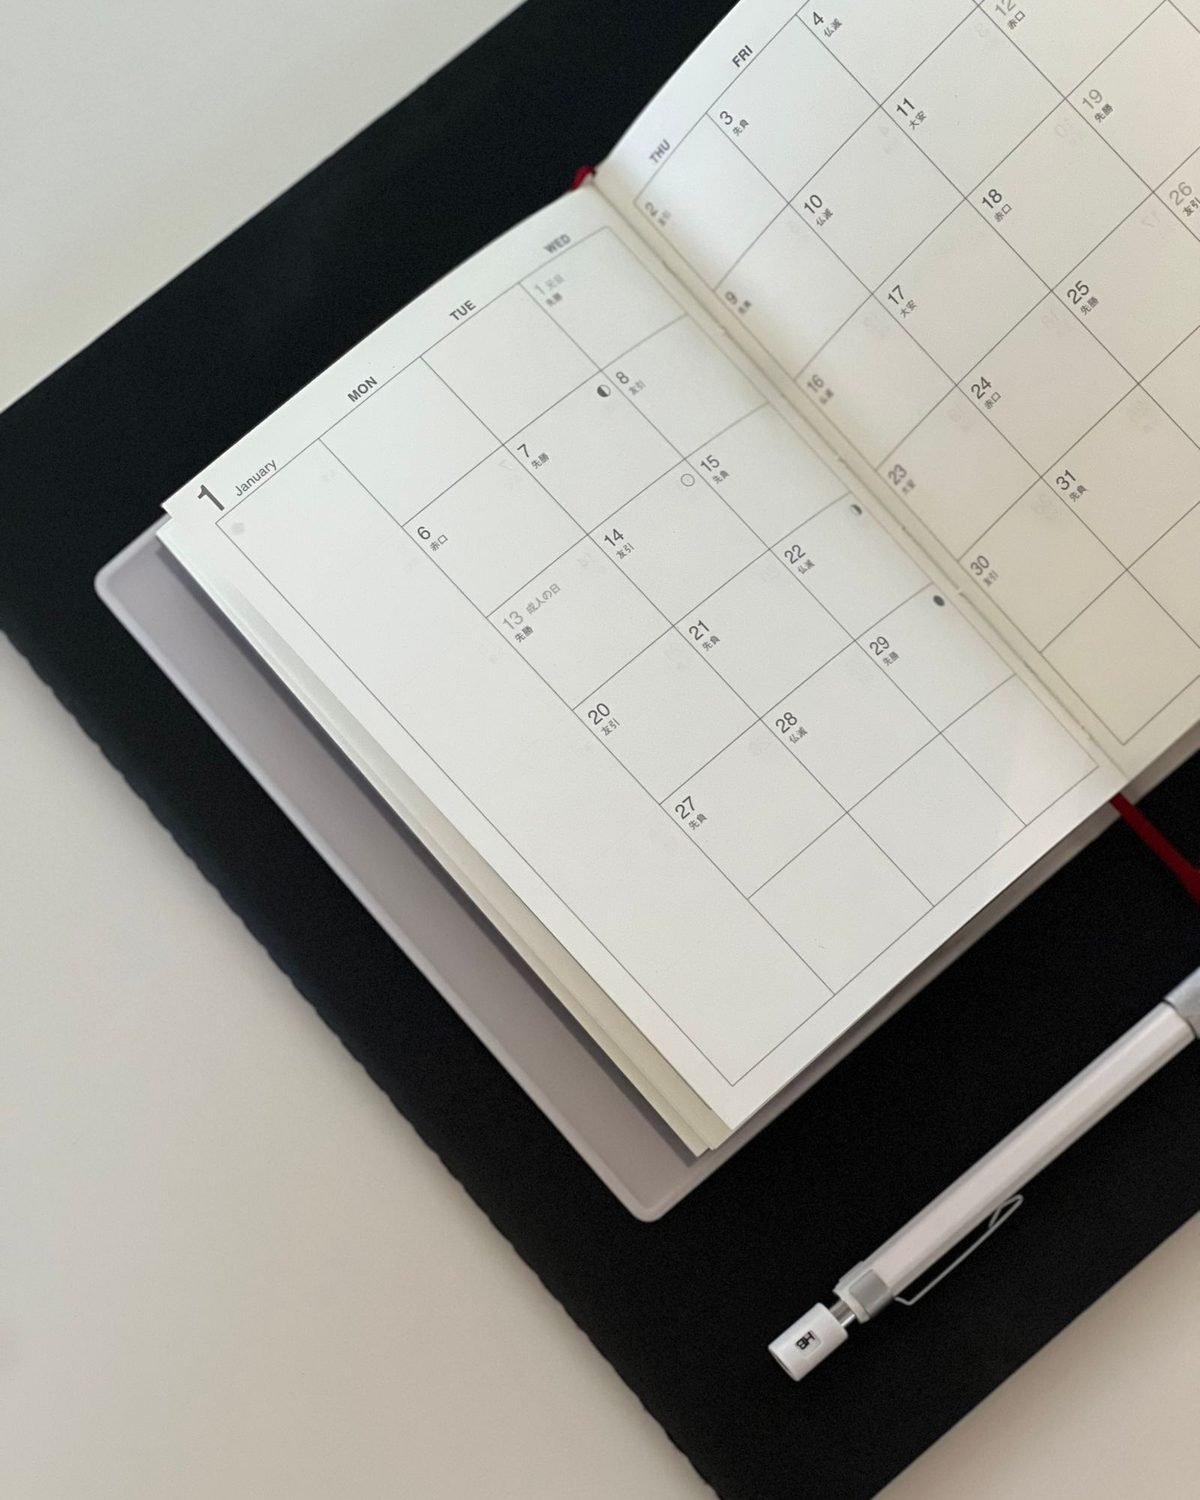
A little prep in the last days of December makes the whole month easier. None of this takes long, and it means you can start on January 1 without hunting for supplies.
- Pick your start date. January 1 is traditional, but if you’re traveling or hosting, start on the first Monday instead. The challenge works the same way.
- Print or write out the 30 days. Put the list on the fridge or save it as a note on your phone. Seeing the next task makes it easier to start.
- Set up your three boxes. Label them Keep Elsewhere, Donate and Trash, and park them somewhere you’ll walk past every day.
- Find your donation drop-off. Look up a local charity, thrift store or clothing bin near you, and check what they accept and when they’re open.
- Block a time slot. Put a 20-minute reminder on your phone at the same time each day.
- Do a quick walk-through. Note the one or two spots that bother you most. If they’re in a later week, you can swap weeks around.
Can you change the order? Yes. The kitchen comes first because it gives quick wins, but if your closet is the bigger problem, swap week one and week two. Just keep each zone to one week so the challenge stays manageable.
Week 1 (Days 1–7): Kitchen and Pantry
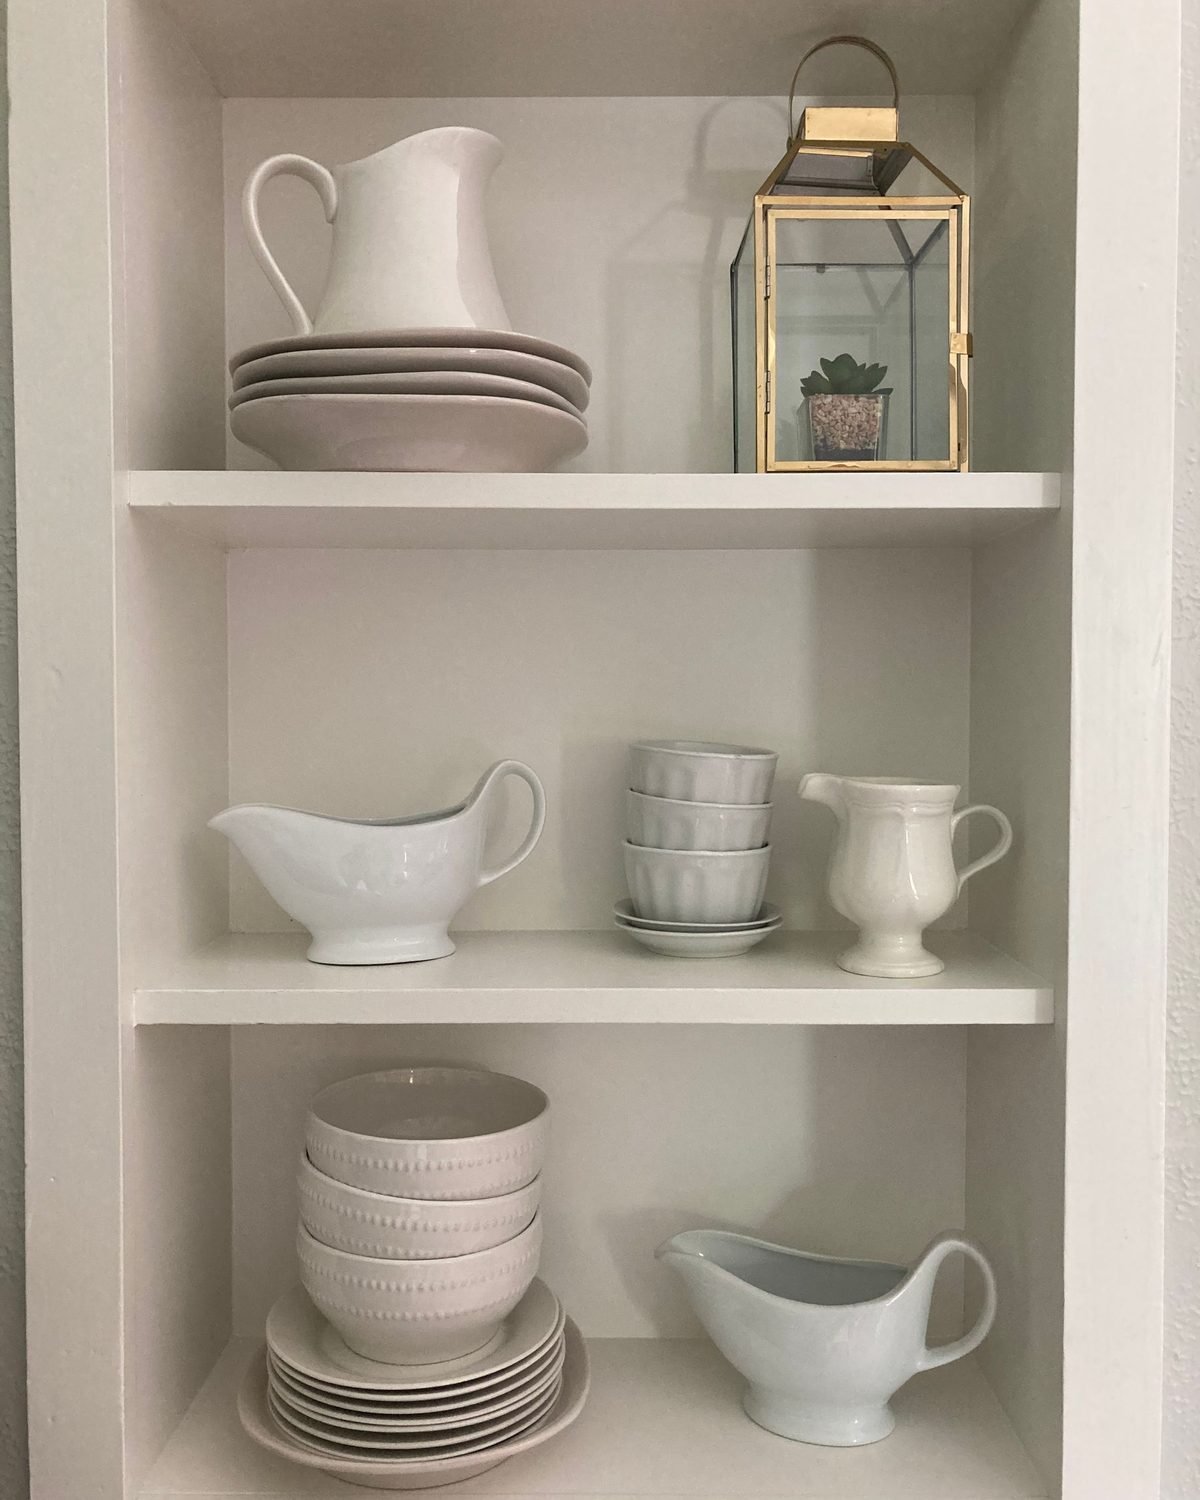
The kitchen is a good place to start because you use it every day, and you’ll feel the difference immediately. It’s also full of things that expire, which makes decisions easier: an expired sauce doesn’t need a debate.
- Day 1: Clear the counters. Take everything off, wipe down, and put back only what you use daily. Find homes for the rest.
- Day 2: Fridge and freezer. Toss expired food and old condiments, wipe the shelves, and group similar items together.
- Day 3: Pantry or food cabinet. Check dates, combine duplicates, and put snacks and packets into bins so they don’t spill across the shelf.
- Day 4: Food storage containers. Match every container to a lid. Recycle or donate the extras with no partner.
- Day 5: Utensil and junk drawers. Empty them completely, remove duplicates you never use, and add a simple drawer divider.
- Day 6: Under the kitchen sink. Throw out empty bottles, check for leaks, and use a caddy or bin to group cleaning supplies.
- Day 7: Dishes, mugs and gadgets. Count your mugs. Keep your favorites and the number you actually use, and donate gadgets you haven’t touched in a year.
Make it easier: If the fridge feels like too much on a weeknight, do it the evening before your grocery trip, when it’s already emptier. The EPA’s tips on preventing wasted food at home can help you shop and store food so less gets tossed next time.
Weekend tip: If you have extra time at the end of week one, wipe down the inside of your cabinets and the top of the fridge. These spots get dusty and greasy, and they’re much easier to clean while the shelves are already half empty.
Small kitchen? Our small kitchen organization ideas on a budget have plenty of space-saving tips for this week.
Week 2 (Days 8–14): Bedroom and Closet

Your bedroom is where your day starts and ends. A calmer room is worth this week of effort. Clothes are often the hardest category for people, so this week goes from easy (socks) to harder (hanging clothes and shoes) to build momentum.
- Day 8: Nightstand. Clear the top and the drawer. Keep only what you use at bedtime, like a book, lip balm and your charger.
- Day 9: Socks, underwear and pajamas. Toss anything with holes, stretched-out elastic or missing pairs.
- Day 10: T-shirts and casual tops. Keep the ones you reach for. File-fold them in drawers so you can see everything at once.
- Day 11: Hanging clothes. Turn all your hangers the same way. As you wear something, turn its hanger around. It makes it easy to see what you really wear.
- Day 12: Shoes. Donate pairs that hurt or that you haven’t worn in a year. Store the rest on a rack or in clear boxes.
- Day 13: Under the bed. Pull everything out, vacuum, and return only what belongs in labeled, lidded bins.
- Day 14: Bags, jewelry and accessories. Untangle necklaces, empty old purses, and give accessories a tray or a few hooks.
Make it easier: If clothes decisions stall you, use a simple test: would you buy this again today? If not, it goes in the donate bag. Try things on only when you’re truly unsure.
Weekend tip: Take your donate bag of clothes straight to a drop-off point this weekend. Clothes that sit in a bag in the closet have a way of slowly moving back onto hangers.
Short on closet space? Read how to organize a small closet with lots of clothes for more ideas.
Week 3 (Days 15–21): Bathroom, Linens and Laundry
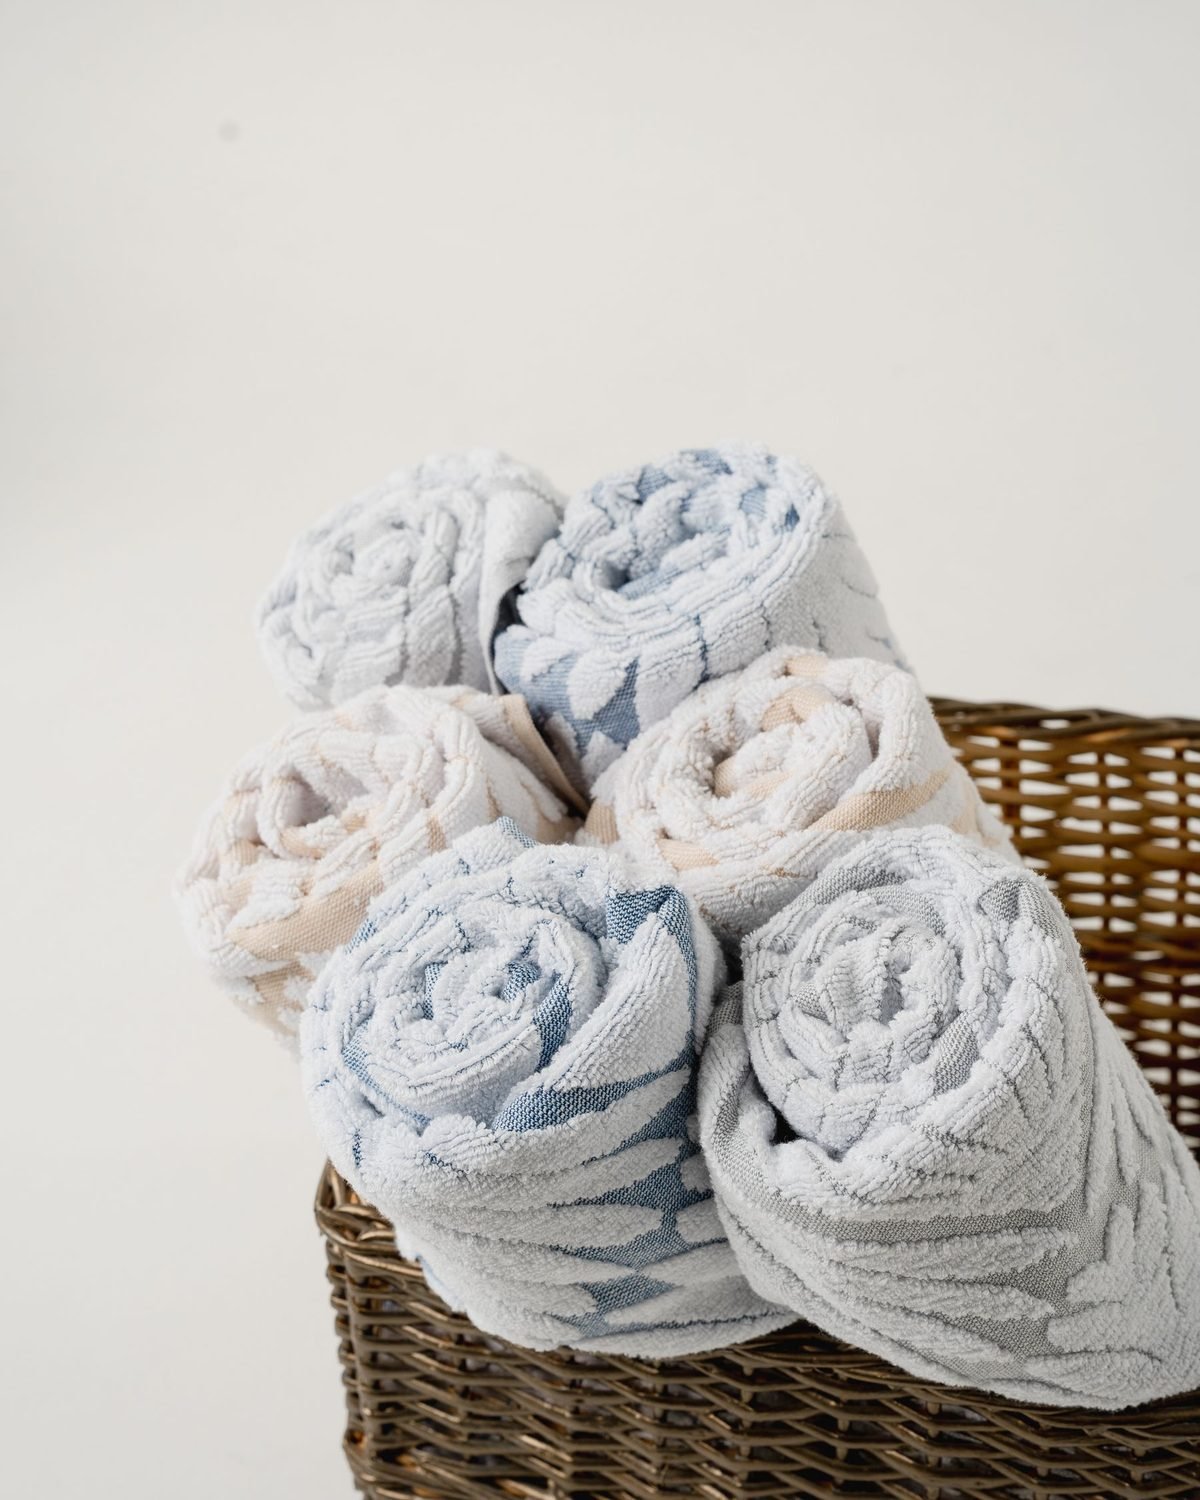
Bathrooms collect a surprising amount of half-used products. This week clears them out. Bathroom tasks tend to be quick, so it’s a good week to catch up on anything you skipped earlier. For more bathroom storage ideas, see our guide to under bathroom sink organization ideas.
- Day 15: Bathroom counter. Keep only daily items out. Everything else goes into a drawer, cabinet or basket.
- Day 16: Medicine cabinet and first aid. Check expiration dates and follow local guidelines or a pharmacy take-back program to dispose of old medications safely. The FDA explains the options in its guide to disposing of unused medicines.
- Day 17: Makeup and skincare. Toss dried-out products and anything that smells or looks off.
- Day 18: Shower and tub. Finish or toss nearly empty bottles and keep just one of each product open at a time.
- Day 19: Under the bathroom sink. Group items in bins, and add a small turntable for bottles at the back.
- Day 20: Towels and sheets. Keep two sets of sheets per bed and two or three towels per person. Old towels can become cleaning rags or go to an animal shelter that accepts them.
- Day 21: Laundry area. Clear the top of the washer, toss empty bottles, and give detergent and dryer sheets a bin or shelf.
Make it easier: Gather every product from the bathroom into one bin before you sort. Seeing all your shampoos and lotions together makes it obvious how many duplicates you have.
Weekend tip: Make a short list of the products you actually use every day. Next time you shop, buy only replacements for those items until the backups are used up. It’s an easy way to keep the bathroom from filling up again.
Week 4 (Days 22–30): Living Room, Paper and Digital Clutter
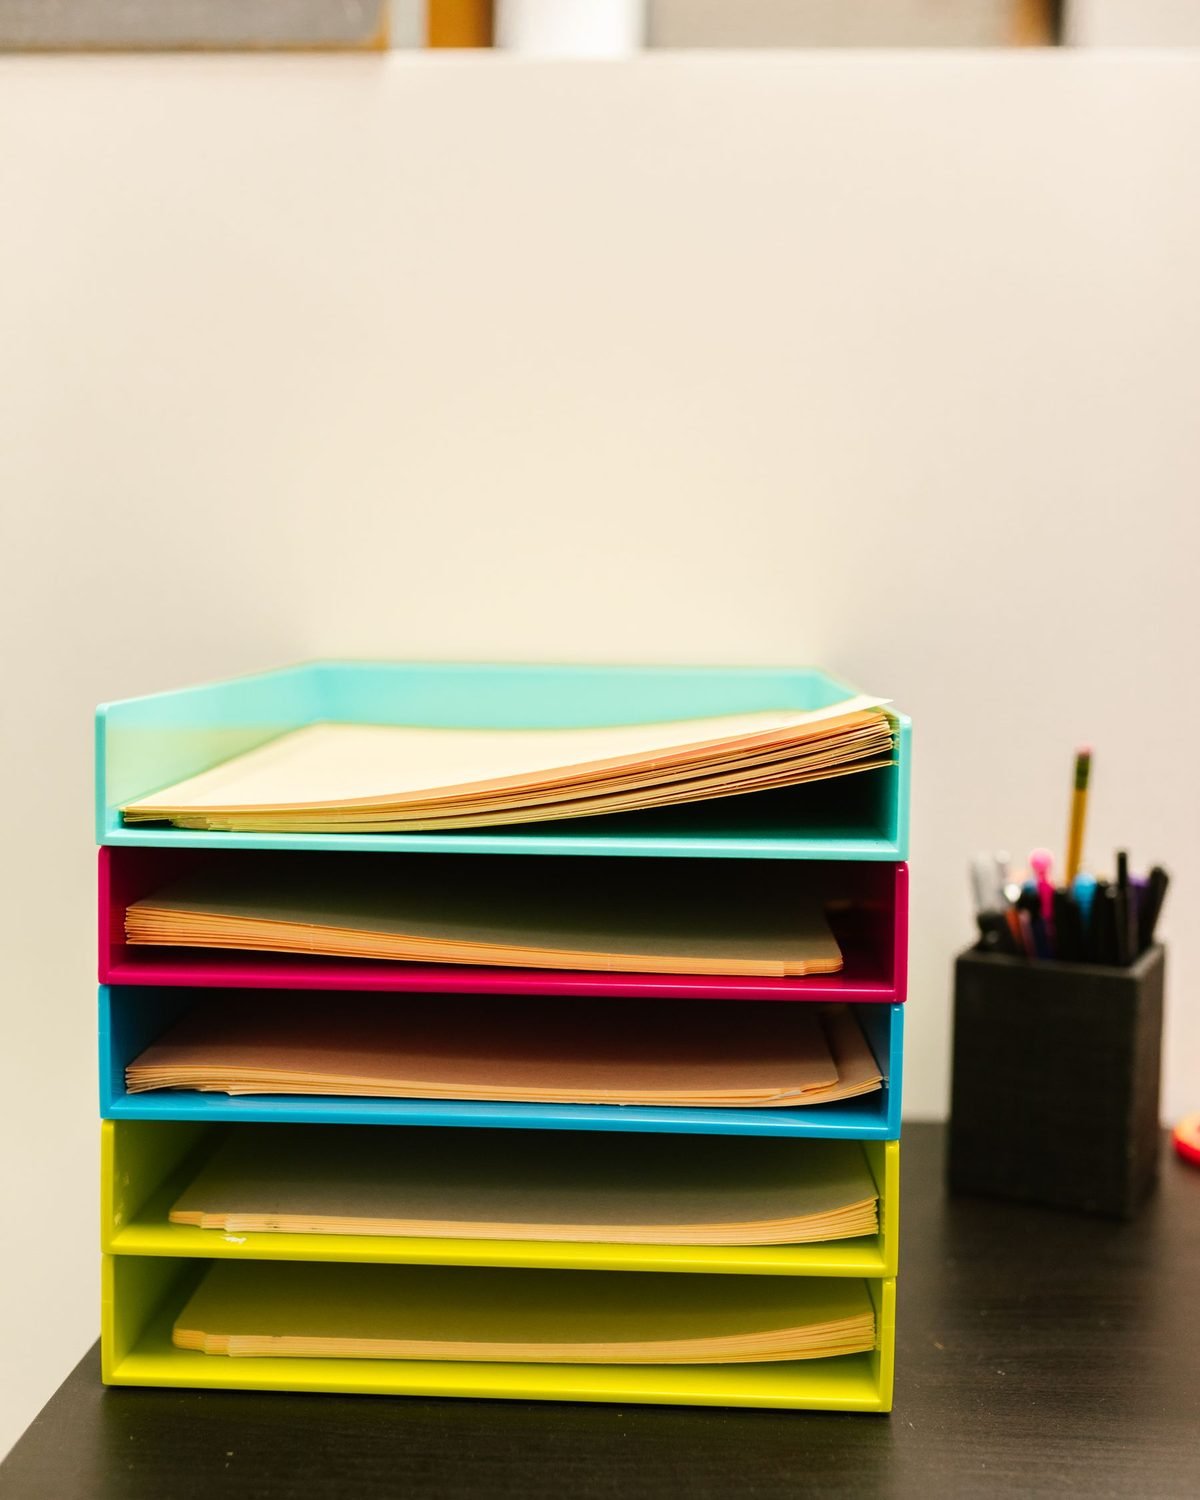
The last week tackles the shared spaces and the clutter you can’t see, like paperwork and your phone. Paper and digital clutter don’t take up much room, but they create a lot of mental noise. Clearing them is one of the most satisfying parts of the challenge.
- Day 22: Coffee table and TV stand. Clear everything off and keep remotes and chargers in one lidded box or basket.
- Day 23: Bookshelves and decor. Donate books you won’t reread and pare down decor that just collects dust.
- Day 24: Entryway. Give keys a tray, bags a hook and shoes a rack or mat.
- Day 25: Paper pile. Sort mail and paperwork into Action, File and Shred. Unsubscribe from catalogs you don’t want.
- Day 26: Important documents. Gather IDs, insurance papers and tax documents into one labeled folder or file box.
- Day 27: Phone and computer. Delete apps you don’t use, clear your desktop, and back up your photos.
- Day 28: Email inbox. Unsubscribe from five to ten newsletters you never read and archive old messages.
- Day 29: Catch-up day. Finish any task you skipped, or redo the area that bothered you most.
- Day 30: Set up your maintenance habits. Choose a daily reset, like 10 minutes before bed, and a weekly routine. Our weekly cleaning schedule for working moms is an easy one to follow even if you’re not a mom.
Make it easier: Paper and digital tasks are easy to put off because they don’t look messy. Set a timer for 20 minutes and stop when it rings, even if you’re not done.
Helpful tools for this week: a label maker, a file box with hanging folders and drawer dividers for anything you still need to sort.
How to Track Your Progress
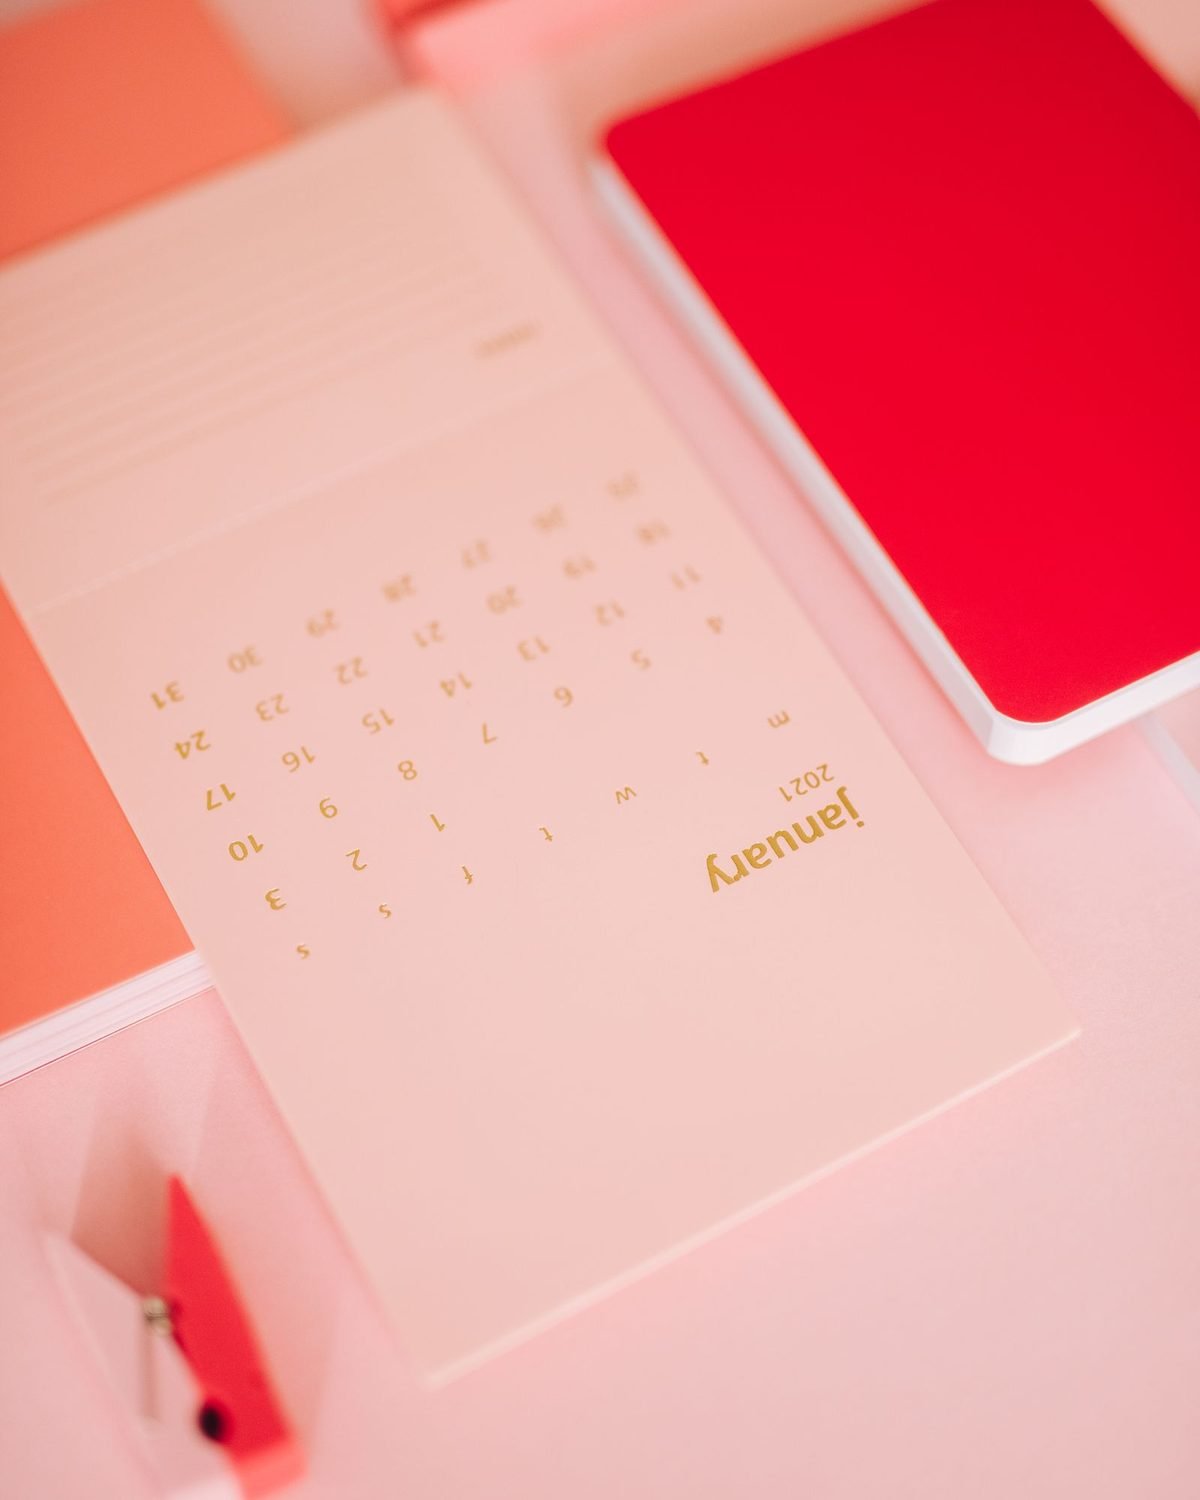
Tracking keeps you going when motivation drops in the middle of the month, which it usually does around week three.
- Cross off each day. A printed calendar with a big X for each finished task is simple and satisfying.
- Take before and after photos. Snap a photo of each drawer or shelf before you start and after you finish. On a slow day, scroll back through them.
- Count your donation bags. Write down how many bags or boxes leave the house each week. It’s a concrete number that shows how much you’ve cleared.
- Note what to buy. Keep a running list of organizers you actually need, with measurements, so you can shop once at the end of the month.
- Write one line about how it feels. “I can see the counter” or “I found my good scissors” is a better reminder than any checklist.
Share it if it helps. Some people stay on track by texting a friend a photo of each finished task, or by doing the challenge together with a sibling or coworker. A little accountability goes a long way in the middle of the month.
If you fall behind, don’t try to do three days in one evening. Pick up with today’s task and use days 29 and 30 to catch up.
January Organization Challenge Variations for Every Household
The 30-day plan above is a starting point. Adjust it to fit your home and your schedule.
Studio or one-bedroom apartment. Combine small tasks, such as the nightstand and the sock drawer, or the coffee table and the bookshelf. Use the free days to deep clean, or take them off. For more storage help in a tiny space, see our studio apartment storage ideas.
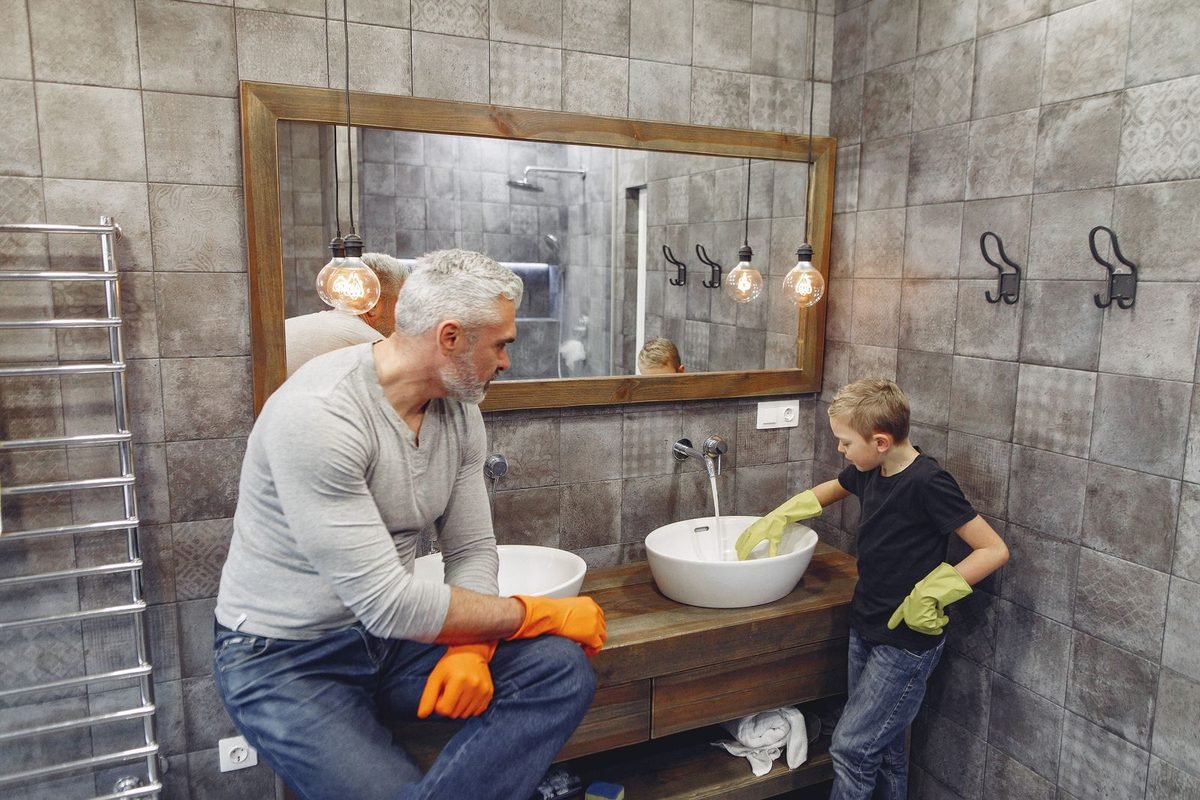
Families with kids. Give kids one small job that matches their age. Younger kids can sort toys into bins or match socks. Older kids can clear their own desk or closet. Keep it short, praise the effort, and let them choose what to donate from their own things where possible.
Roommates. Handle your own room on your own schedule, and agree on shared zones like the kitchen and bathroom together. One shared shelf or bin per person keeps things fair.
Busy weeks. If you work long hours, do the challenge in 10-minute blocks. Set a timer, stop when it rings, and pick up where you left off the next day. A 60-day version, with one task every other day, works too.
Low energy or ADHD. Break each task into smaller steps, like “clear the top shelf” instead of “the whole pantry,” and use body doubling by calling a friend while you work. Our weekly cleaning schedule for ADHD has more ideas for keeping tasks small.
Moving soon. If you plan to move in the spring, the challenge is a great head start. Anything you declutter now is something you won’t have to pack.
Common Mistakes That Derail a Declutter Challenge

Most people who drop a January challenge don’t lack motivation. They hit one of these common snags:
- Pulling everything out at once. Emptying a whole closet on a weeknight leaves you with a bigger mess than you started with. Work one shelf or drawer at a time.
- Shopping first. New bins feel productive, but they often don’t fit what you end up keeping. Wait until the end of each week.
- Keeping the donate box at home too long. A full bag in the hallway slowly gets unpacked. Drop it off every weekend.
- Organizing other people’s things. Decluttering a partner’s or roommate’s belongings without asking causes more stress than it saves. Stick to your own things and shared spaces you’ve agreed on.
- Aiming for perfect. A drawer that’s mostly better is a win. You can fine-tune it later.
- Quitting after a missed day. One missed day doesn’t end the challenge. Just do today’s task.
Another snag is not knowing what to do with old clothes and linens. Textiles can often be donated or recycled, and the EPA’s textile recycling data shows why keeping them out of the trash is worth the extra trip.
After the January Organization Challenge: Keep It Going

The real test comes in February. These habits help keep what you’ve built:
- Do a 10-minute reset each evening. Clear the kitchen counter, put things back in their homes, and empty your bag.
- Use a one-in, one-out rule. When a new shirt or mug comes in, an old one goes.
- Keep a donate box in a closet. Drop items in as you notice them, and take the box out when it’s full.
- Pick a monthly mini challenge. Choose one zone each month, such as the fridge in February or the closet in April, and spend one evening on it.
- Shop with a list. Buy only the organizers on the list you made during the month. Drawer dividers, a few matching bins and a file box are the most common needs.
What to buy now (and what to skip): Buy only for spaces you’ve already decluttered and measured. Skip decorative organizers with lots of small compartments, and bins that don’t fit your shelves. For inexpensive options, see our Dollar Tree organization hacks for small spaces.
If you liked the structure of the challenge, try repeating it in a shorter form in spring or early fall. A 7-day version, with one zone a day, is a good refresher. Many people find the second round of the challenge goes much faster, because the hard decisions are already made and most spaces only need a quick edit.
Plan your next challenge now. Put a reminder in your calendar for early April and early September. A short seasonal challenge keeps clutter from building back up, and it’s a good time to swap seasonal clothes.
January Organization Challenge: FAQ

How long does each day of the challenge take?
Most tasks take 15 to 30 minutes. Bigger tasks, like the pantry or under the bed, might take longer if those spots haven’t been touched in a while. Feel free to split a big task over two evenings.
What if I live in a studio or a very small apartment?
The challenge still works. Combine tasks on days when a zone is tiny, such as doing the nightstand and the socks drawer together, and use the extra days to rest or catch up.
Do I need to buy organizers for this challenge?
No. Decluttering comes first, and many small homes need fewer organizers once they have less stuff. If you do buy anything, wait until the end of each week and measure the space first.
Can I start the challenge in a month other than January?
Of course. January is popular because of the new year, but the 30-day structure works any time you want a fresh start, such as before a move, after the holidays or at the start of spring.
What should I do with the things I declutter?
Donate usable items to a local charity, give them to friends, sell larger pieces online, and recycle what your area accepts. Try to drop off donations at the end of each week so they don’t pile up.
Is the January organization challenge good for beginners?
Yes. The tasks are short and specific, so you don’t have to decide where to start. If a task feels too big, do half of it and finish the next day.
What if I fall behind?
Skip ahead to today’s task and use the catch-up days at the end. Trying to make up several days at once is the fastest way to burn out.
How do I get my family to join in?
Keep it simple. Give each person one short job, explain why it helps, and do it at the same time as your own task. Kids are more likely to help when they get to make some choices about their own things.
Should I deep clean during the challenge?
Only lightly. Wipe each shelf or drawer while it’s empty, but save deep cleaning, like scrubbing grout or washing walls, for another time. The goal this month is less stuff.
How do I decide what to keep?
Keep what you use, what you love and what you’d buy again. If you haven’t used something in a year and it isn’t seasonal or sentimental, it’s usually safe to let it go.
What should I do with sentimental items?
Don’t start with them. Save photos, letters and keepsakes for the end, when your decision-making muscles are stronger. Keep the most meaningful pieces in one labeled box.
Can I do the challenge with a full-time job?
Yes. Most tasks fit into 15 to 20 minutes after work. If weekdays are packed, do two tasks on Saturday and Sunday and lighter tasks during the week.
What’s the hardest week of the challenge?
For most people, it’s week two, because clothes carry more emotion and more decisions than kitchen items. Go slowly, and use the “would I buy this again today?” test.
Do I need to finish in exactly 30 days?
No. The 30-day timeline gives structure, but finishing in 40 or 45 days still gets you a more organized home. What matters is that you keep going.
Final Thoughts
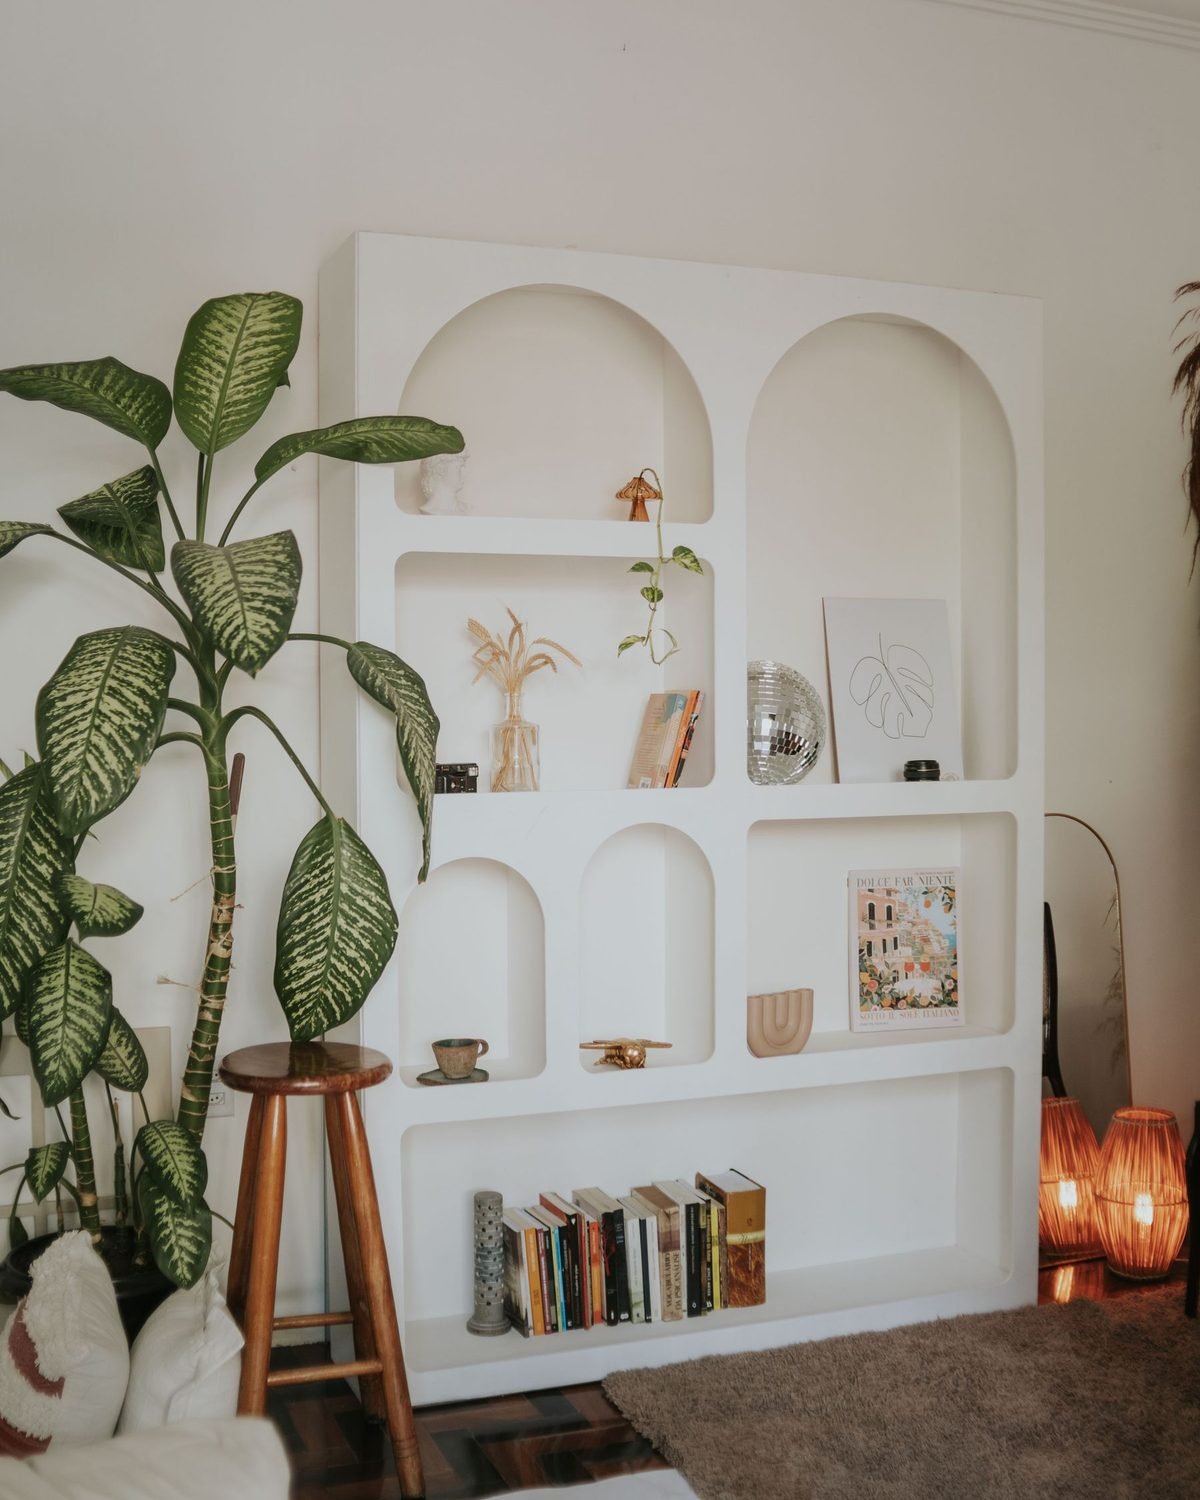
A January organization challenge works because it’s small and steady. Instead of one exhausting weekend, you build the habit of putting a little time into your home every day, and that habit is what keeps the clutter from coming back in February and March. You don’t need a free weekend or a big budget, just a few minutes a day and a plan. By the end of the month, you’ll know where things live, you’ll own less you don’t need, and keeping up will be much easier.
When the month is over, walk through your home and notice which spaces still feel crowded. Those are the best places to focus on next, whether that means a better closet setup, a few extra shelves or simply another round of decluttering in spring. Keep your donate box in a closet all year so it’s easy to drop in anything you no longer want.
Takeaway: One short task a day, a donate box that leaves every weekend, and shopping only at the end. That’s the whole January organization challenge in one sentence.
Want more ideas while you work through the month? Browse our Cleaning & Printables section and our small apartment storage ideas on a budget.