How to Organize a Small Bathroom in 10 Easy Steps (No Cabinet Space Needed)
Disclosure: This post contains affiliate links. As an Amazon Associate I earn from qualifying purchases. If you buy through these links, I may earn a small commission at no extra cost to you. Read our full disclaimer.
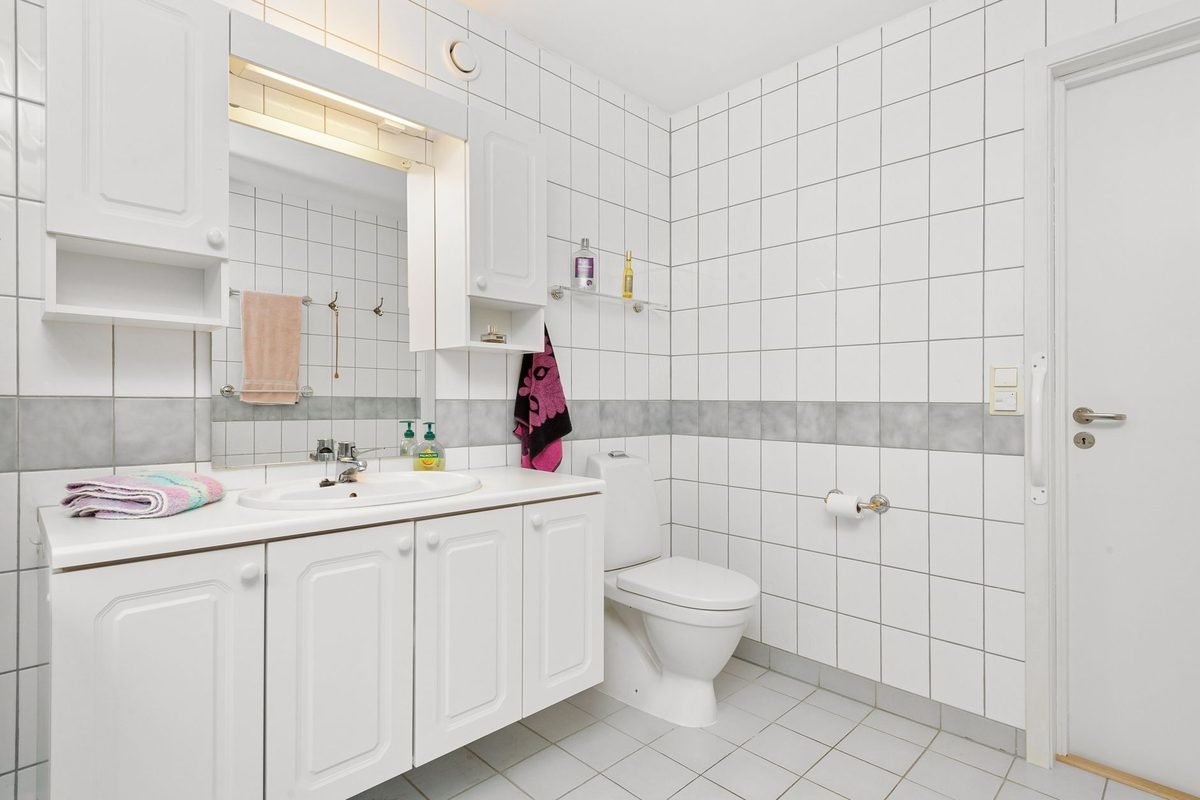
Knowing how to organize a small bathroom starts with one honest fact: the room is tiny, but it holds a surprising amount of stuff. Toothpaste, skincare, hair tools, towels, cleaning spray, extra toilet paper and that bag of hotel shampoos all compete for a few square feet. When there’s no cabinet space, everything ends up on the counter, the tub edge or the floor.
This guide shows you how to organize a small bathroom in 10 easy steps, in the order that actually works. You’ll empty the room, clean it, cut what you don’t use, sort what’s left, give every item a home and then keep it that way with a few minutes a day. It’s a full process, not a list of random hacks, so you’ll finish with a small bathroom that stays organized.
Everything here is renter-friendly and budget-friendly. You won’t need to drill, remodel or buy a new vanity. Most of the steps cost nothing, and the few organizers we suggest are cheap, removable and easy to move to your next place.
Quick answer: To organize a small bathroom, empty everything out, clean every surface, toss expired and empty products, sort what’s left into categories and decide what you use daily, weekly or rarely. Then measure your spaces, set up the shower, walls and towels, move backups out of the room and protect the result with a 2-minute daily reset and a 10-minute weekly tidy.
The 10 steps at a glance:
- Clear it: 1. Empty everything out, 2. Clean every surface, 3. Toss expired and empty products
- Plan it: 4. Sort what’s left into categories, 5. Decide what lives where, 6. Measure before you buy
- Set it up: 7. Organize the shower zone, 8. Use the walls and the back of the door, 9. Fix the towel situation, 10. Move backups out of the bathroom
Why Small Bathrooms Get Cluttered So Fast
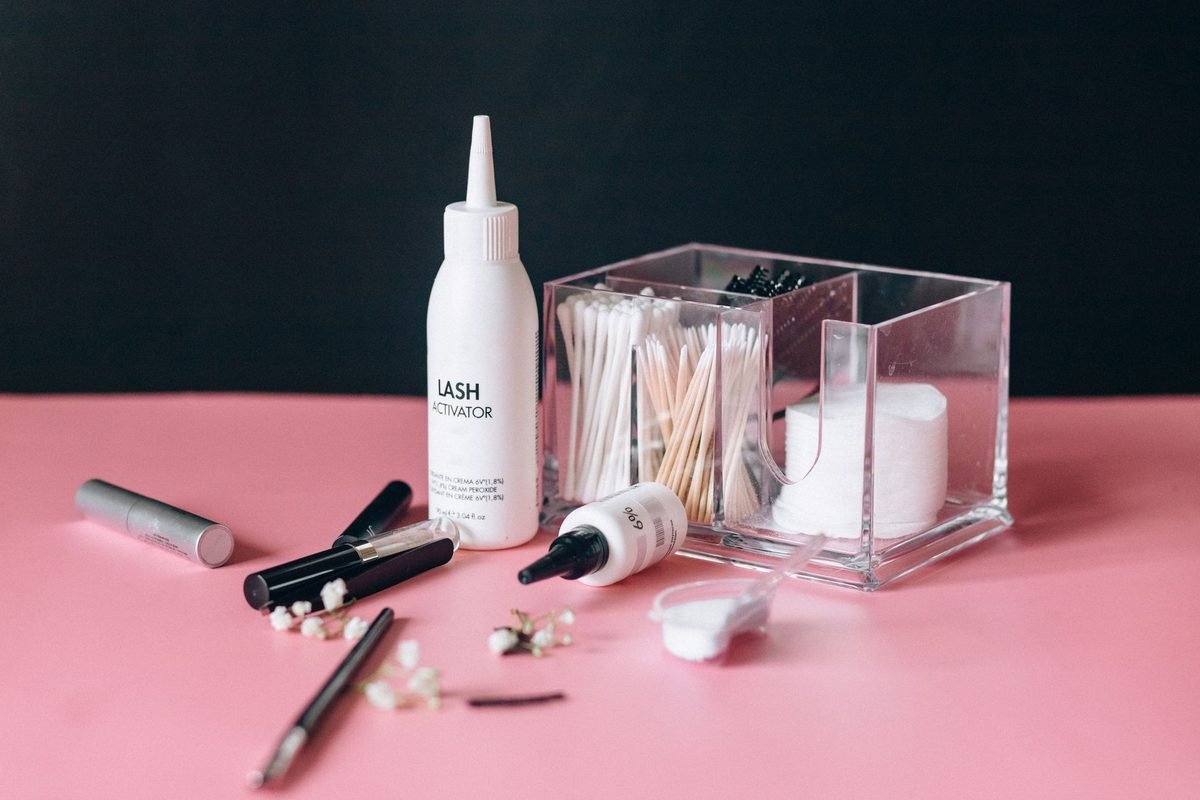
A small bathroom gets messy faster than almost any room in your home. It isn’t a lack of willpower. It’s a design problem: lots of small items, very little storage and a room that everyone uses several times a day.
Here’s what usually goes wrong:
- Too many products, not enough space. The average person uses a handful of products every day but owns dozens. The extras crowd the counter and hide the things you actually reach for.
- No cabinet, or a tiny one. Pedestal sinks, open vanities and rental bathrooms with one shallow medicine cabinet leave almost nowhere to put things away.
- Small items with no home. Hair ties, bobby pins, razors and cotton pads roll around because they don’t have a container.
- Humidity. Steam warps cardboard, rusts metal and makes paper labels peel, so cheap storage often falls apart.
- Shared use. When two or more people share one small bathroom, everyone’s things pile up in the same spot.
The good news is that every one of these problems has a simple fix. Once you understand why small bathroom organization breaks down, the 10 steps below make a lot more sense.
What You Need Before You Start
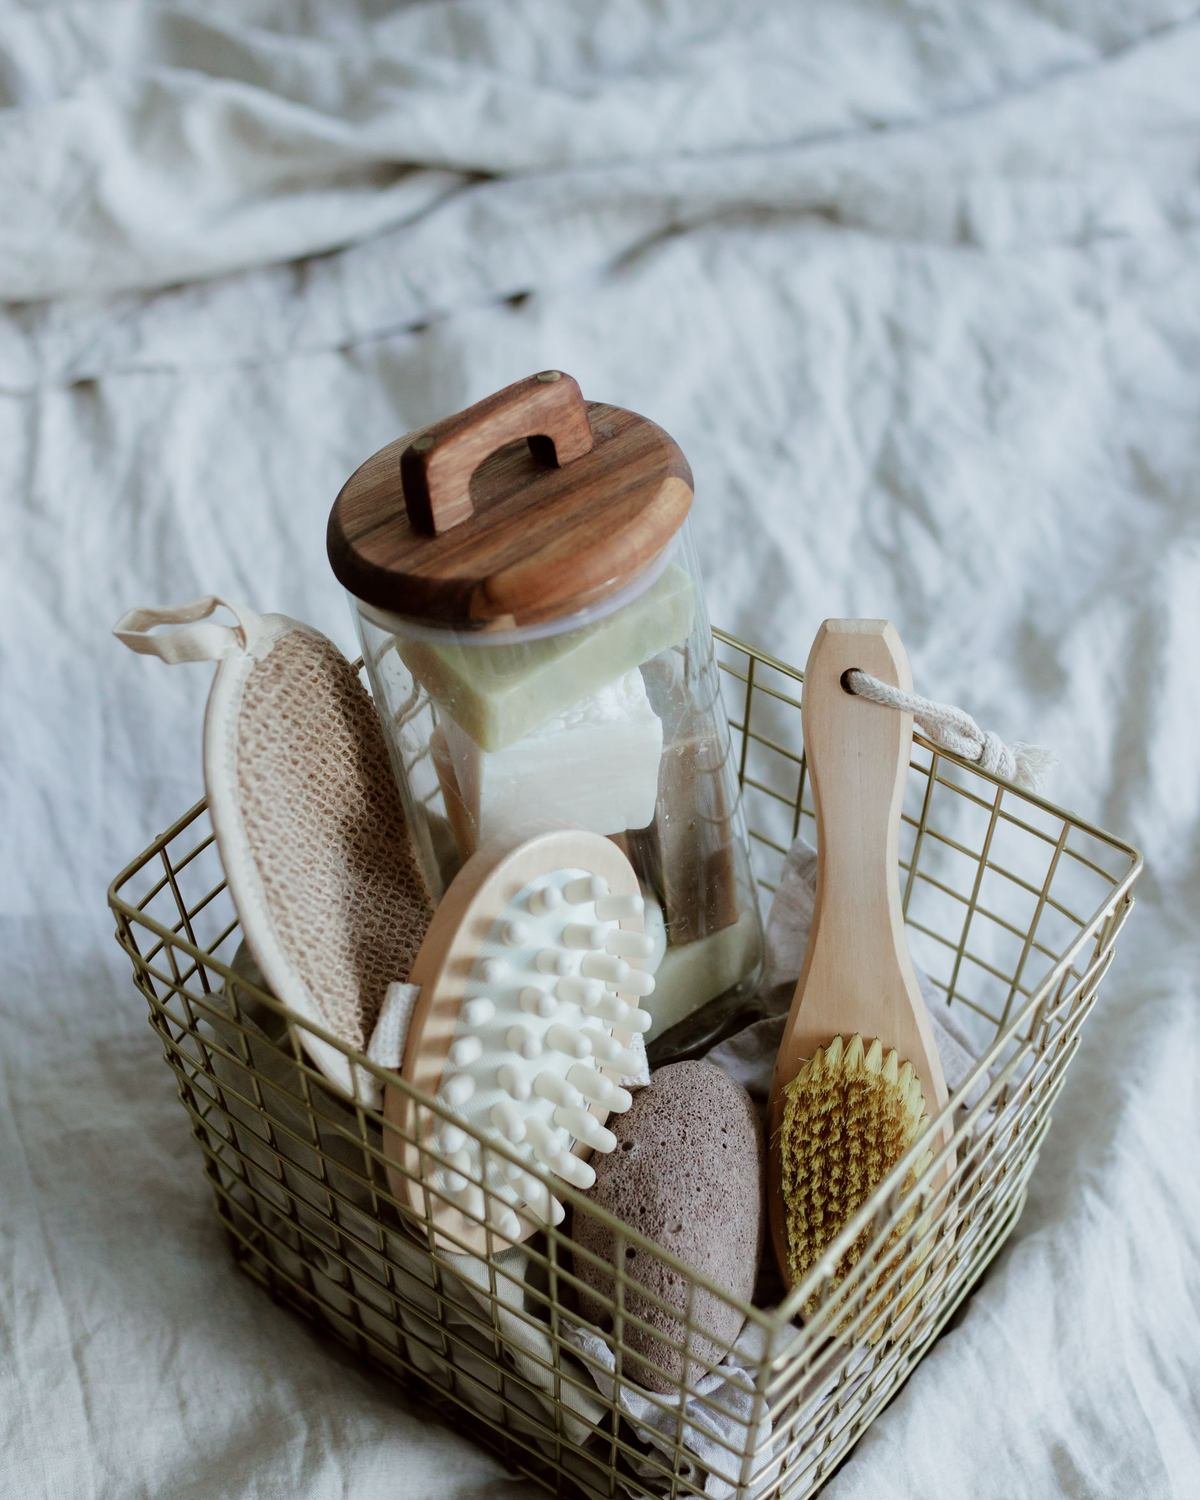
You don’t need a cart full of organizers to start. In fact, buying bins first is the most common mistake, because you don’t yet know what you’re keeping. Gather a few basics and buy organizers only after Step 6.
Have these ready:
- A laundry basket or a big box to hold everything while you work.
- A trash bag and a small recycling bag for empty bottles and old products.
- A “donate or give away” bag for unopened items you won’t use.
- An all-purpose bathroom cleaner and a microfiber cloth. A pack of microfiber cleaning cloths is cheap and works on mirrors, tile and fixtures.
- A tape measure for Step 6.
- About 60 to 90 minutes. A tiny bathroom with one person’s things can take under an hour. A shared bathroom with years of products may take two short sessions.
Put on a podcast, open a window or turn on the fan, and get ready to empty the room.
How to Organize a Small Bathroom in 10 Steps

These steps follow a simple logic. First you clear the room so you can see what you own. Next you plan where things should go. Last, you set up each zone so it’s easy to keep tidy. Don’t skip ahead to the shower caddy. The early steps are what make small bathroom organization last.
Plan to do Steps 1 to 6 in one session if you can. They’re the messy part, and it’s easier to push through while everything is already out. Steps 7 to 10 can happen over the next few days as organizers arrive or as you find containers around the house. That split also keeps the cost down, because you’ll only buy what your small bathroom really needs.
1. Empty Everything Out
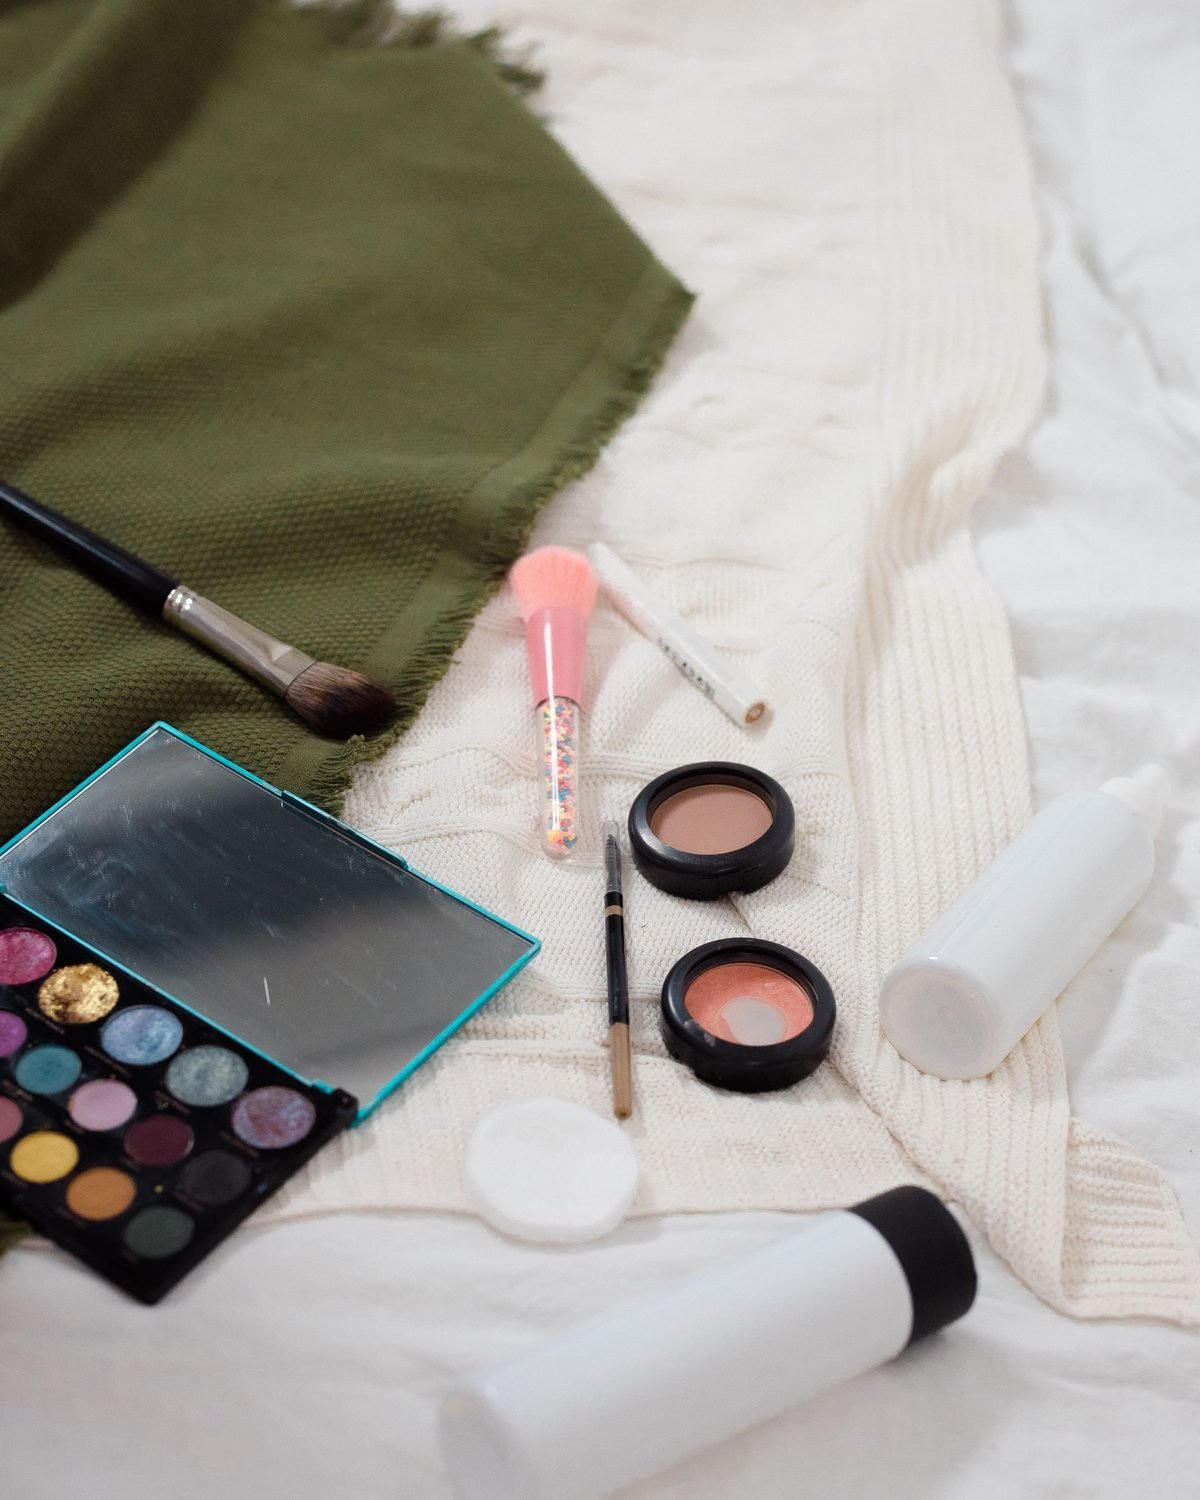
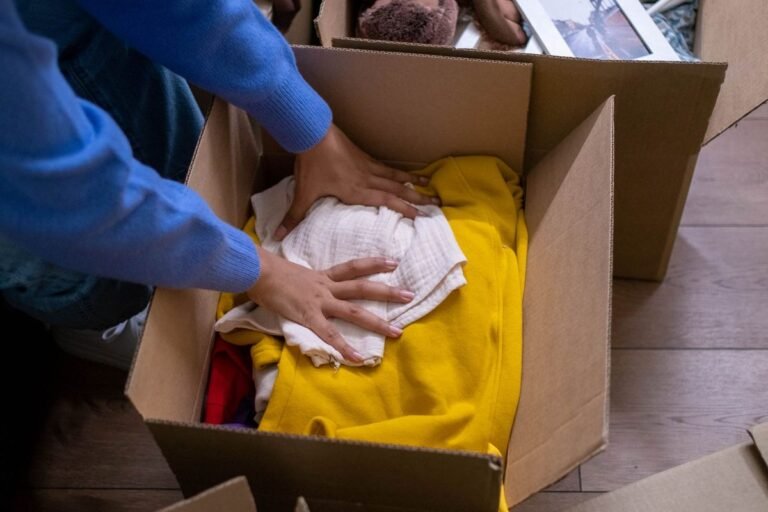
Take every single item out of your small bathroom. Clear the counter, the medicine cabinet, the shelves, the shower, the tub edge, the top of the toilet and the area under the sink. Pull out the drawers and empty the baskets too.
Put everything on a bed, a table or a towel on the floor in the next room. It feels like you’re making a bigger mess, and you are, for about an hour. But this is the only way to see how much you really own. Most people are shocked to find three open bottles of the same shampoo or five half-used tubes of toothpaste.
Emptying the room also gives you a blank space. When the bathroom is bare, you can see where the light falls, where you have wall space and which spots are wasted. That view helps a lot in Step 5.
Don’t forget the hidden spots. Check the shower curtain rod, the hooks behind the door, the drawer that sticks and the basket on top of the toilet tank. In a small bathroom, clutter hides in every corner, and one forgotten spot can undo your work later.
Tip: If you share the bathroom, give each person their own pile. It makes the next steps much faster and avoids arguments about whose lotion is whose.
2. Clean Every Surface
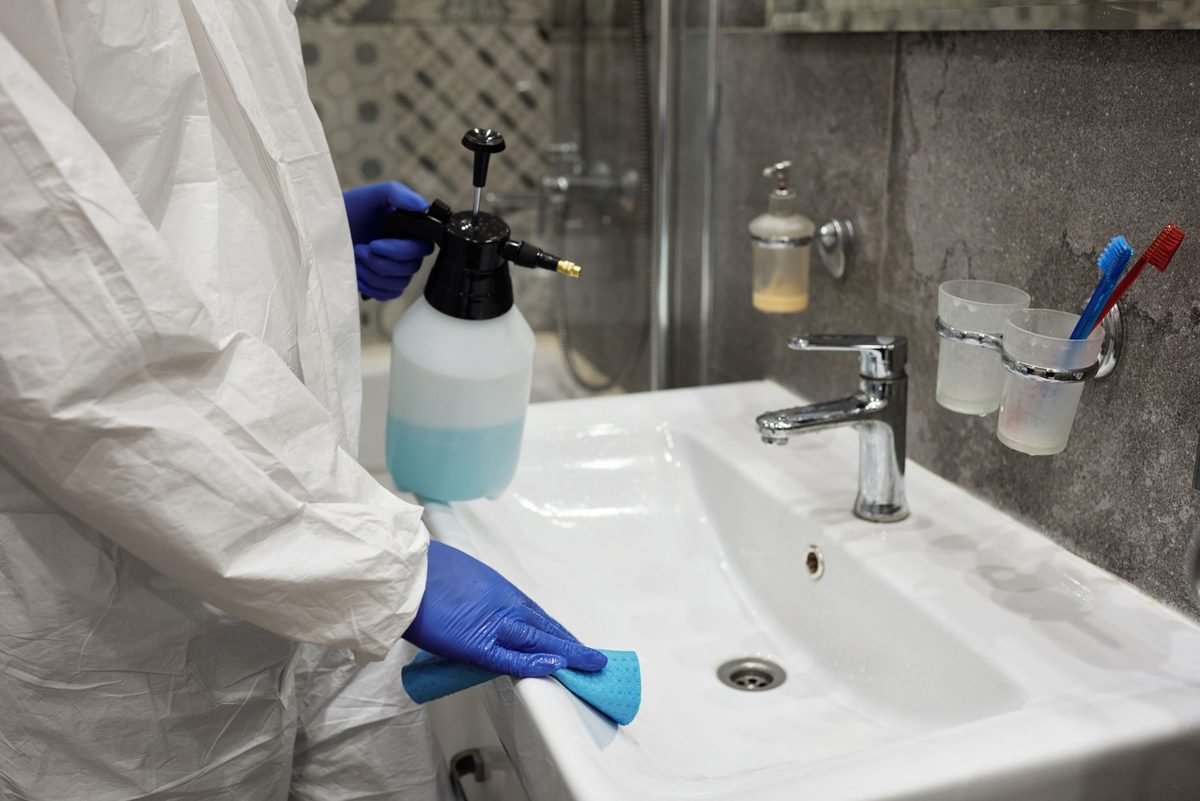
With the small bathroom empty, give it a proper clean. This is the easiest clean you’ll ever do, because there’s nothing in the way.
Wipe the shelves and the inside of the medicine cabinet. Scrub the soap scum off the tub edge and the shower niche. Clean the counter and the sink, the faucet base and the back of the toilet tank where dust collects. Wash the floor, including the corners behind the toilet.
Check for small problems while you’re there. Look for a leaky pipe under the sink, mold in the grout or a loose towel bar. It’s much easier to fix or report these to your landlord now than after everything is back in place.
A clean surface also motivates you. Once the room sparkles, you won’t want to fill it with clutter again. If grime is a regular battle, our realistic cleaning schedule shows you how to keep it under control without spending your weekend scrubbing.
3. Toss Expired and Empty Products

Now go through your pile and remove anything you shouldn’t keep. This is where learning how to organize a small bathroom really starts to pay off. Be honest. Your small bathroom only has room for products you actually use.
Toss or recycle:
- Empty or nearly empty bottles. If there’s one squeeze left, use it today and recycle the bottle.
- Expired products. Sunscreen, mascara and acne products lose their strength or can grow bacteria over time. The FDA explains how shelf life and expiration dating of cosmetics works, and eye makeup in particular should be replaced every few months.
- Products you tried and didn’t like. If it made your skin break out or you hated the smell, it isn’t coming back into rotation.
- Old medicine. Bathrooms are humid, which isn’t great for medicine anyway. Follow the FDA’s guidance on how to dispose of unused medicines instead of throwing pills loose in the trash.
- Worn-out tools. Frayed toothbrushes, rusty razors, ragged loofahs and dull nail clippers.
- Hotel minis you’ve had for years. Keep a few for travel and donate the rest to a local shelter.
Unopened items you’ll never use can go in the donate bag. Most people cut their bathroom stuff by a third in this step alone, and it makes every other step easier.
4. Sort What’s Left Into Categories
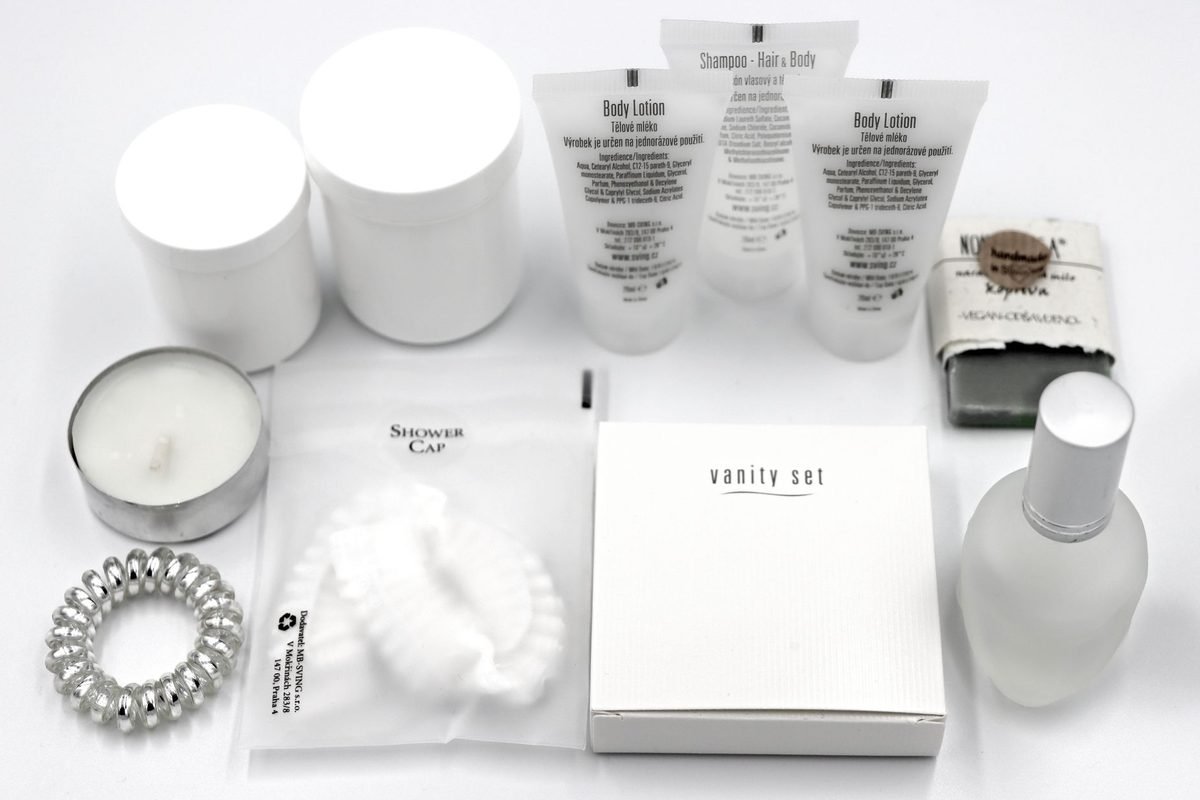
Group the items you’re keeping into simple categories. Don’t sort by where things used to live. Sort by what they are.
Common bathroom categories include:
- Oral care (toothbrushes, toothpaste, floss, mouthwash)
- Skincare (cleanser, moisturizer, serums, sunscreen)
- Hair care and styling tools (brushes, dryer, straightener, hair ties)
- Shower and bath (shampoo, conditioner, body wash, razors)
- Makeup
- First aid and medicine
- Cleaning supplies
- Backups (extra toilet paper, refills, unopened products)
- Towels and washcloths
Once things are grouped, you’ll see which categories are the biggest. If your skincare group takes up half the table, that’s the category that needs the most attention, and maybe a little more decluttering. Seeing each category together also makes duplicates obvious, so you can combine or toss them.
As you sort, do a quick second edit. Ask yourself whether you’ve used each item in the last three months. If not, it probably doesn’t need space in your small bathroom. Be realistic about skincare and makeup, since these two categories grow the fastest. Keeping a smaller set of favorites makes it much easier to organize a small bathroom and keep it that way.
5. Decide What Lives Where
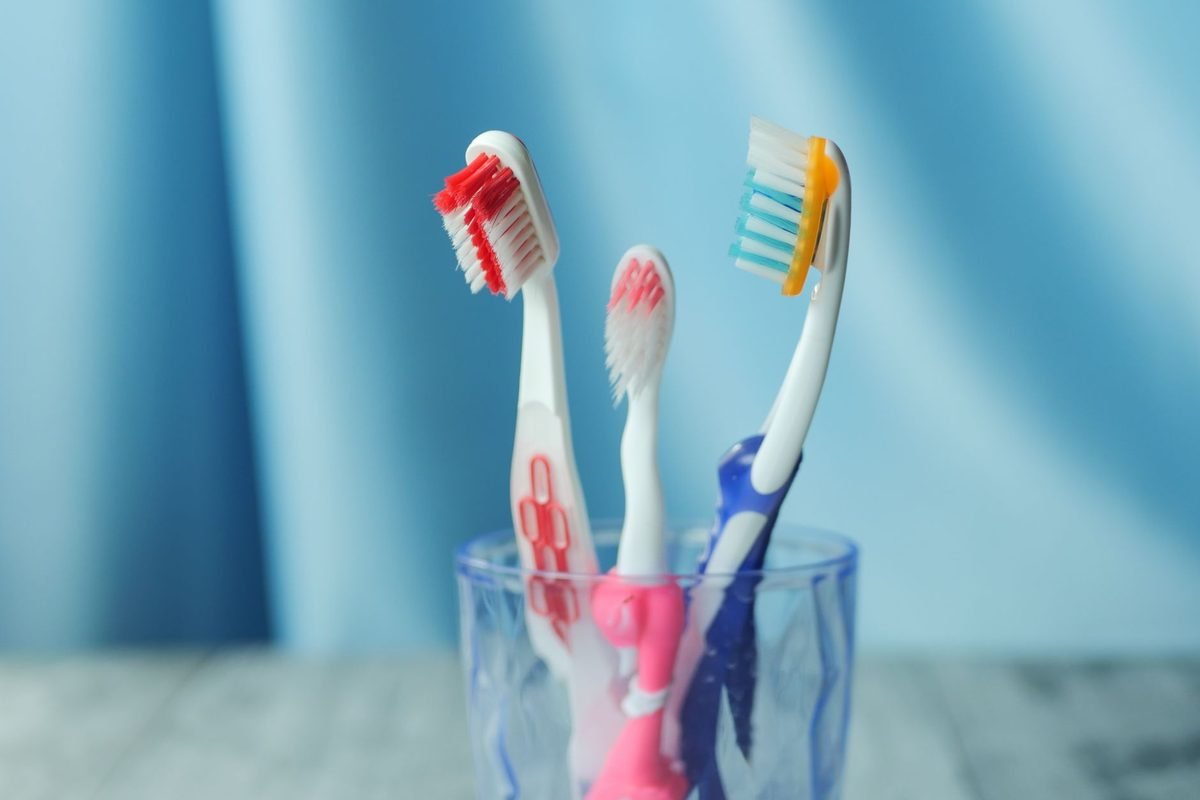
This is the step that turns a clean bathroom into an organized one. Look at each category and ask one question: how often do I use this?
- Daily items get the easiest spots. Think toothbrush, face wash, moisturizer and deodorant. They belong at eye level or within arm’s reach of the sink.
- Weekly items go a little further away, like a higher shelf, a back row or a basket. Hair masks, nail kits and face masks fit here.
- Rarely used items and backups go in the hardest-to-reach spots or out of the bathroom entirely (Step 10).
Now map your bathroom into zones: the sink zone, the shower zone, the toilet zone, the wall and door zone and any cabinet you have. Assign each category to one zone. Keep it simple. Oral care and skincare go near the sink. Shampoo and razors go in the shower. Cleaning supplies go under the sink or in a caddy.
Keep the counter for daily items only. If you want detailed setups for these two spots, our guides to bathroom counter organization ideas and under bathroom sink organization ideas go deep on both. In this guide, the goal is to decide the plan for the whole room first.
6. Measure Before You Buy

Now, and only now, you can think about organizers. Grab your tape measure and write down the size of every space you plan to use:
- Width and depth of the counter space next to the sink
- Inside height, width and depth of the medicine cabinet and under-sink cabinet (measure around the pipes)
- The gap between the toilet and the wall, and the space above the toilet
- The height of your shower niche or the space under the showerhead
- The back of the bathroom door, including how much clearance it has when it opens
Write these numbers in your phone. When you shop, you’ll know exactly what fits. A small bathroom has no room for a cart that’s two inches too wide, and a wrong size is the top reason organizers end up in a closet.
Think about depth as well as width. A small bathroom counter is often only 18 to 20 inches deep, and medicine cabinets are usually around 4 inches deep inside. Shallow organizers fit far better than wide, deep ones. Measuring also shows you where you have unexpected room, like a tall gap above the toilet or a narrow strip beside the vanity.
Next, check what you already own. Before you order anything, see if you have spare baskets, jars, trays or boxes around the house. A mug can hold makeup brushes and a small tray can corral counter items. Buy only what you still need after that.
7. Organize the Shower Zone
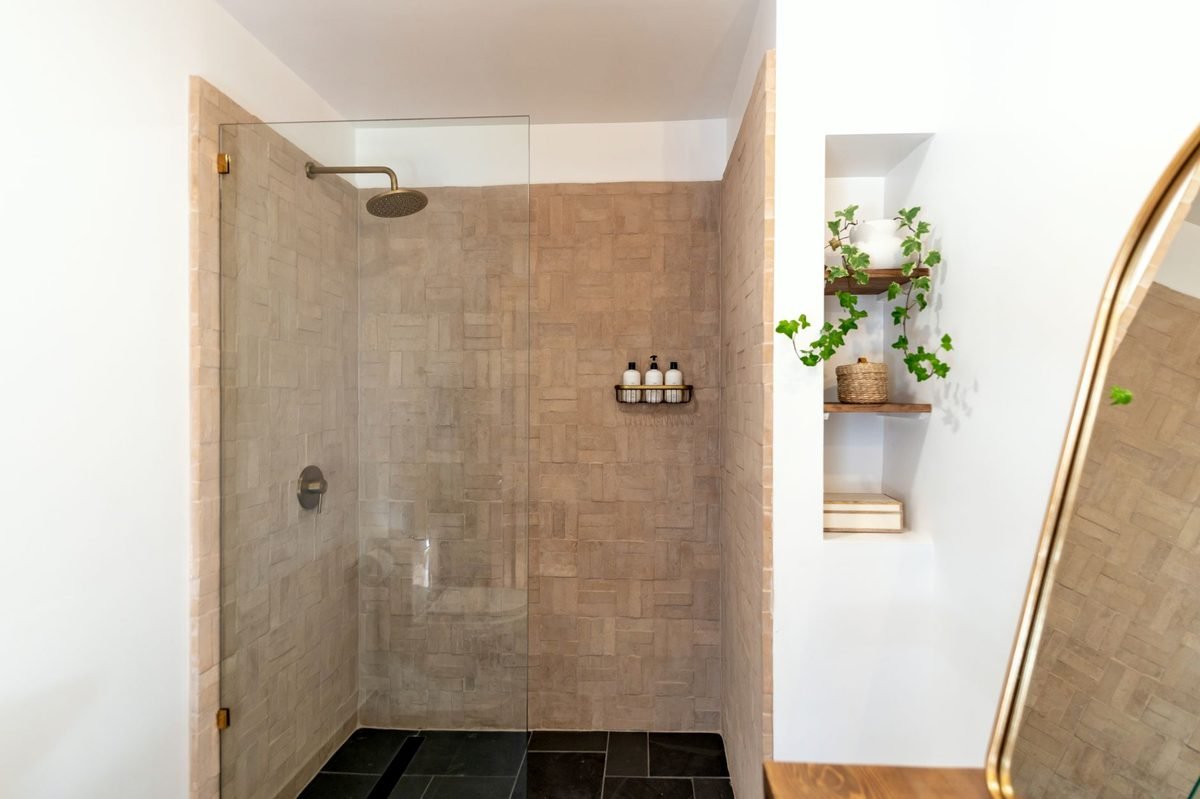
The shower is often the most cluttered part of a small bathroom. Bottles line the tub edge, fall over and leave rings of soap scum. A good shower setup keeps everything up off the surfaces and easy to clean.
Start by cutting the bottle count. Keep one shampoo, one conditioner and one body wash per person if you can. Two-in-one products save even more space.
Then lift everything up:
- A tension pole shower caddy stands in the corner and gives you three or four shelves without drilling.
- An adhesive shower shelf sticks to tile and holds a few bottles.
- A rustproof over-the-showerhead caddy is the easiest option for renters.
- Matching pump bottles save space, stop the clutter of different-sized bottles and look tidy.
Hang razors and loofahs on small hooks so they dry. Choose rustproof stainless steel or plastic. In a humid room, cheap metal rusts within weeks and leaves orange stains on your tub.
8. Use the Walls and the Back of the Door
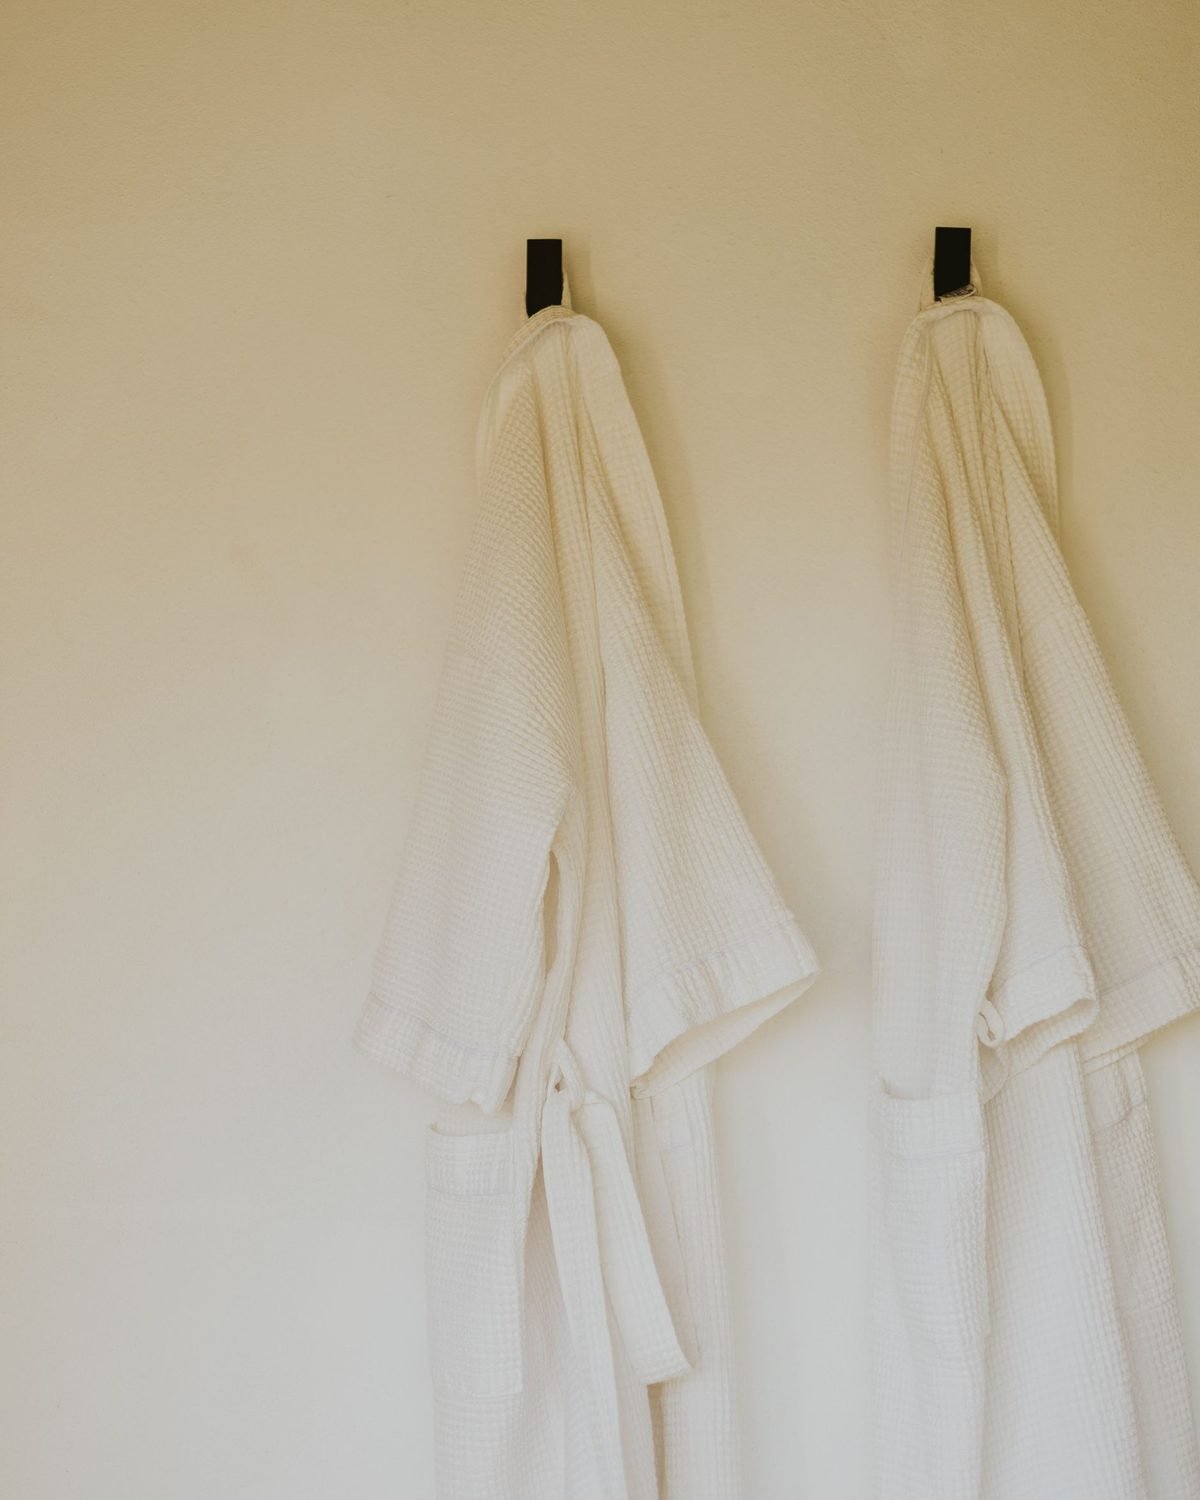
When floor and cabinet space are tiny, the walls are your best friend. Most small bathrooms have empty wall space above the toilet, beside the mirror and on the back of the door.
Good options include:
- An over-the-toilet storage shelf that stands on the floor, so there’s no drilling.
- A pair of small floating shelves above the toilet for daily skincare or a stack of washcloths.
- An over-the-door hook rack for robes, towels and tomorrow’s clothes.
- An over-the-door pocket organizer for hair tools, brushes and small products.
- Waterproof adhesive hooks for a hair dryer, a towel or a small basket.
Keep wall storage light and simple. Two or three tidy shelves look calm. Five shelves full of bottles look like clutter on the wall. Group items in small baskets or trays so the shelves stay neat. For more space-saving storage pieces, see our small bathroom storage ideas.
9. Fix the Towel Situation
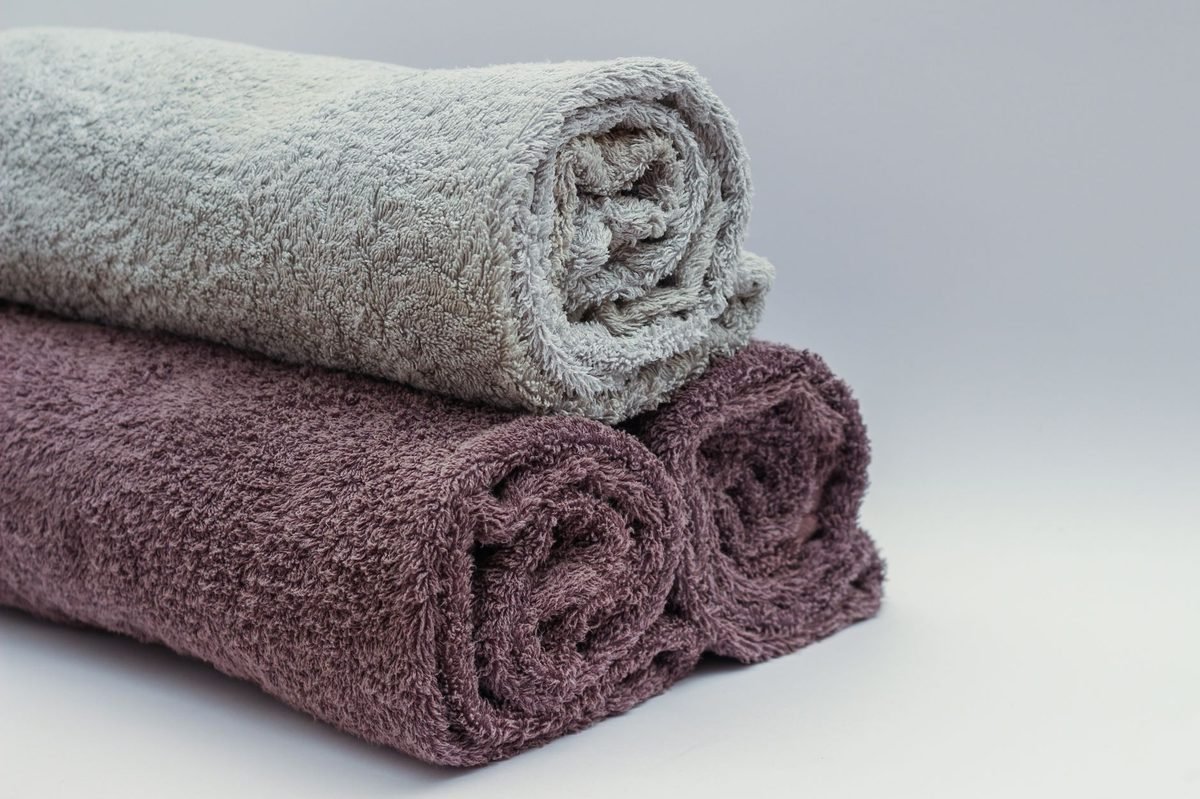
Towels take up more room than almost anything else in a small bathroom. A few simple changes free up a lot of space.
First, count your towels. Most people only need two bath towels per person in rotation, plus a couple of hand towels and washcloths. Extras can live in a hall closet or bedroom.
Next, roll instead of folding. Rolled towels fit into baskets, on open shelves and in narrow spaces better than folded ones. A woven towel basket on the floor or a shelf looks nice and keeps them contained.
For drying, double up on hanging space. An over-the-door towel rack holds two or three towels at once. A freestanding towel ladder leans against the wall and fits in narrow gaps. Hooks also work well, because towels dry faster and kids find them easier to use.
Finally, pick one towel color if you can. Matching white or neutral towels look calm on open shelves and make a small bathroom feel bigger and cleaner. They’re also easier to replace, since you don’t need to match a pattern.
10. Move Backups Out of the Bathroom

This step frees up more space than any organizer. Your small bathroom doesn’t have to store everything bathroom-related. It only needs what you use this week.
Move these items to a hall closet, a bedroom shelf or a labeled bin under the bed:
- Extra toilet paper beyond one or two rolls
- Backup shampoo, toothpaste and soap
- Extra towels and bath sheets
- Travel-size products
- Seasonal items like sunscreen in winter
Set up one “bathroom backup” bin in another room. Use a clear bin with a lid so you can see what’s inside, and add a label. When you run out of something, you’ll know exactly where to look. Keep the backup area organized with the same rule: everyone knows where the refills are.
If you’re short on closet space too, our guide to small apartment storage ideas on a budget has smart spots for overflow, from under the bed to the top of the wardrobe.
How to Keep a Small Bathroom Organized
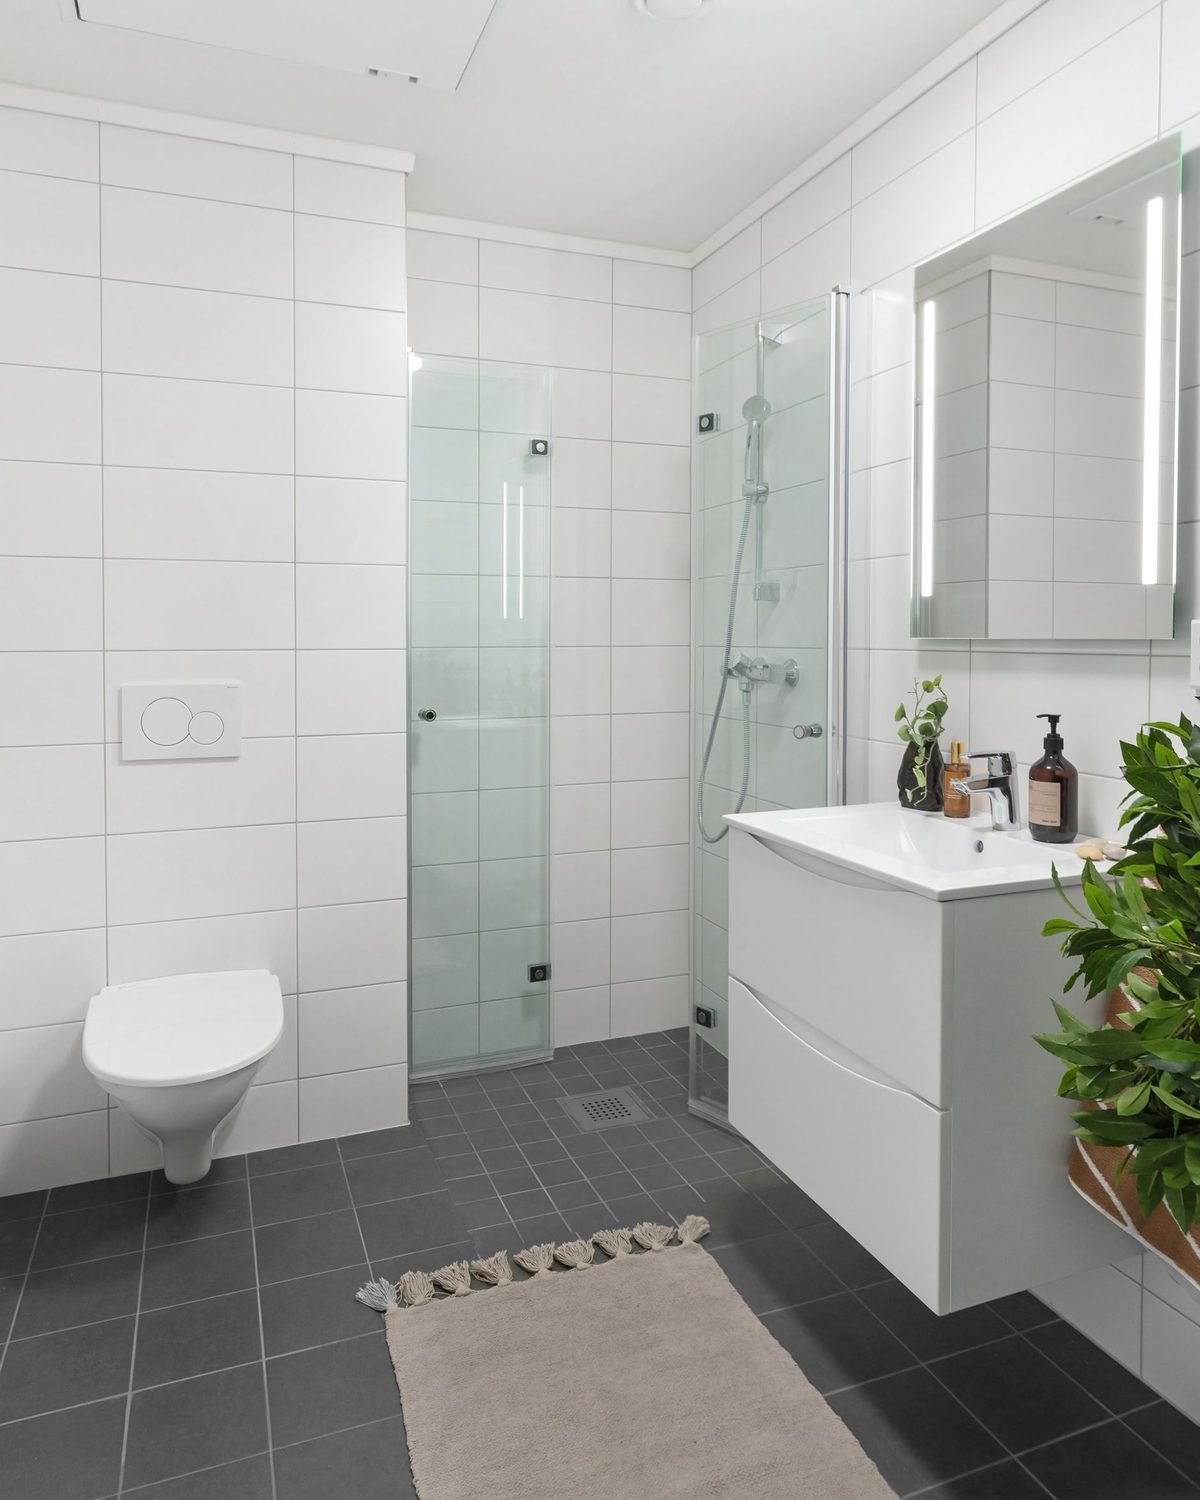
Getting a small bathroom organized is half the job. Keeping it that way is the other half. The secret is a few short routines that take minutes, not hours.
The 2-Minute Daily Reset
Once a day, usually before bed, take two minutes to reset your small bathroom:
- Put daily products back in their spot.
- Hang the towels so they dry.
- Wipe the counter and sink with a cloth.
- Drop anything that doesn’t belong in the bathroom into a basket to carry out.
That’s it. Two minutes a day stops the slow pile-up that ruins most organized bathrooms. Pair it with something you already do, like brushing your teeth, so it becomes a habit. Our daily cleaning checklist has other two-minute tasks that keep your whole home tidy.
The Weekly 10-Minute Tidy
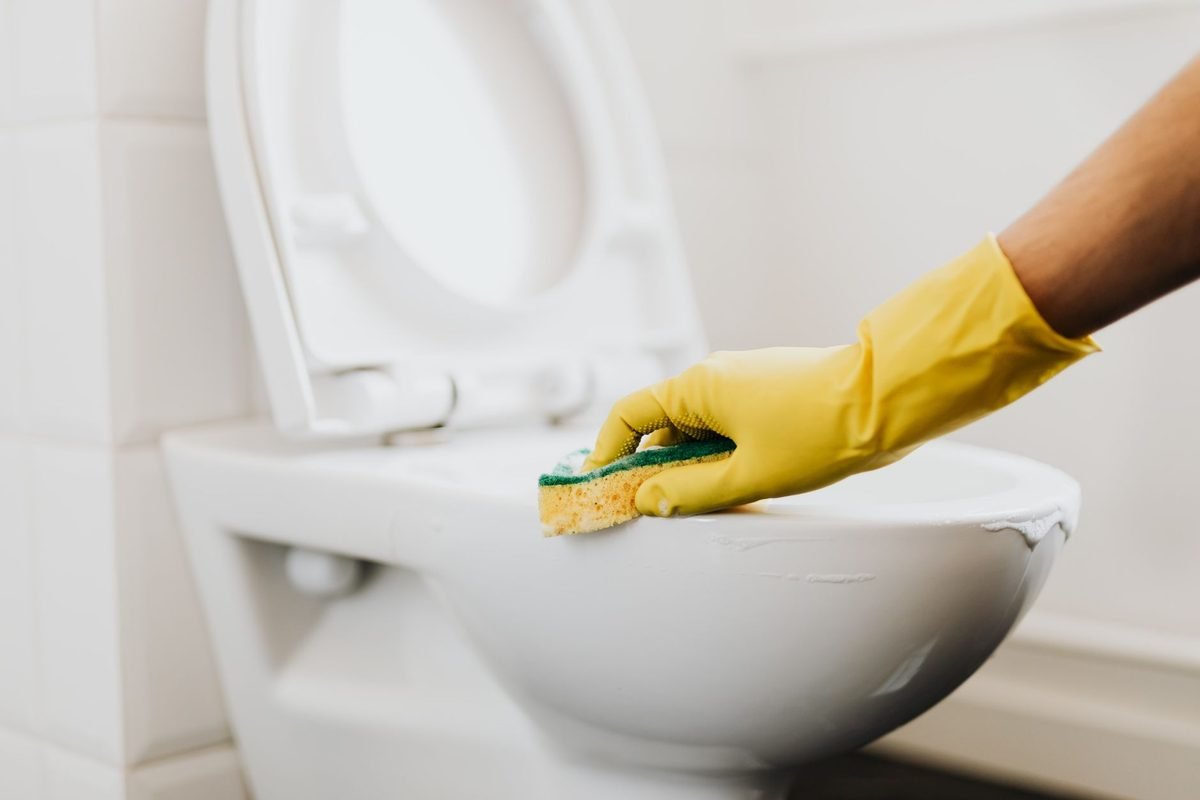
Once a week, spend ten minutes on a slightly bigger reset. Clear the shower edge and wipe down your caddy. Toss empty bottles. Check the backup bin and add refills to your shopping list. Wash the towels and swap in fresh ones.
You can combine this with your regular bathroom clean. Do the tidy first, then the clean, so you’re not scrubbing around clutter. If you’d like a full plan, our weekly cleaning schedule for working moms breaks bathroom tasks into quick, busy-day chunks.
The Monthly Product Check

Once a month, look through your products. Are you using everything on the counter? Has anything expired? Did a new product sneak in and push an old one aside?
This check takes five minutes and keeps the clutter from creeping back. It’s also a good time to wipe out the medicine cabinet and empty the small bins that collect hair ties and bobby pins.
The One-In, One-Out Rule

This simple rule stops a small bathroom from overflowing. Every time a new product comes in, an old one goes out. Buy a new face cream only when the old one is empty. Get a new towel set and donate an old one.
It also makes you a smarter shopper. Before you buy, you’ll ask yourself what it’s replacing. If the answer is “nothing,” you probably don’t need it.
How to Organize a Small Bathroom With No Cabinet Space
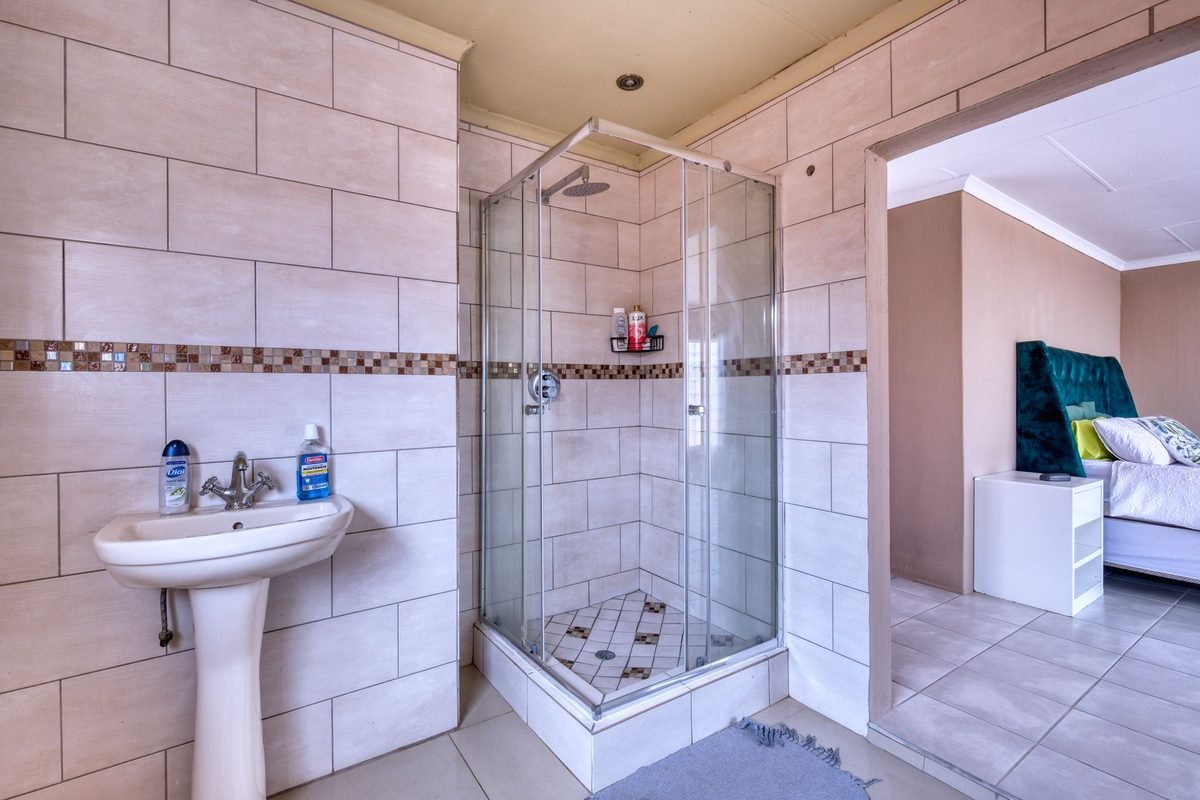
A pedestal sink looks pretty, but it leaves you with zero storage. If your bathroom has no cabinet at all, small bathroom organization takes a little more creativity. These ideas help:
- Add a sink skirt. A sink skirt hides a small basket or bin under the sink, giving you instant hidden storage.
- Use a slim rolling cart. A slim three-tier rolling cart fits beside the toilet or between the sink and wall. It rolls out when you need it.
- Go up above the toilet. An over-the-toilet stand or a pair of floating shelves becomes your new cabinet.
- Use a mirror with storage. If you can, swap the plain mirror for a surface-mount medicine cabinet. Keep the original and put it back before you move out.
- Hang baskets. A wall-mounted wire basket or a wooden crate on hooks holds towels and backups.
- Use the windowsill. A narrow sill can hold a small plant and a tray with daily items.
The key is containing items in baskets or bins so open storage still looks tidy. Choose two or three matching containers. Too many different styles make a small bathroom look busy.
With no cabinet, the counter tends to become the default dumping spot. Protect it. Keep a small tray for daily items and nothing else, and give everything else a home on the wall, the cart or the shelf above the toilet. When small bathroom organization relies on open storage, fewer items always look better than more.
Shared Bathrooms, Kids and Renters

Not every small bathroom has the same needs, and small bathroom organization looks a little different for every household. Here’s how to adjust the plan for a few common situations.
If You Share a Small Bathroom

Give each person their own zone. One simple approach is one basket or shelf per person. Everything personal goes in that basket, and only shared items like hand soap and toothpaste live on the counter.
Color-coding helps too. Use a different towel color or basket color for each person. It keeps things fair and makes it obvious when someone’s stuff is spreading.
Agree on a few house rules: hang towels after use, put products back and wipe the sink. A two-person daily reset takes even less time.
If You Have Kids
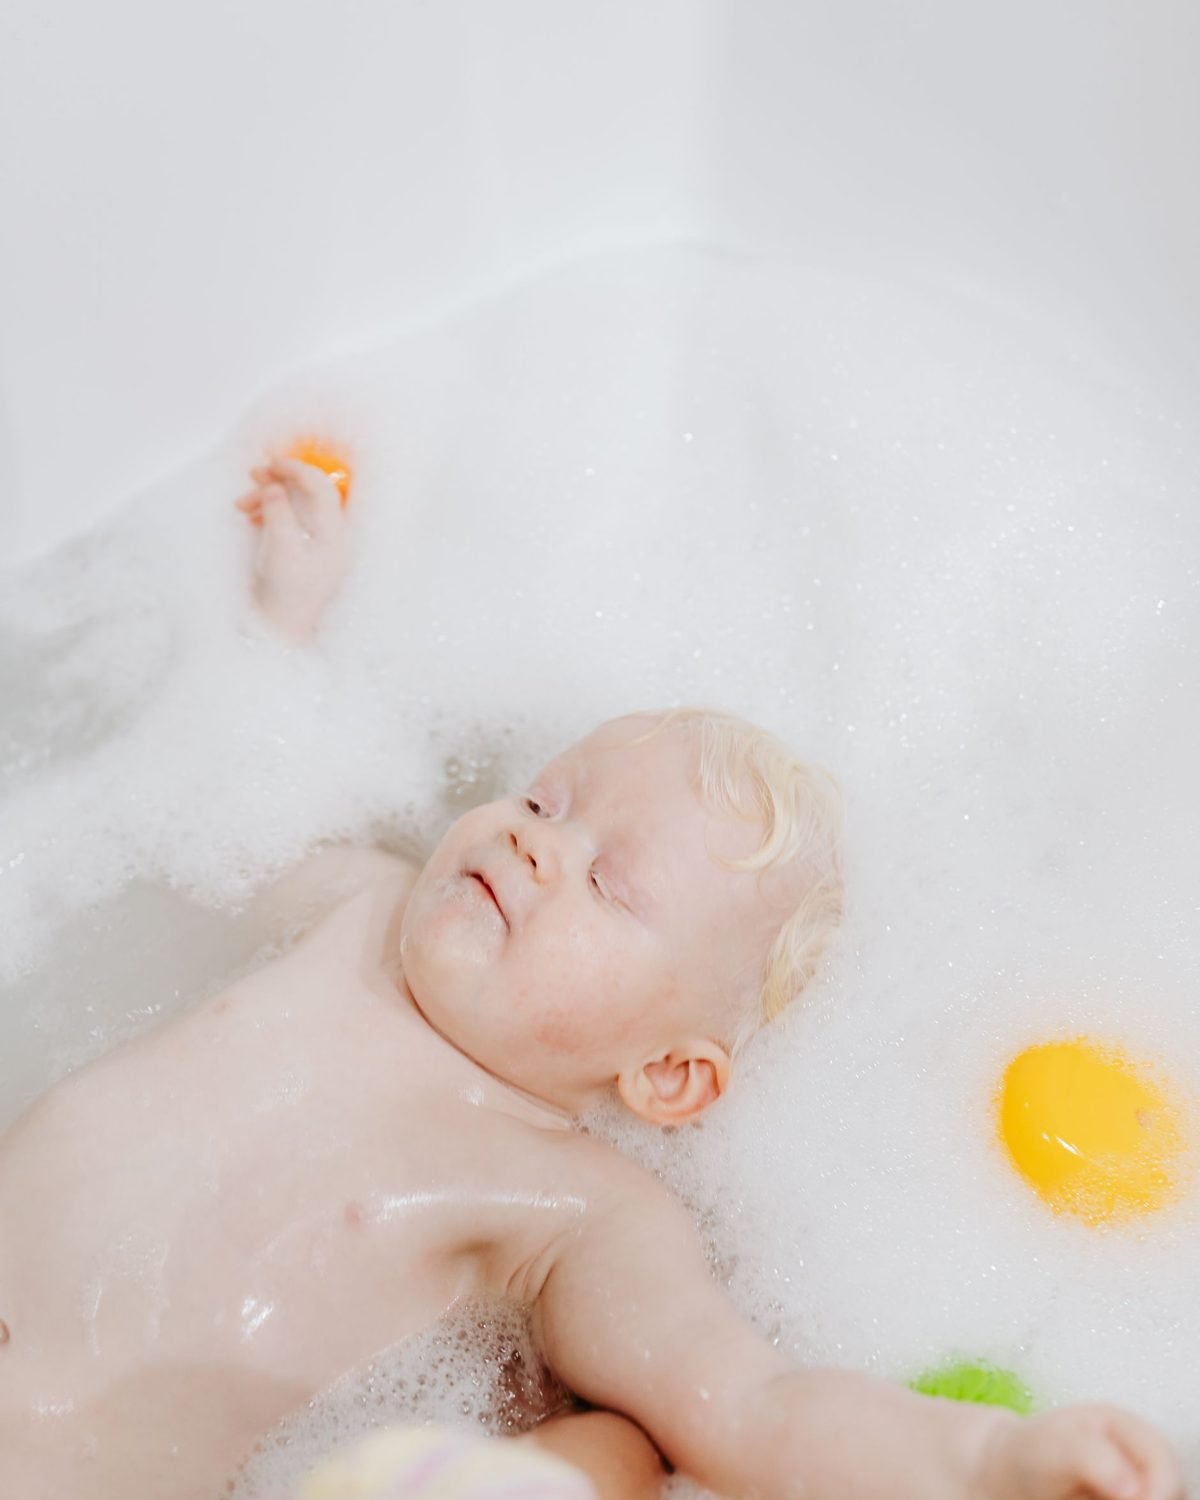
Kids need storage they can reach and use on their own. Put their toothbrush, toothpaste and cup on a low shelf or in a labeled bin. Add a sturdy step stool so they can reach the sink safely.
Bath toys pile up fast. Store them in a mesh bath toy organizer that hangs on the wall so they drain and dry. Toss any toys that get moldy inside. Keep medicine and cleaning supplies up high or in a locked cabinet, out of kids’ reach.
If You Rent
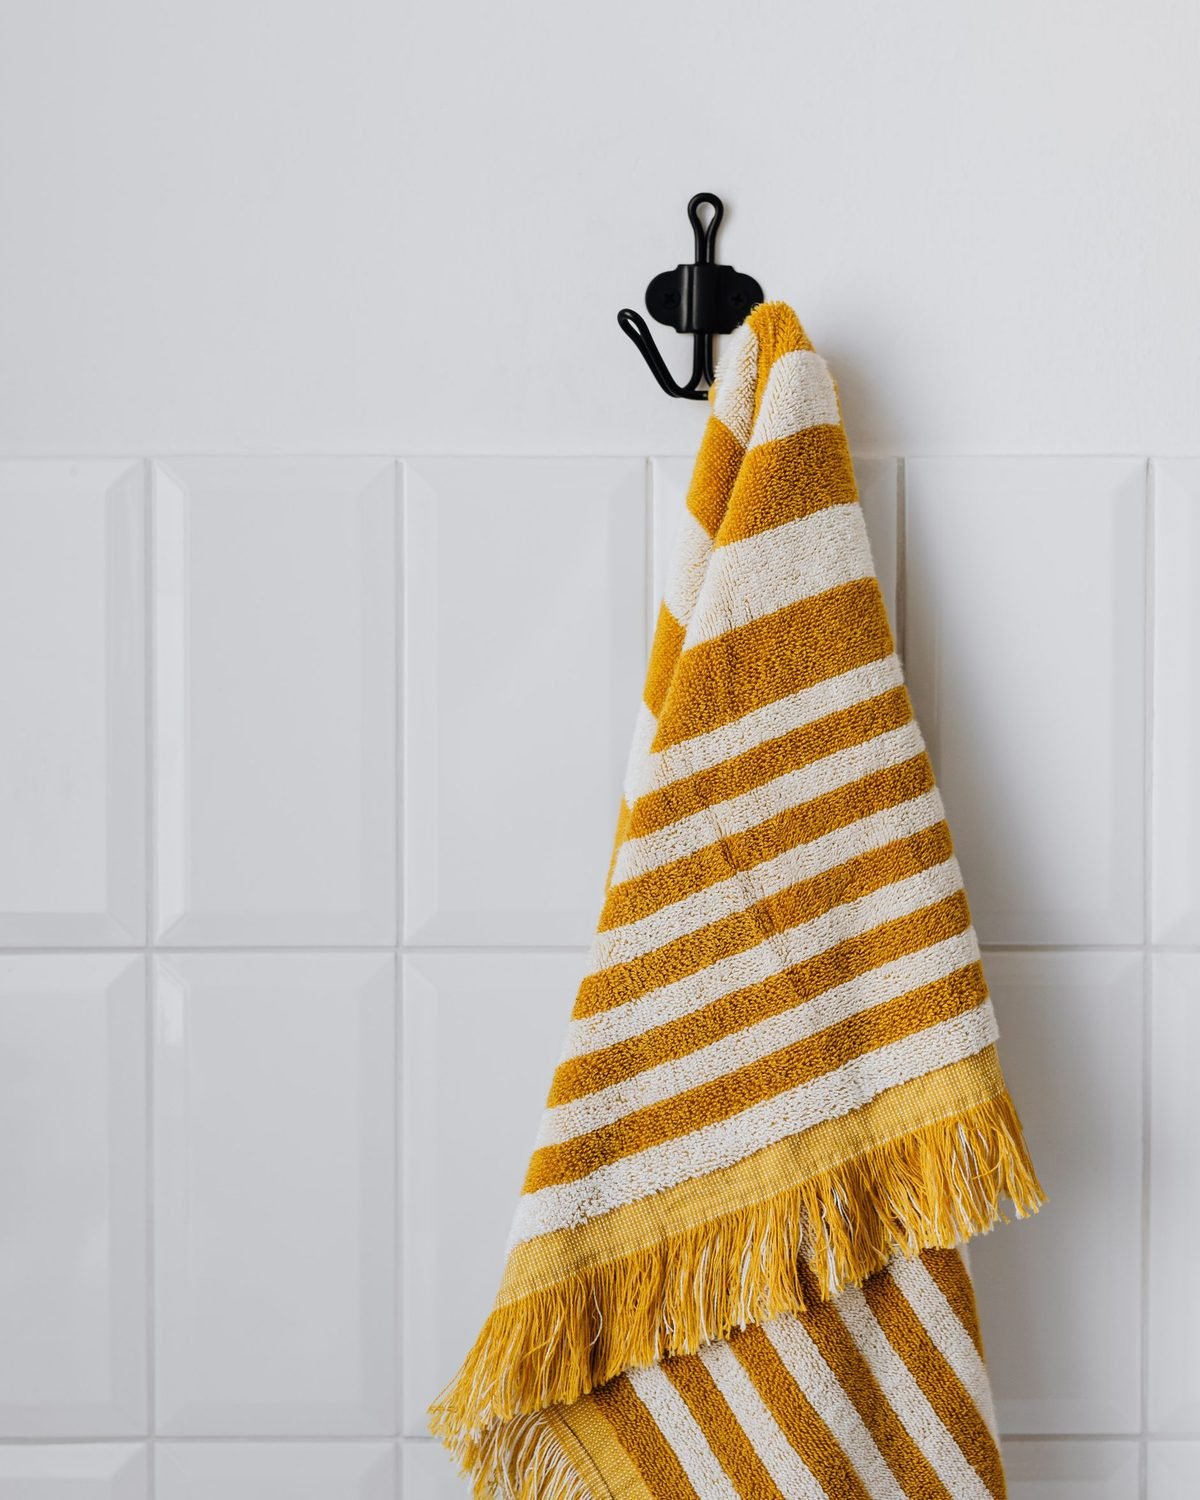
Renters can still do every step in this guide to organize a small bathroom. Most of the organizers mentioned here use tension rods, adhesive strips, over-the-door hooks or freestanding furniture, so they come off without damage.
Test adhesive hooks in a hidden spot first and follow the package directions for removal. Keep any original fixtures you swap out, like a mirror or a towel bar, so you can put them back when you move. For more ways to upgrade a rental bathroom without losing your deposit, see our renter-friendly bathroom upgrades.
Small Bathroom Organization Mistakes to Avoid
Even with a plan, a few common mistakes can undo your work. Watch out for these:
- Buying organizers first. Bins and caddies don’t fix clutter. They just store it. Declutter and measure first.
- Keeping everything on the counter. The counter is prime real estate. Limit it to five or six daily items.
- Using too many different containers. A mix of colors and styles looks messy. Pick one or two styles.
- Ignoring humidity. Cardboard, untreated wood and cheap metal don’t survive in a steamy room. Choose plastic, glass, bamboo or rustproof metal.
- Storing medicine in the bathroom. Heat and steam can damage some medicines. A dry bedroom drawer or kitchen cabinet is often better.
- Skipping labels. Labeled bins help everyone in the household put things back.
- Never doing a reset. Without the daily and weekly routines, even the best system slips.
If you want more cheap containers to try, our list of Dollar Tree organization hacks for small spaces is full of budget-friendly bins and baskets that work in the bathroom.
FAQ About How to Organize a Small Bathroom

How do I organize a small bathroom with no storage?
Use vertical space. Add an over-the-toilet shelf, floating shelves, over-the-door hooks and a tension pole shower caddy. Hide a basket under the sink with a sink skirt, and move backups like extra toilet paper to a closet outside the bathroom.
What should I keep on my bathroom counter?
Only the items you use every day, like a toothbrush, toothpaste, hand soap and one or two skincare products. Group them on a small tray so the counter is easy to wipe clean.
How do I organize a small bathroom on a budget?
Start by decluttering, which is free. Then reuse what you already own, like jars, mugs and baskets. Buy cheap bins and trays from the dollar store only after you’ve measured your spaces.
How long does it take to organize a small bathroom?
Most people can follow all 10 steps in 60 to 90 minutes. A shared bathroom with lots of products may need two shorter sessions.
Where should I store extra toilet paper in a small bathroom?
Keep one or two rolls in the bathroom, in a small basket or a holder beside the toilet. Store the rest in a hall closet or a bin in another room.
How do I keep my small bathroom organized?
Do a 2-minute reset every day, a 10-minute tidy every week and a quick product check every month. Follow the one-in, one-out rule so new products don’t pile up.
The Takeaway
Now you know how to organize a small bathroom from start to finish. The secret isn’t more storage or fancy organizers. It’s doing the steps in the right order: empty the room, clean it, cut what you don’t use, decide where everything lives and set up each zone so it’s easy to keep tidy.
Start with Step 1 this weekend. Pull everything out, give the room a good clean and toss what you don’t need. You’ll be amazed how much bigger your small bathroom feels before you even buy a single organizer.
Then protect your hard work with the daily reset and the weekly tidy. A few minutes a day keeps a small bathroom calm, clean and organized for good. Want more ideas for the rest of your home? Our small apartment organization ideas are a great next step.