
17 Renter-Friendly Kitchen Upgrades You Can Undo Later
Disclosure: This post contains affiliate links. As an Amazon Associate I earn from qualifying purchases. If you buy through these links, I may earn a small commission at no extra cost to you. Read our full disclaimer.
Renter friendly kitchen upgrades are the fastest way to make a rental kitchen feel like yours without risking your security deposit. Most rental kitchens come with the same problems: tired laminate counters, builder-grade cabinets, one harsh ceiling light and a backsplash nobody would pick on purpose. You can’t tear any of it out, but you can cover it, swap it, light it and style it, then put it all back the day you move.
This guide walks through 17 renter-friendly upgrades grouped by area: walls and floors, cabinets and counters, lighting and fixtures, and storage and style. Each idea includes what it costs, how long it takes and, just as important, how to undo it. You’ll also find a toolkit list, a budget breakdown, a move-out plan and the mistakes that cost renters money.
Nothing here needs a contractor. Most of it needs a screwdriver, a utility knife and a free afternoon.
Quick answer: The best renter friendly kitchen upgrades are peel-and-stick backsplash tile, removable wallpaper, contact paper on counters, peel-and-stick floor tiles or a washable runner, new cabinet hardware, shelf liner, open shelving, a better dish rack, stick-on under-cabinet lights, a plug-in pendant, a new faucet (keep the old one), a café curtain, a freestanding rack, a magnetic knife strip and a windowsill herb garden. Keep every original part in a labeled bag so you can undo it all before move-out.
The 17 ideas at a glance:
- Walls and floors: 1. Peel-and-stick backsplash, 2. Removable wallpaper, 3. Contact paper on the counters, 4. Peel-and-stick floor tiles, 5. A washable runner rug
- Cabinets and counters: 6. Swap the cabinet hardware, 7. Line the shelves and drawers, 8. Take a few cabinet doors off, 9. Upgrade the dish rack
- Lighting and fixtures: 10. Stick-on under-cabinet lights, 11. A plug-in pendant light, 12. Swap the faucet and keep the original
- Storage and style: 13. A café curtain or sink skirt, 14. A freestanding shelving rack, 15. A wall rail with hooks, 16. A magnetic knife strip, 17. A windowsill herb garden
Why Renter Friendly Kitchen Upgrades Are Worth It
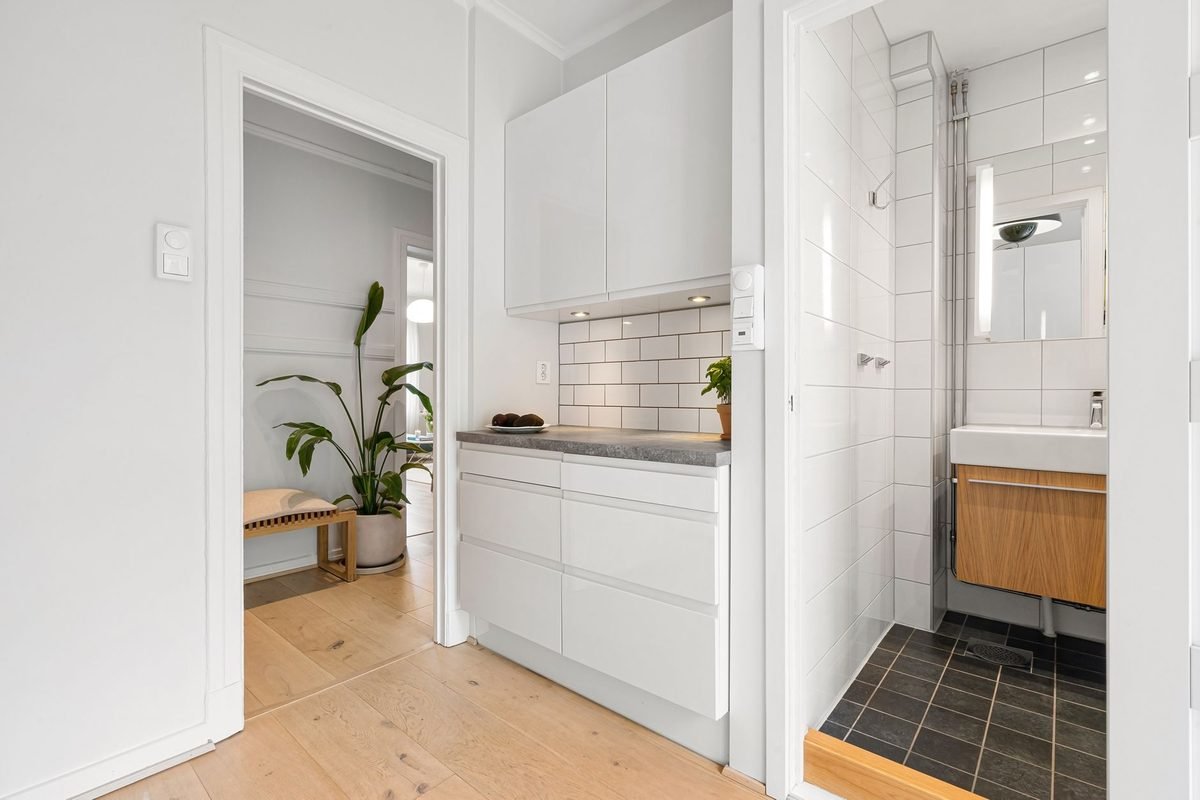
It’s easy to think a rental kitchen isn’t worth the effort. You don’t own it, you might move in a year, and the landlord picked everything for durability and low cost, not looks. But the kitchen is the room you use most, often several times a day, and small changes there pay off every single time you cook.
You use it every day. A better light over the counter, a faucet with a pull-down sprayer or a drawer that’s finally organized will improve hundreds of small moments over a one-year lease. Few changes in an apartment give you that much return.
Most upgrades move with you. Cabinet knobs, a pendant light, a rolling rack, a knife strip and a good dish rack all go in a box when you leave. You’re not spending money on the landlord’s kitchen. You’re building a kit you’ll use in the next one too.
It’s cheaper than you think. You can do a full renter-friendly kitchen refresh for $150 to $400, and a meaningful one for under $100. Compare that to a single month of rent, and the math is easy.
It protects the space. Shelf liner, a runner rug and contact paper don’t just look nicer. They also protect the landlord’s surfaces from scratches, stains and spills, which helps you get your deposit back.
The key is choosing upgrades that are truly reversible and doing them carefully. That’s what the rest of this guide is about. If you want ideas for the rest of your place, our renter-friendly decor ideas cover every room.
Before You Start: Check Your Lease
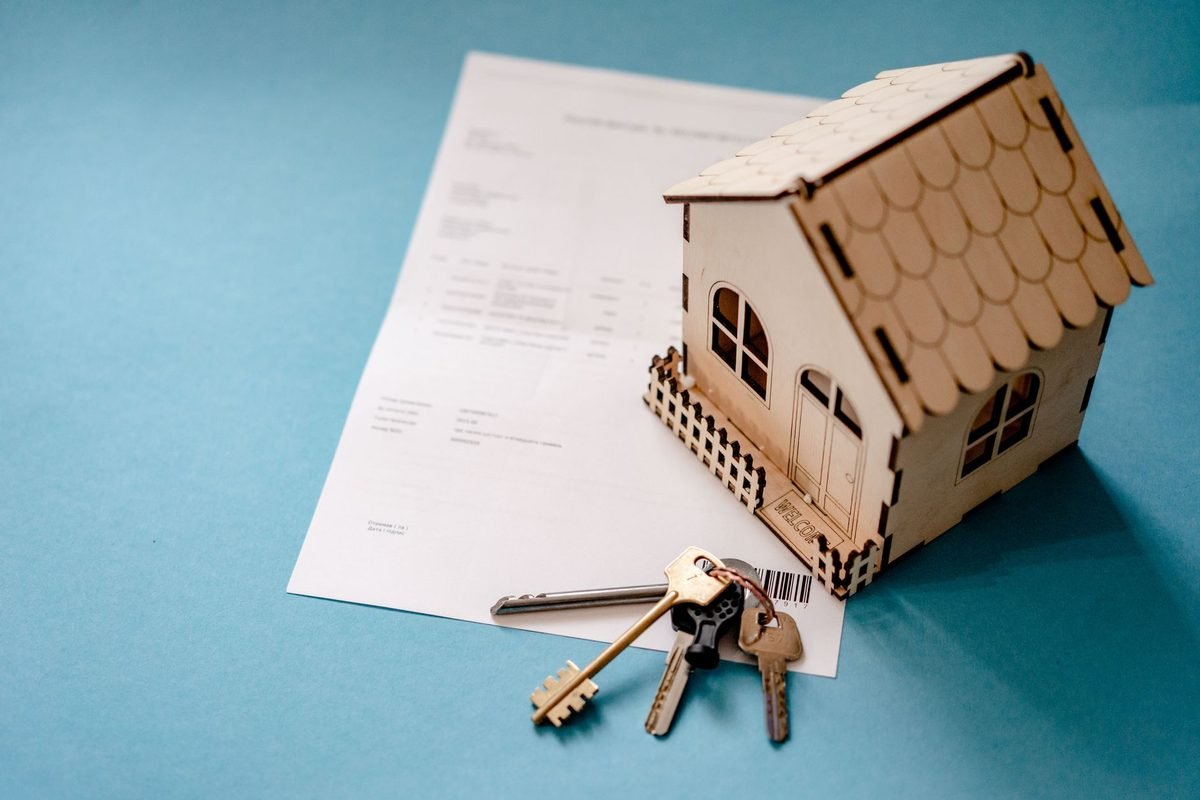
Five minutes with your lease can save you hundreds of dollars. Most leases have a section on “alterations” or “improvements.” Read it before you buy anything.
Look for these words: alterations, improvements, fixtures, painting, nails, adhesives and “restore to original condition.” Some leases ban any change to fixtures. Others allow small changes as long as you put things back. Many say nothing about peel-and-stick products at all.
Ask in writing. If you’re not sure, send your landlord or property manager a short email: “I’d like to swap the cabinet knobs and kitchen faucet and keep the originals to reinstall when I move out. Is that okay?” A written yes protects you later. Most landlords are fine with small, reversible changes, especially if you explain that you’ll restore everything.
Take before photos. Photograph every surface you plan to touch: counters, backsplash, cabinet fronts, the faucet, the floor and the light fixture. Date-stamped photos are your proof of the original condition if there’s ever a question about your deposit.
Check the building’s age. If your building was built before 1978, painted cabinets and walls may contain lead paint. Don’t sand, scrape or heavily abrade old paint. The EPA’s guide to sources of lead at home explains why disturbing old paint is risky. Peel-and-stick and swap-out upgrades are a much safer choice in older rentals.
The Renter Upgrade Toolkit
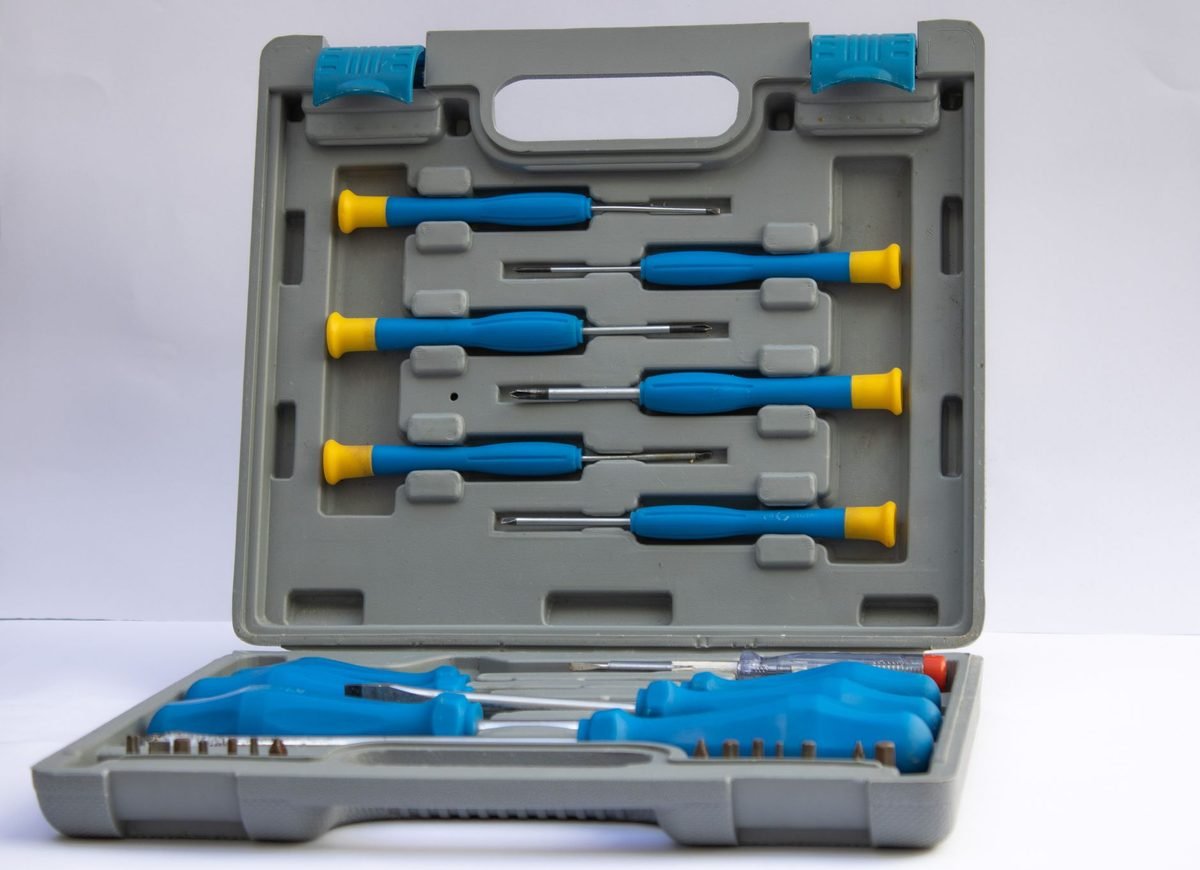
You don’t need much, but a few basics make every project faster and cleaner. Most of these cost less than $10 each, and you’ll use them for years.
- A screwdriver set with both Phillips and flathead bits. A compact screwdriver set handles cabinet hardware, outlet covers and light fixtures.
- A utility knife and spare blades for trimming peel-and-stick tile, wallpaper and contact paper. Dull blades tear vinyl, so swap them often.
- A smoothing tool or squeegee to push out air bubbles. A wallpaper smoothing kit usually includes a knife and a squeegee.
- A tape measure and a level. Crooked tile and wallpaper are the most common DIY mistake.
- Painter’s tape for marking layouts and testing adhesives.
- Zip-top bags and a marker for storing original knobs, screws and parts. Label everything.
- A hair dryer. It softens adhesive when it’s time to remove peel-and-stick products, which keeps them from pulling paint or finish.
- Adhesive remover like a citrus-based cleaner for leftover residue at move-out.
Keep all of this in one small bin. When you move out, the same kit handles the undo work.
Renter Friendly Kitchen Upgrades for Walls and Floors

Walls and floors are the biggest surfaces in the room, so they make the biggest visual difference. They’re also where you need to be the most careful about removal. Always test any adhesive product in a hidden spot first and leave it for 48 hours before doing the whole area.
1. Cover the Backsplash With Peel-and-Stick Tile
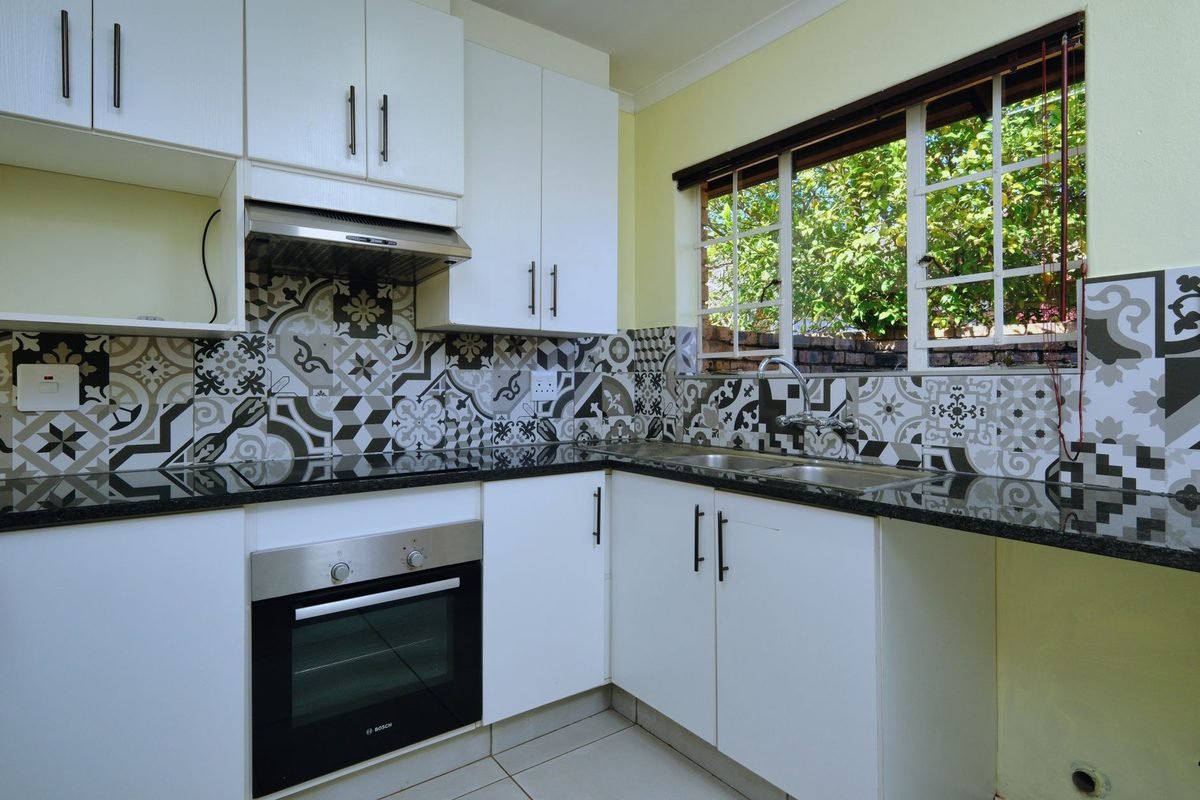
An outdated backsplash, or no backsplash at all, can date a whole kitchen. Peel-and-stick tile fixes that in an afternoon. Modern versions look surprisingly real, with raised grout lines and a glossy finish that wipes clean.
How to do it: Clean the wall with a degreaser and let it dry completely. Start at the bottom, along the counter, and work up. Use a level on the first row, because every row after that follows it. Cut around outlets with a utility knife after turning off the power and removing the cover plate.
Cost and time: About $40 to $120 for a typical backsplash, and two to three hours.
How to undo it: Warm each tile with a hair dryer and peel slowly at a low angle. Clean any residue with a citrus-based remover. If you want an easy option, a peel-and-stick backsplash tile in subway, hex or patterned styles gives you plenty of choice.
Renter tip: Avoid applying peel-and-stick tile over fresh paint, textured walls or directly behind a gas range where heat is high. Leave a small gap behind the stove or use a heat-safe option.
2. Add Removable Wallpaper to One Wall
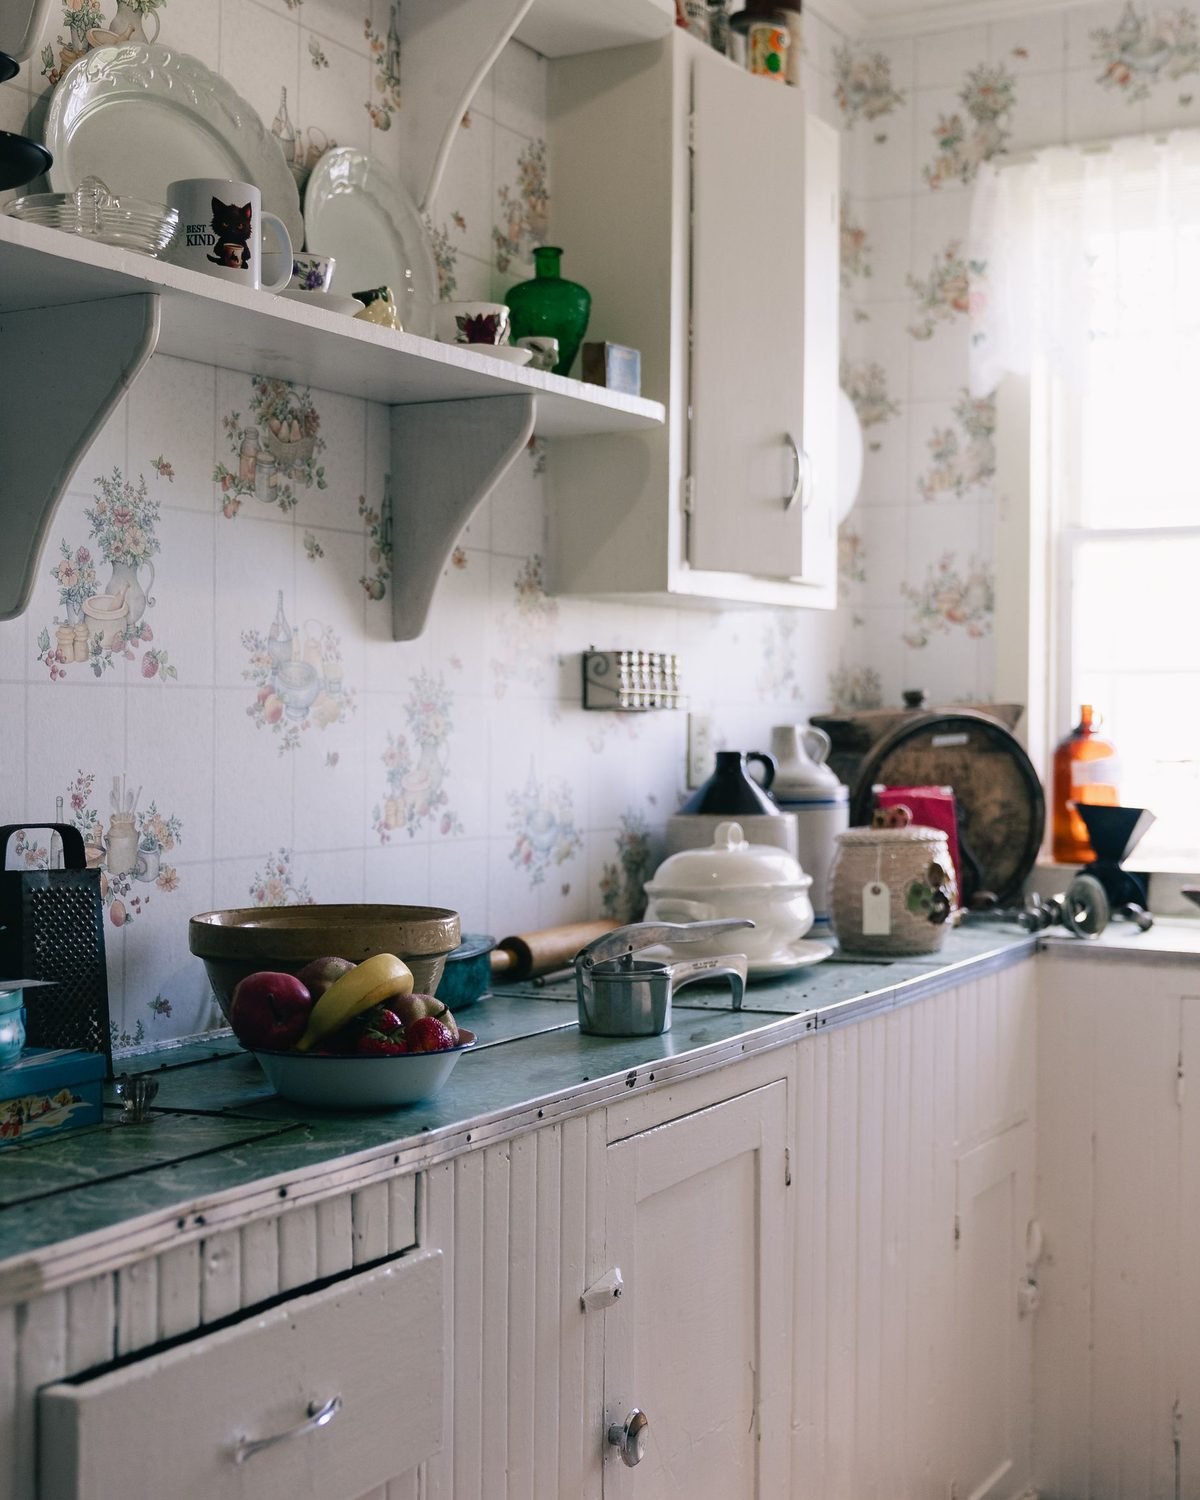
Removable wallpaper is one of the most popular renter-friendly upgrades for a reason. One accent wall, a breakfast nook or even the inside of open shelves can change the whole mood of a small kitchen.
Where it works best: A wall away from the stove and sink, where steam and splashes are lower. Behind open shelves or above a small dining table are great spots.
How to do it: Measure the wall, add a few inches to each panel, and hang the first panel using a level line. Smooth from the center out and trim at the top and bottom.
Cost and time: Around $30 to $80 per roll, and two to four hours for one wall.
How to undo it: Peel slowly from a top corner, pulling down and close to the wall. A removable peel-and-stick wallpaper rated for renters will usually come off clean if the wall paint was dry and in good shape when you applied it.
3. Refresh the Counters With Contact Paper
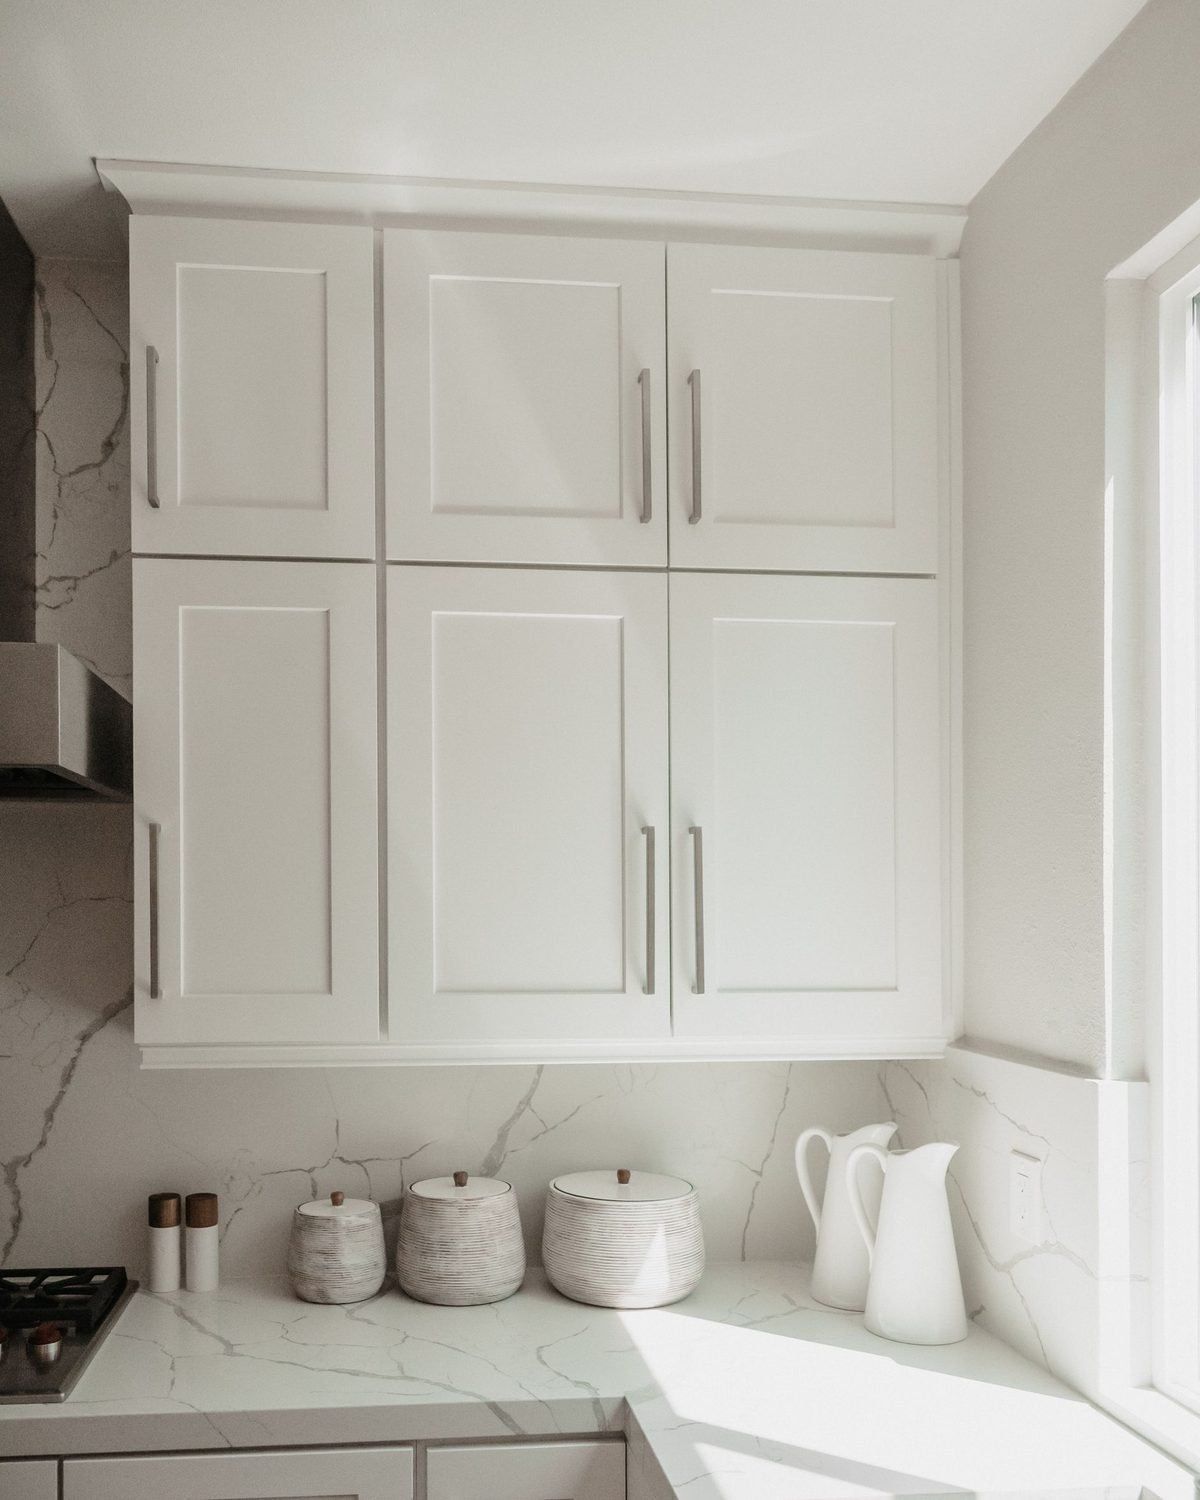
Stained or dated laminate counters are one of the most common renter complaints. Marble-look or butcher block contact paper can make them look new for a fraction of the cost of anything else.
How to do it: Clean and degrease the counters, then remove everything, including the toaster and the fruit bowl. Work in sections about two feet long, peeling back a little of the backing at a time and smoothing as you go. Wrap the front edge and trim underneath.
Cost and time: $20 to $50 for most kitchens, and an afternoon.
How to undo it: Contact paper usually peels off easily. Warm stubborn spots with a hair dryer.
Be realistic: Contact paper isn’t heat-proof and can be cut by knives. Use a trivet for hot pans and always cut on a board. A marble contact paper with a thicker, waterproof finish holds up best. For the areas you use most, like next to the stove, a large cutting board or a heat-safe mat adds extra protection.
4. Lay Peel-and-Stick Floor Tiles Over Old Vinyl
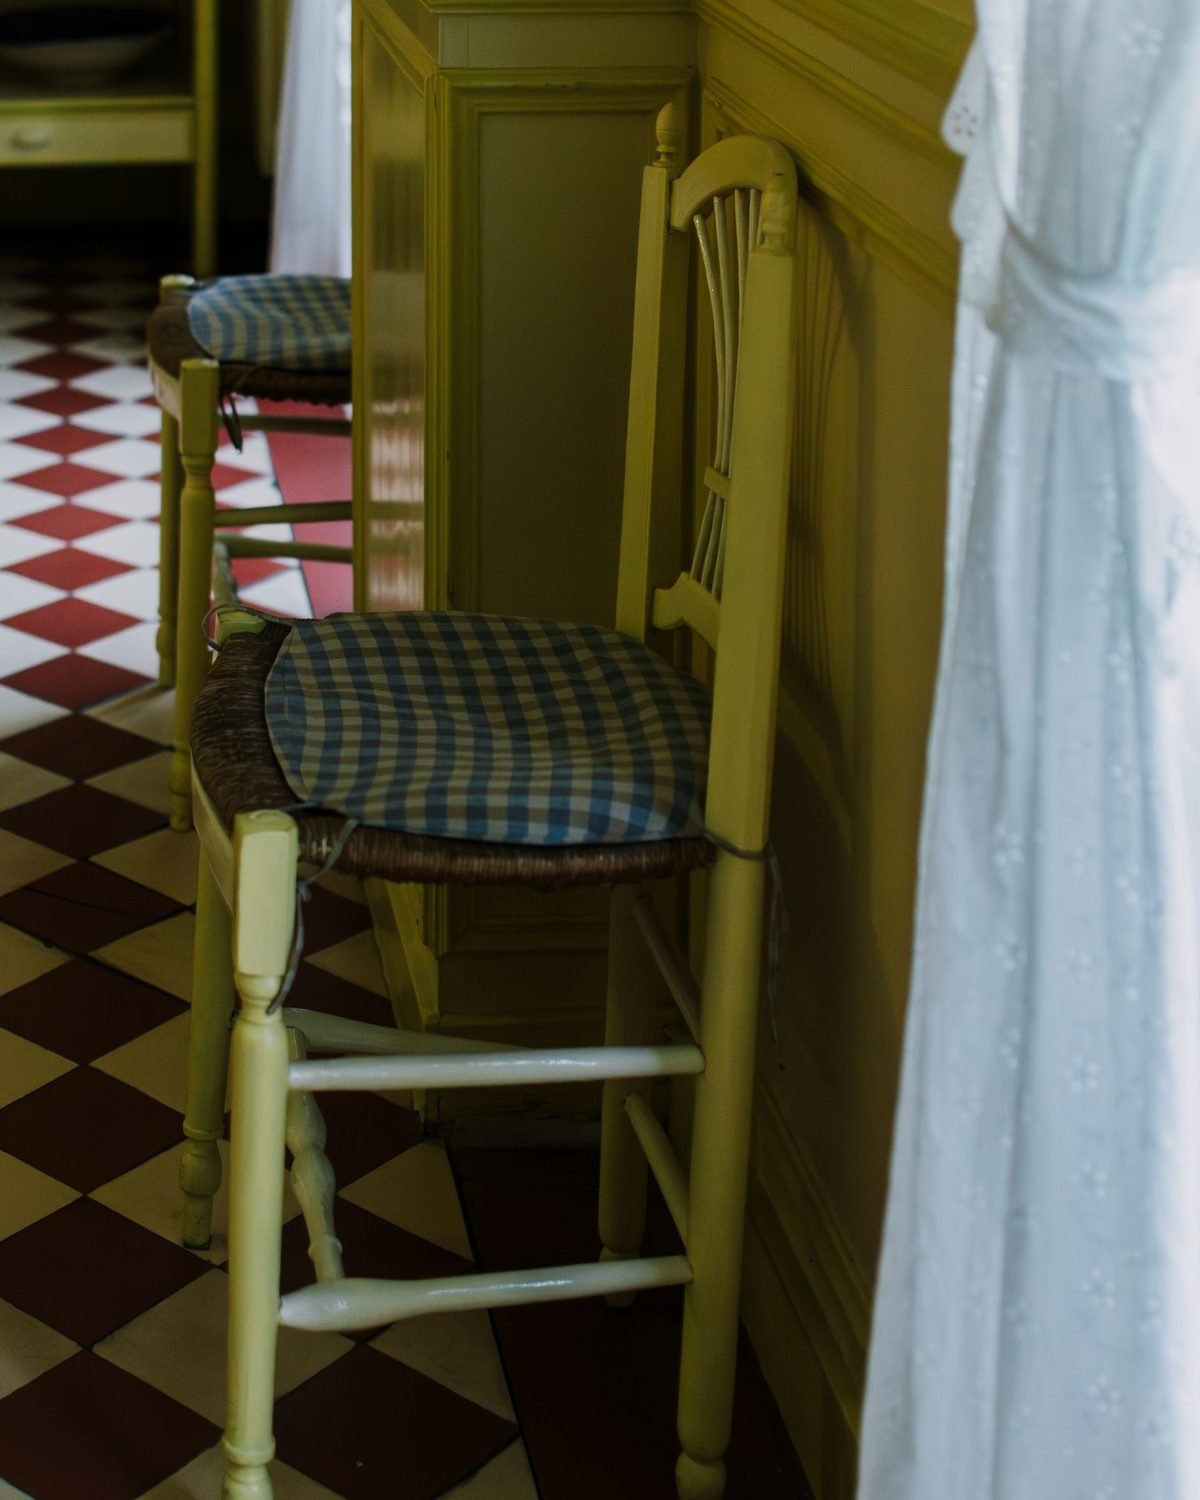
If your rental has stained or peeling vinyl, a floor refresh can change the feel of the whole room. Peel-and-stick floor tiles go right over flat, smooth vinyl or linoleum.
Important: Don’t stick them to the original floor permanently if you can avoid it. Many renters lay them over a thin layer of painter’s tape or use a “floating” method with interlocking vinyl planks, which don’t stick to the floor at all. Check the product description for “no adhesive” or “click-lock” options.
Cost and time: $1 to $3 per square foot. A small galley kitchen of 50 square feet is often under $150. Plan for half a day.
How to undo it: Pull up tiles one by one, warming the adhesive if needed. Clean any residue from the original floor with a gentle remover. A peel-and-stick floor tile in a checkerboard or terracotta look is an easy way to add charm.
5. Put Down a Washable Runner Rug

The simplest floor upgrade doesn’t touch the floor at all. A long runner in front of the sink and stove adds color, cushions your feet and hides a floor you don’t love.
Why washable matters: Kitchen rugs get splashed with water, oil and food every day. A machine-washable runner can go straight into the laundry instead of needing a deep clean.
What to look for: A low pile so it doesn’t trip you or catch the dishwasher door, and a non-slip backing. A washable non-slip kitchen runner in a pattern hides spills between washes.
Cost and time: $25 to $60, and two minutes.
How to undo it: Roll it up and take it with you. This is one of the best renter-friendly kitchen buys because it works in every future kitchen too.
Cabinet and Counter Upgrades
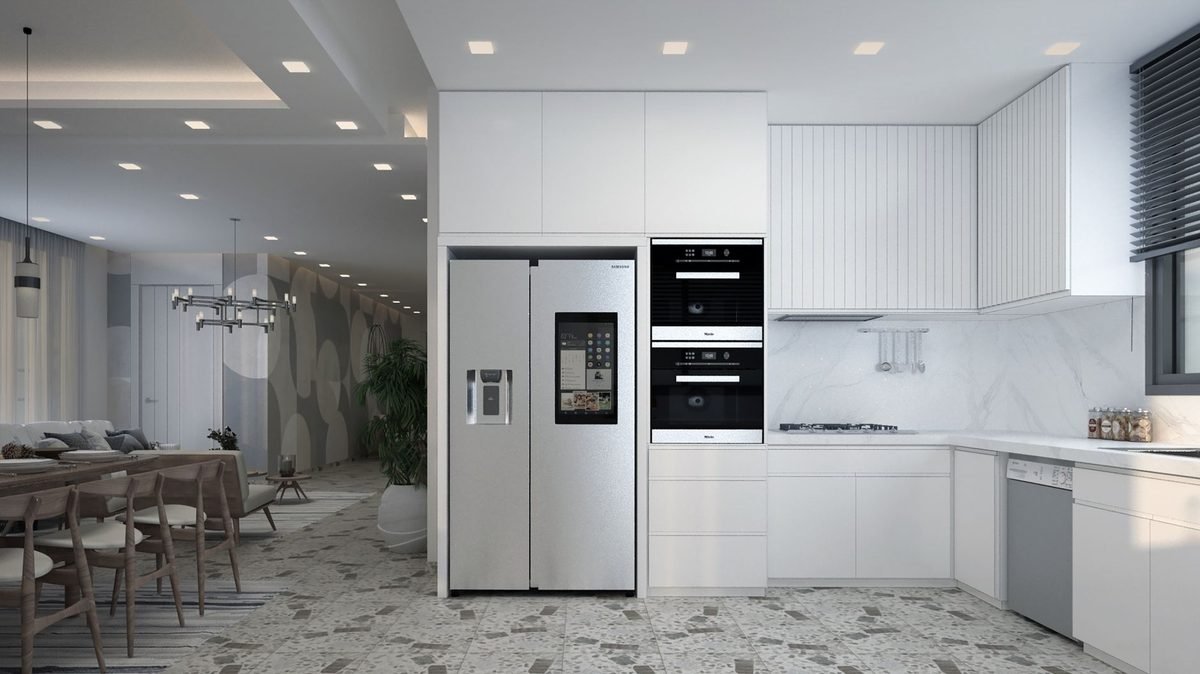
Cabinets cover more wall space than anything else in most kitchens. You can’t paint them without permission, and you shouldn’t try without it, but you can change how they look and work without touching the finish.
6. Swap the Cabinet Hardware

New knobs and pulls are the classic renter-friendly kitchen upgrade. They take an hour, cost little and make builder-grade cabinets look custom.
How to do it: Count your knobs and pulls and measure the distance between screw holes on the pulls (this is called “center-to-center”). Buy new pulls with the same measurement so you don’t need to drill new holes. Unscrew the old hardware, put it in a labeled bag and install the new pieces.
Cost and time: $2 to $8 per piece, so $40 to $150 for most kitchens, and about an hour.
How to undo it: Swap the originals back. Take your new hardware to the next apartment. A set of matte black cabinet pulls or brass knobs are popular choices. Measure before you order.
7. Line the Shelves and Drawers
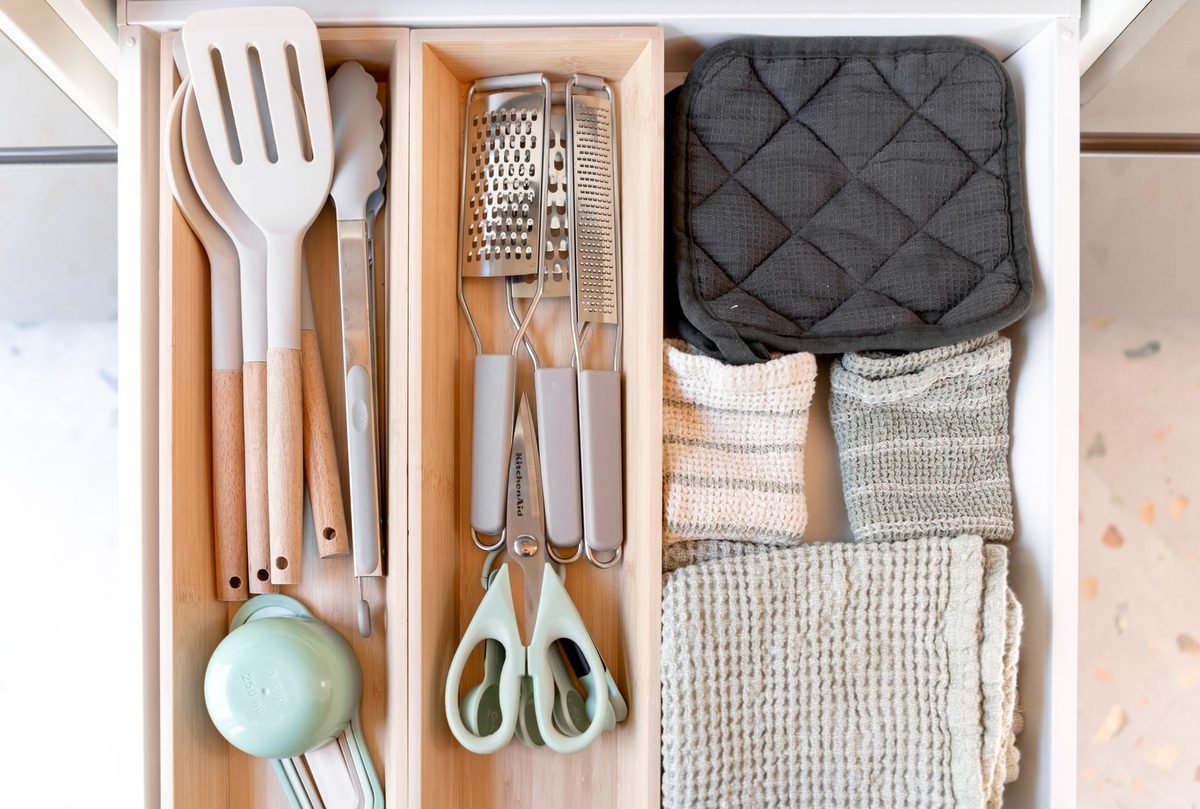
Shelf liner isn’t glamorous, but it’s one of the best upgrades in a rental kitchen. It protects old cabinets from new scratches and stains, makes them easier to clean and keeps dishes from sliding.
Which type to use: Non-adhesive grip liner is best for renters. It stays in place without sticking, so it comes out in seconds. Save adhesive liner for shelves you’re sure you’ll want covered.
How to do it: Empty one shelf at a time, wipe it clean and cut the liner to size with scissors.
Cost and time: $10 to $20 for a roll that covers most kitchens, and an hour or two.
How to undo it: Lift it out and toss it, or wash and reuse it. A non-adhesive shelf liner is a cheap way to make a rental kitchen feel cleaner. Our small kitchen organization ideas on a budget cover what to put on those freshly lined shelves.
8. Take a Few Cabinet Doors Off for Open Shelving
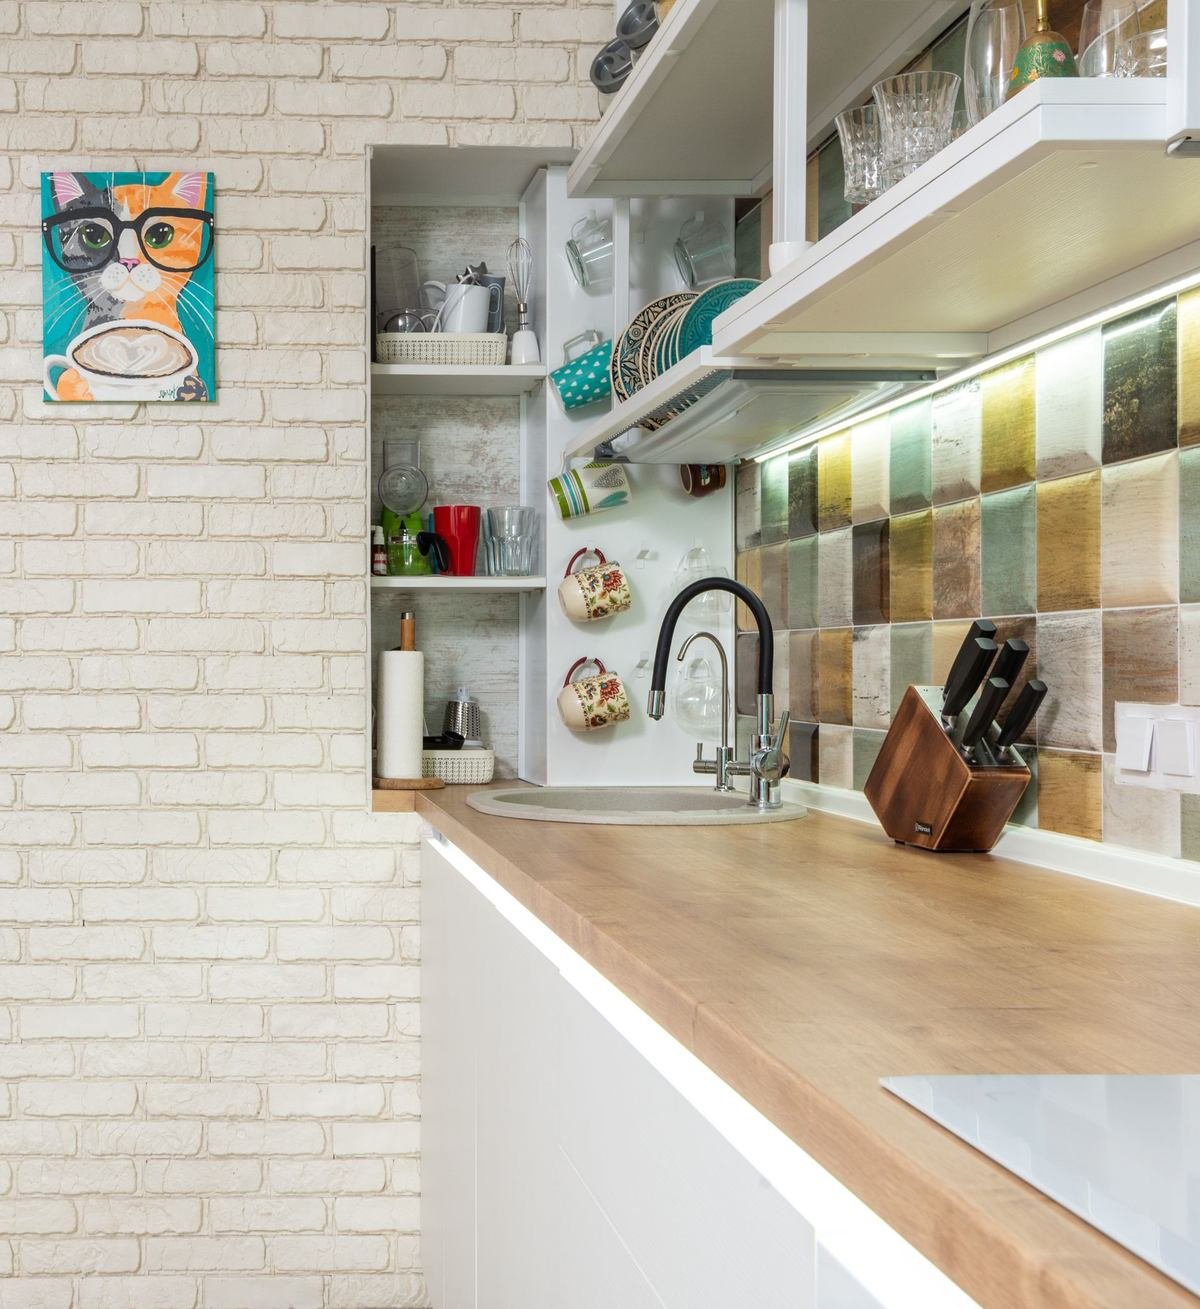
Removing two or three upper cabinet doors gives you the look of open shelving without drilling a single hole. It works especially well on the cabinets closest to a window or beside the range hood.
How to do it: Open the door, unscrew the hinges from the cabinet frame and lift the door away. Put the screws in a labeled bag taped to the back of the door, and store the doors flat under a bed or in a closet.
Make it look intentional: Put your prettiest dishes, glasses and a plant or two on display. Keep the shelves about 70 percent full so they feel styled, not crowded. Consider lining the back of the cabinet with removable wallpaper for a pop of pattern.
Cost and time: Free, and 15 minutes.
How to undo it: Screw the doors back on with the same hinges and screws. Ask your landlord first if you’ll keep the doors in a shared storage area.
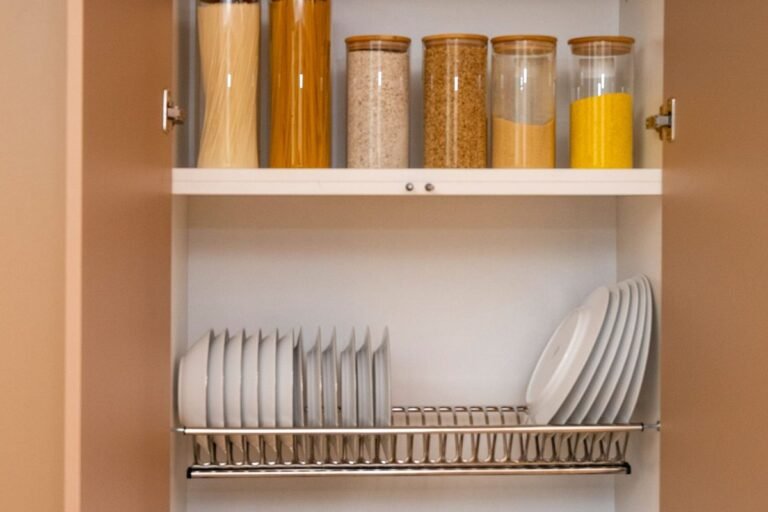
9. Upgrade the Dish Rack
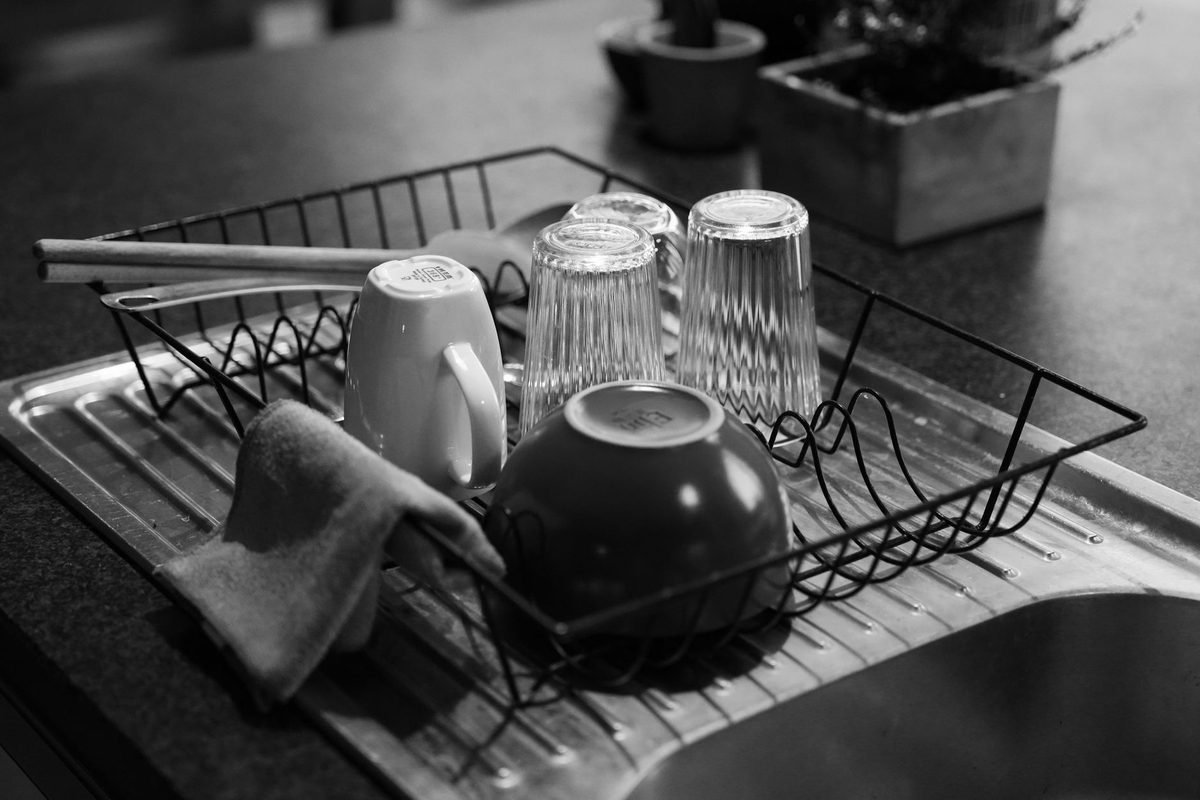
The dish rack may be the hardest-working thing on your counter, and an old, rusty one makes the whole kitchen look tired. A better rack frees up space and works harder.
Options that suit rentals:
- An over-the-sink rack that sits on the counters on each side of the sink and holds dishes, cutting boards and utensils above the basin. Nothing is attached to the wall.
- A roll-up drying rack that sits across the sink and rolls away when you’re done.
- A compact two-tier rack for counters that are short on space.
Cost and time: $20 to $60, and five minutes.
How to undo it: Nothing to undo. It goes with you. An over-the-sink dish drying rack is one of the most useful upgrades for a small rental kitchen with little counter space.
Lighting and Fixture Upgrades
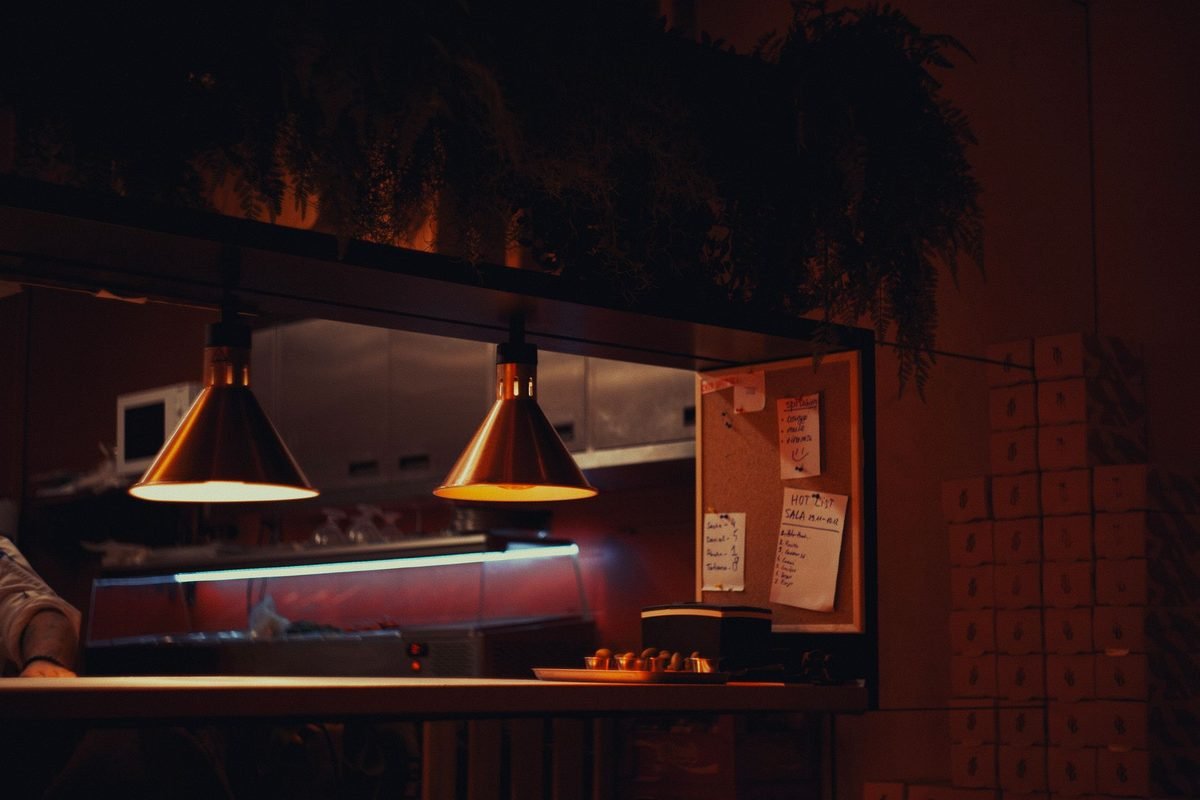
Rental kitchens are usually lit by one overhead fixture that throws shadows right where you’re cutting. Better lighting makes cooking easier and makes the whole room look more expensive.
10. Add Stick-On Under-Cabinet Lights

Under-cabinet lighting is the single biggest upgrade for most rental kitchens. Battery-powered or rechargeable LED bars stick under the cabinets and light up the counter where you actually work.
Options:
- Rechargeable motion-sensor bars turn on when you walk by. They’re great for late-night water runs and need no wiring.
- Plug-in LED strips give continuous, even light but need an outlet nearby.
How to do it: Clean the underside of the cabinet with rubbing alcohol, then attach with the included adhesive strips or magnets. Many bars attach to a magnetic plate, so you can pull them off to recharge.
Cost and time: $20 to $50, and 15 minutes.
How to undo it: Pull off the bars, then remove the adhesive strip slowly. A set of rechargeable under-cabinet lights is an easy weekend upgrade.
11. Hang a Plug-In Pendant Light

A plug-in pendant adds a focal point over a small table, a kitchen island or a corner of the counter, and it doesn’t involve the electrical box at all. The cord runs to a nearby outlet, and a ceiling hook holds the light.
How to do it: Use a swag hook in the ceiling (a tiny hole you can patch at move-out) or a removable adhesive hook rated for the weight. Run the cord along the ceiling and down the wall with paintable cord covers.
Should you swap the main fixture? Some renters replace the dated ceiling light and keep the original in a box. Only do this if your lease allows it, you’re comfortable turning off the breaker and working with simple wiring, or you hire an electrician. When in doubt, the plug-in pendant is the safer choice.
Cost and time: $30 to $90, and 30 minutes.
How to undo it: Unplug it, remove the hook and fill the hole with a dab of spackle. A plug-in pendant light with a fabric cord looks intentional rather than temporary.
12. Swap the Faucet and Keep the Original

A pull-down faucet makes washing dishes, filling pots and cleaning the sink so much easier. It’s a common renter upgrade, but it needs a little more care than the others.
Get permission first. This one touches the plumbing, so ask in writing. Most landlords say yes if you explain you’ll reinstall the original.
How to do it: Turn off the water valves under the sink, disconnect the supply lines and unscrew the mounting nut. Install the new faucet using the manufacturer’s instructions. Wrap the original faucet and all its parts in a towel and store it in a labeled box.
Cost and time: $60 to $200 for the faucet, and one to two hours.
How to undo it: Reverse the steps and reinstall the original before your move-out inspection. If plumbing isn’t your thing, a handyman visit is usually affordable. A pull-down kitchen faucet with a sprayer is the upgrade most cooks notice right away.
Even easier: If a full swap feels like too much, try a swivel faucet aerator. It screws onto the existing faucet tip and adds a spray setting in two minutes. The EPA’s WaterSense tips also point out that efficient aerators save water every day.
Storage and Style Upgrades
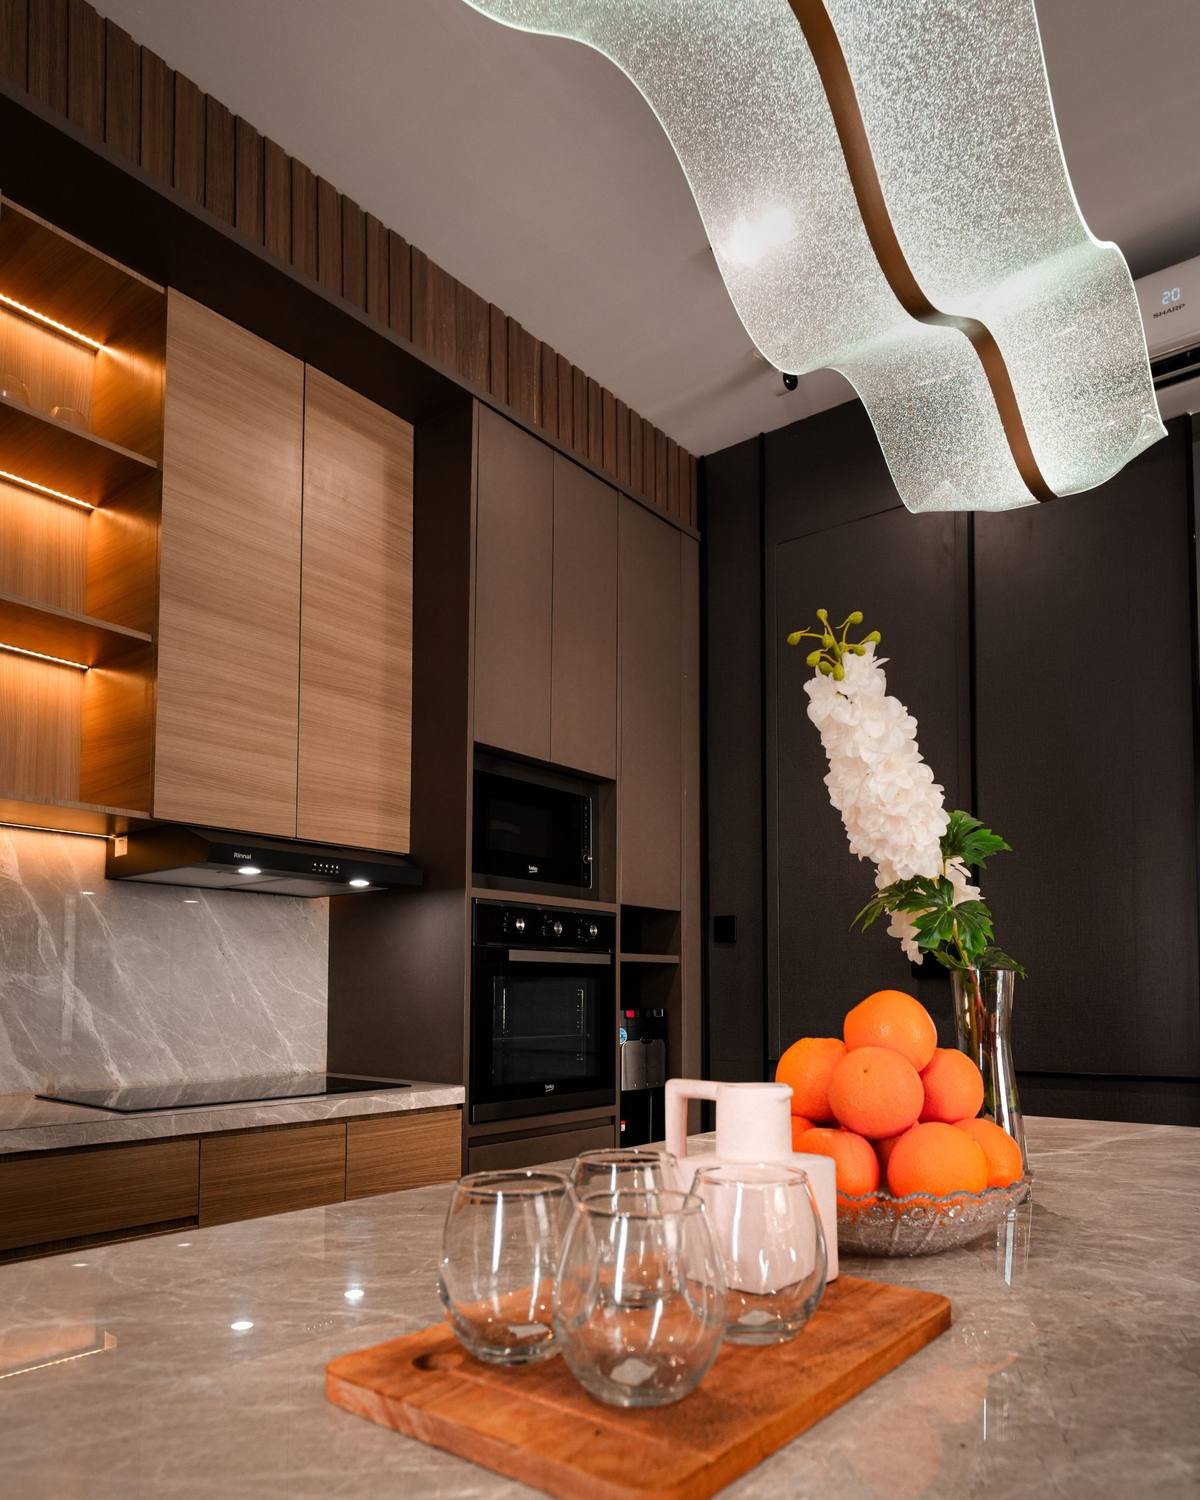
The last group of renter friendly kitchen upgrades adds storage and personality at the same time. These are the finishing touches that make a rental kitchen feel lived-in and personal.
13. Hang a Café Curtain or Sink Skirt
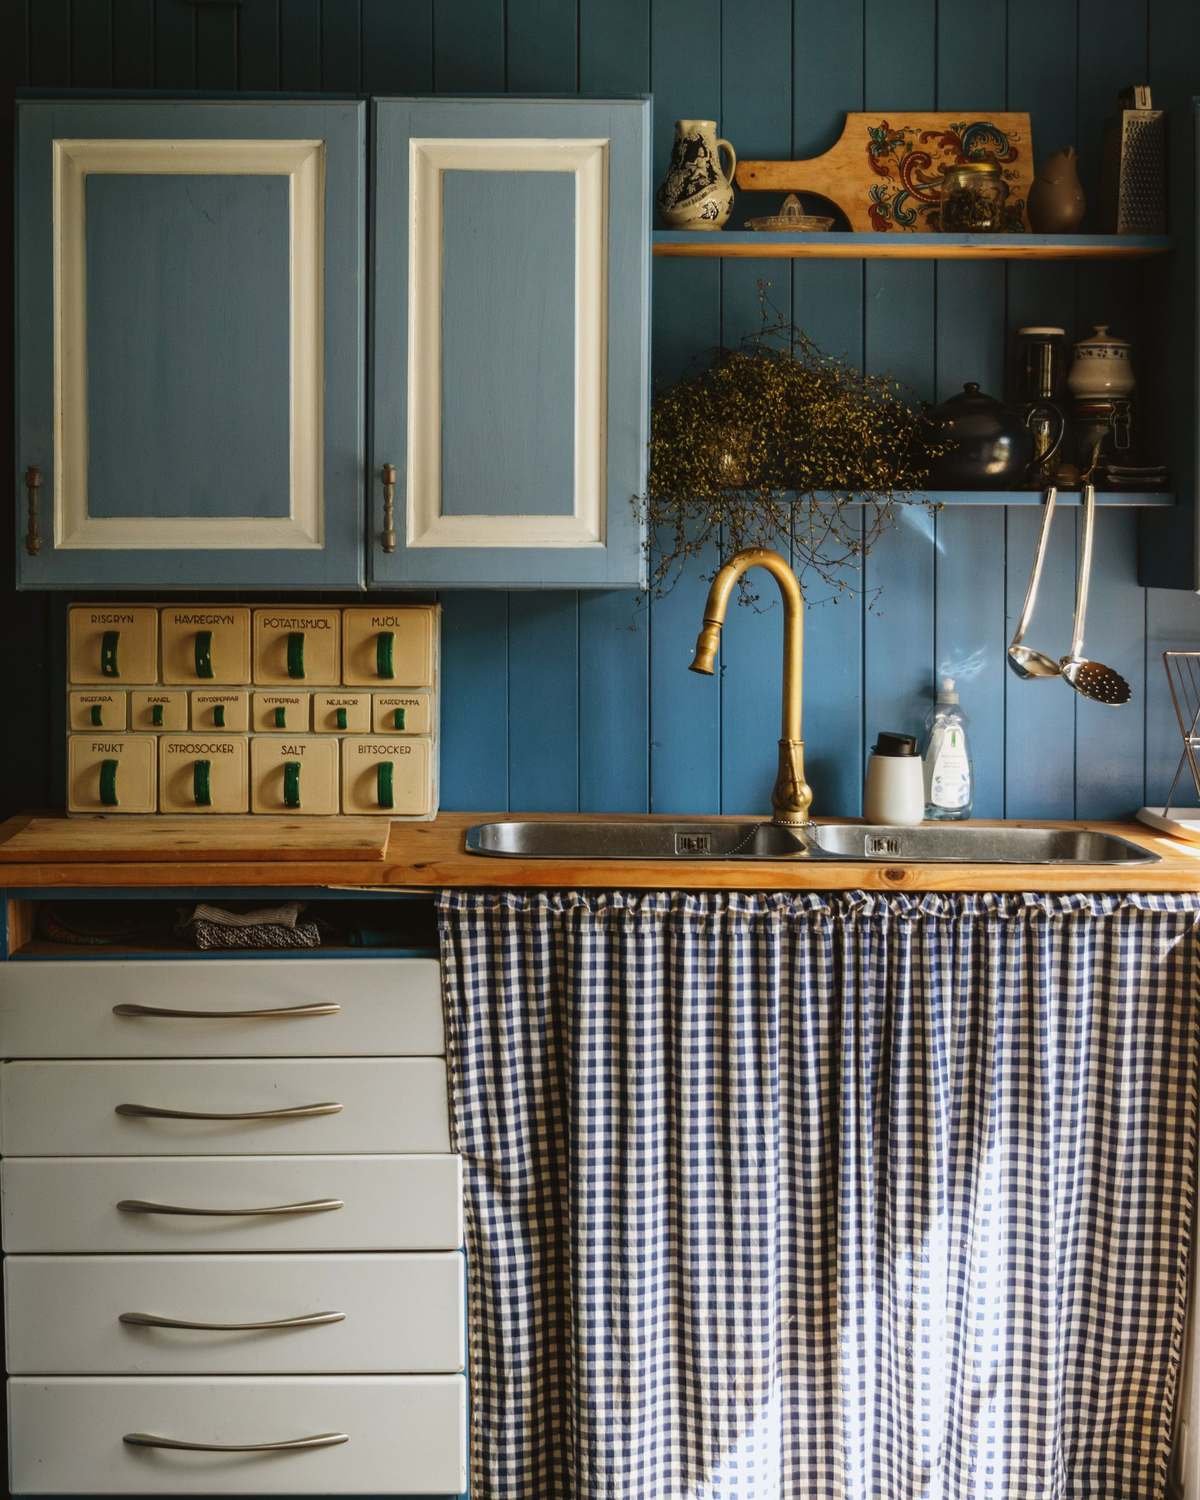
A fabric skirt under the sink or across an open lower cabinet hides cleaning supplies, trash bins and mismatched storage, and it adds a soft, cottage-style touch.
How to do it: Use a tension rod inside the cabinet opening or adhesive hook-and-loop tape along the counter edge. Choose a washable cotton or linen in a stripe, check or solid color.
Bonus idea: A short café curtain on a tension rod in the kitchen window gives privacy while letting in light. No holes needed.
Cost and time: $15 to $40, and 20 minutes.
How to undo it: Take down the rod and peel off the tape slowly. A small tension rod and a pair of café curtains are all you need.
14. Add a Freestanding Shelving Rack

When a kitchen is short on cabinets, a freestanding rack adds storage without touching the walls. Metal racks look modern and hold small appliances, cookbooks, pantry jars and baskets.
Where to put it: The end of a counter run, a corner near the fridge, or a wall in the dining area just outside the kitchen.
Tips: Pick a rack that’s narrow enough (12 to 14 inches deep) for small spaces. Put heavier items on the lower shelves and use baskets to keep things looking tidy. If you have kids or a wobbly floor, use a furniture anti-tip strap with a small screw. It’s a tiny hole that’s easy to patch.
Cost and time: $40 to $120, and 30 minutes to assemble.
How to undo it: It moves with you. A metal kitchen shelving rack or a bakers rack fits almost any future kitchen. For more ideas on what to store there, see our tiny pantry ideas.
15. Put Up a Wall Rail With Hooks
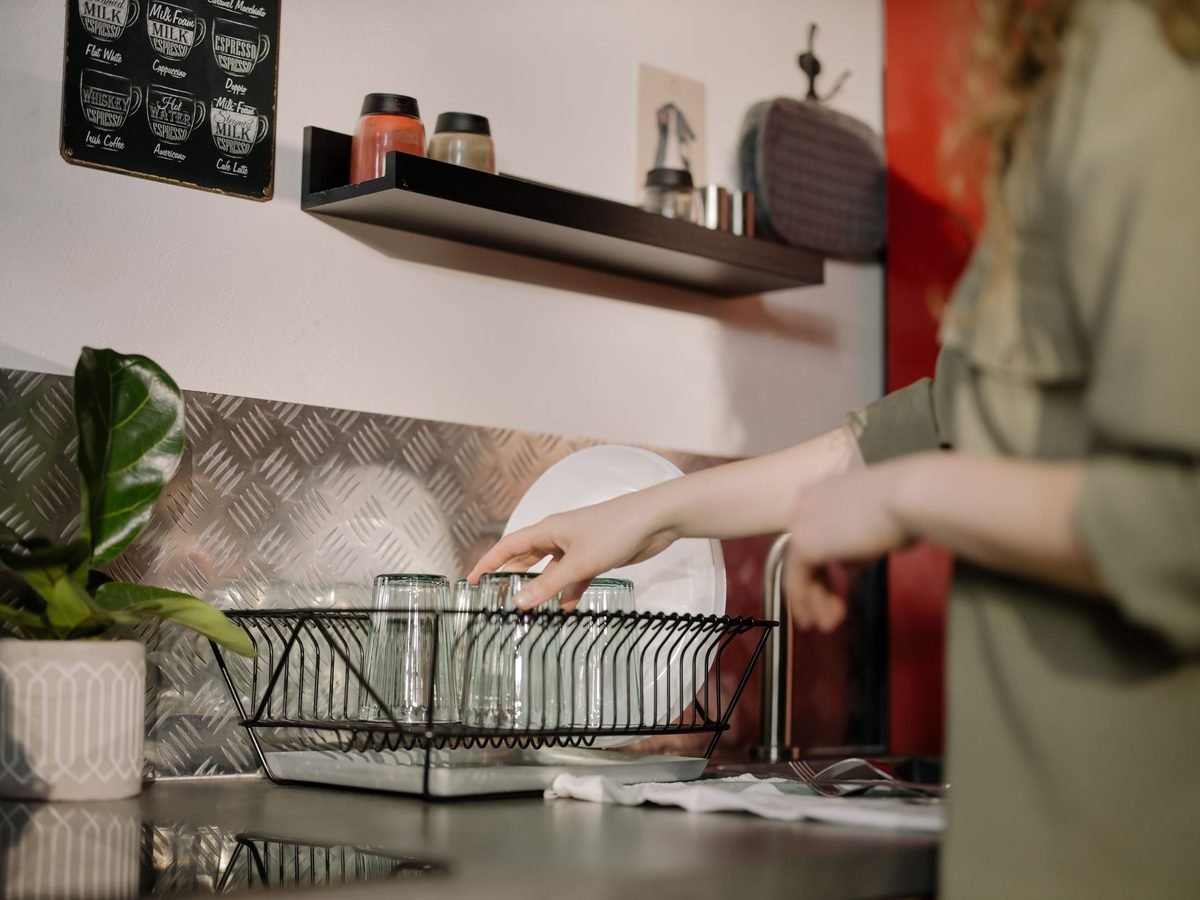
A rail with S-hooks turns a blank wall into storage for mugs, utensils, towels and small pans. It also frees up drawer space and keeps the things you use most within reach.
Renter-friendly options: Adhesive rails rated for light items, a rail held up with two small screws (easy to patch), or a tension rod across a window or alcove.
What to hang: Cooking utensils, measuring cups, oven mitts, a small herb basket or mugs. Keep it to what you use every week so it doesn’t look cluttered.
Cost and time: $15 to $35, and 20 minutes.
How to undo it: Remove the rail, peel off adhesive slowly and patch any screw holes with spackle. A kitchen rail with S-hooks is an easy way to add storage on a budget.
16. Install a Magnetic Knife Strip
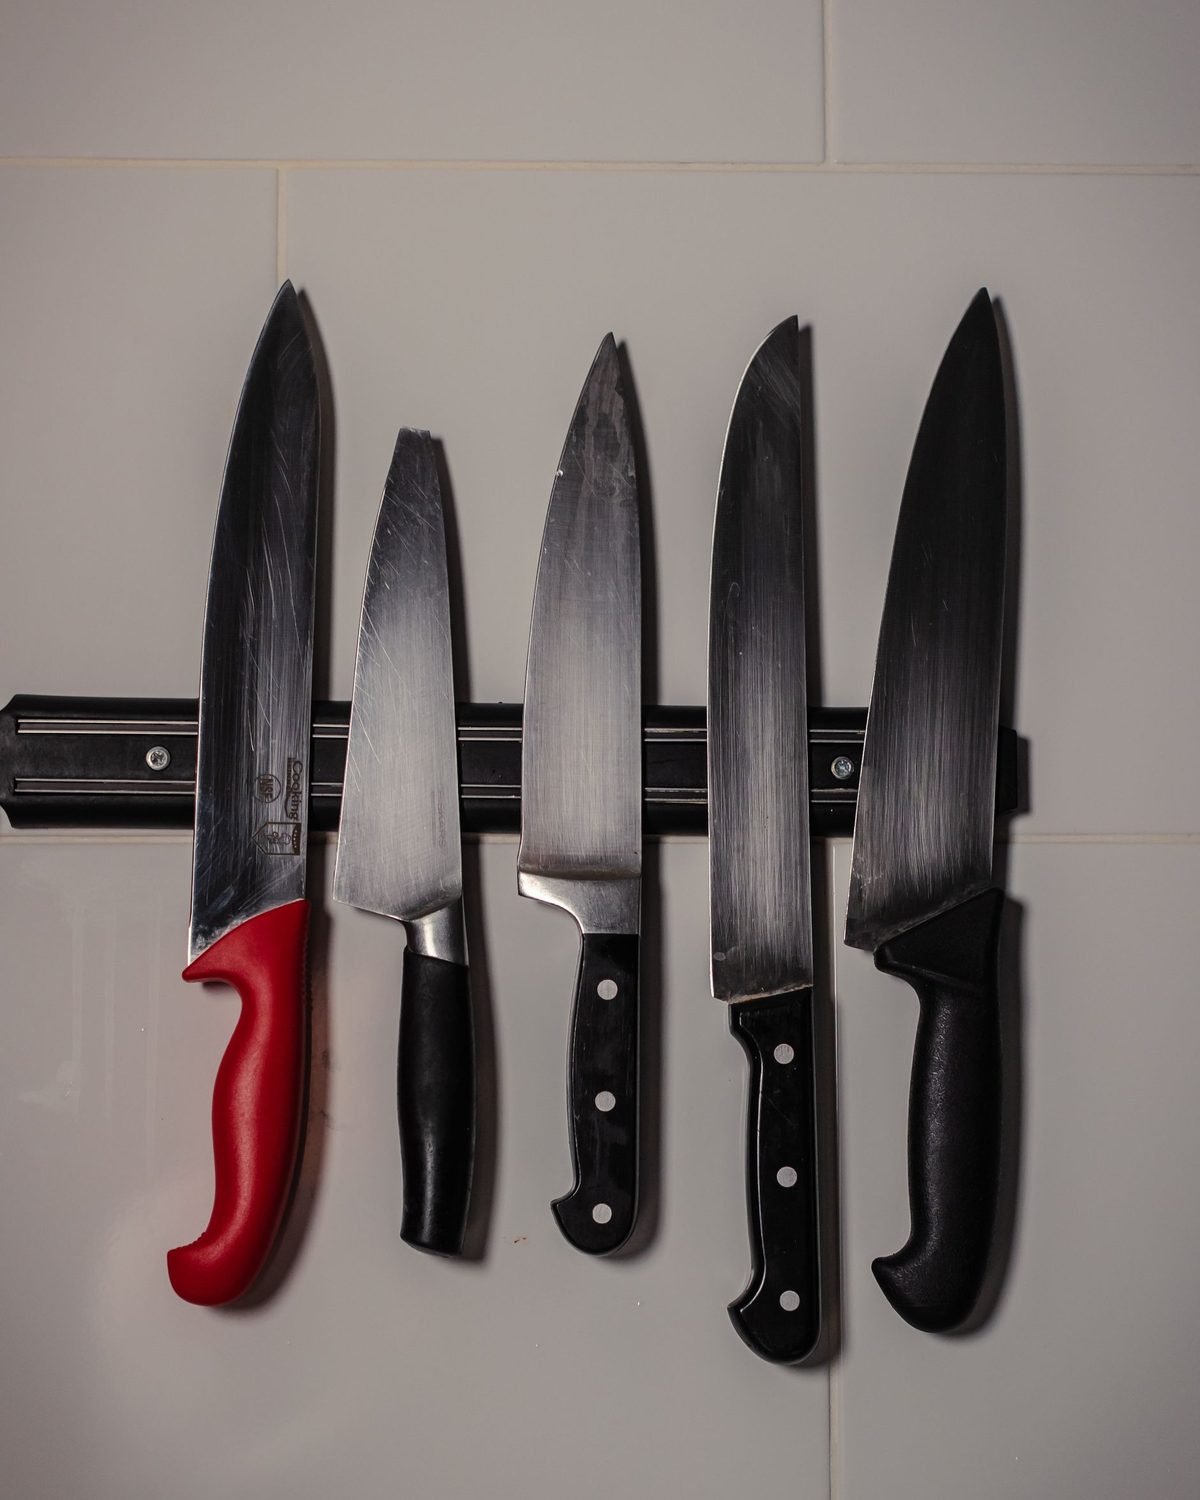
A knife block takes up valuable counter space. A magnetic strip moves the knives to the wall and keeps them sharp and within easy reach.
Renter-friendly mounting: Many strips come with heavy-duty adhesive. Others use two small screws. In tile, it’s better to use adhesive, because a hole in tile is hard to repair.
Safety tip: Mount it high enough that kids can’t reach, away from the sink splash zone, and above your main prep area.
Cost and time: $15 to $30, and 10 minutes.
How to undo it: Peel off slowly with a little heat from a hair dryer. A magnetic knife strip is a small change that frees up a whole section of counter.
17. Grow a Windowsill Herb Garden
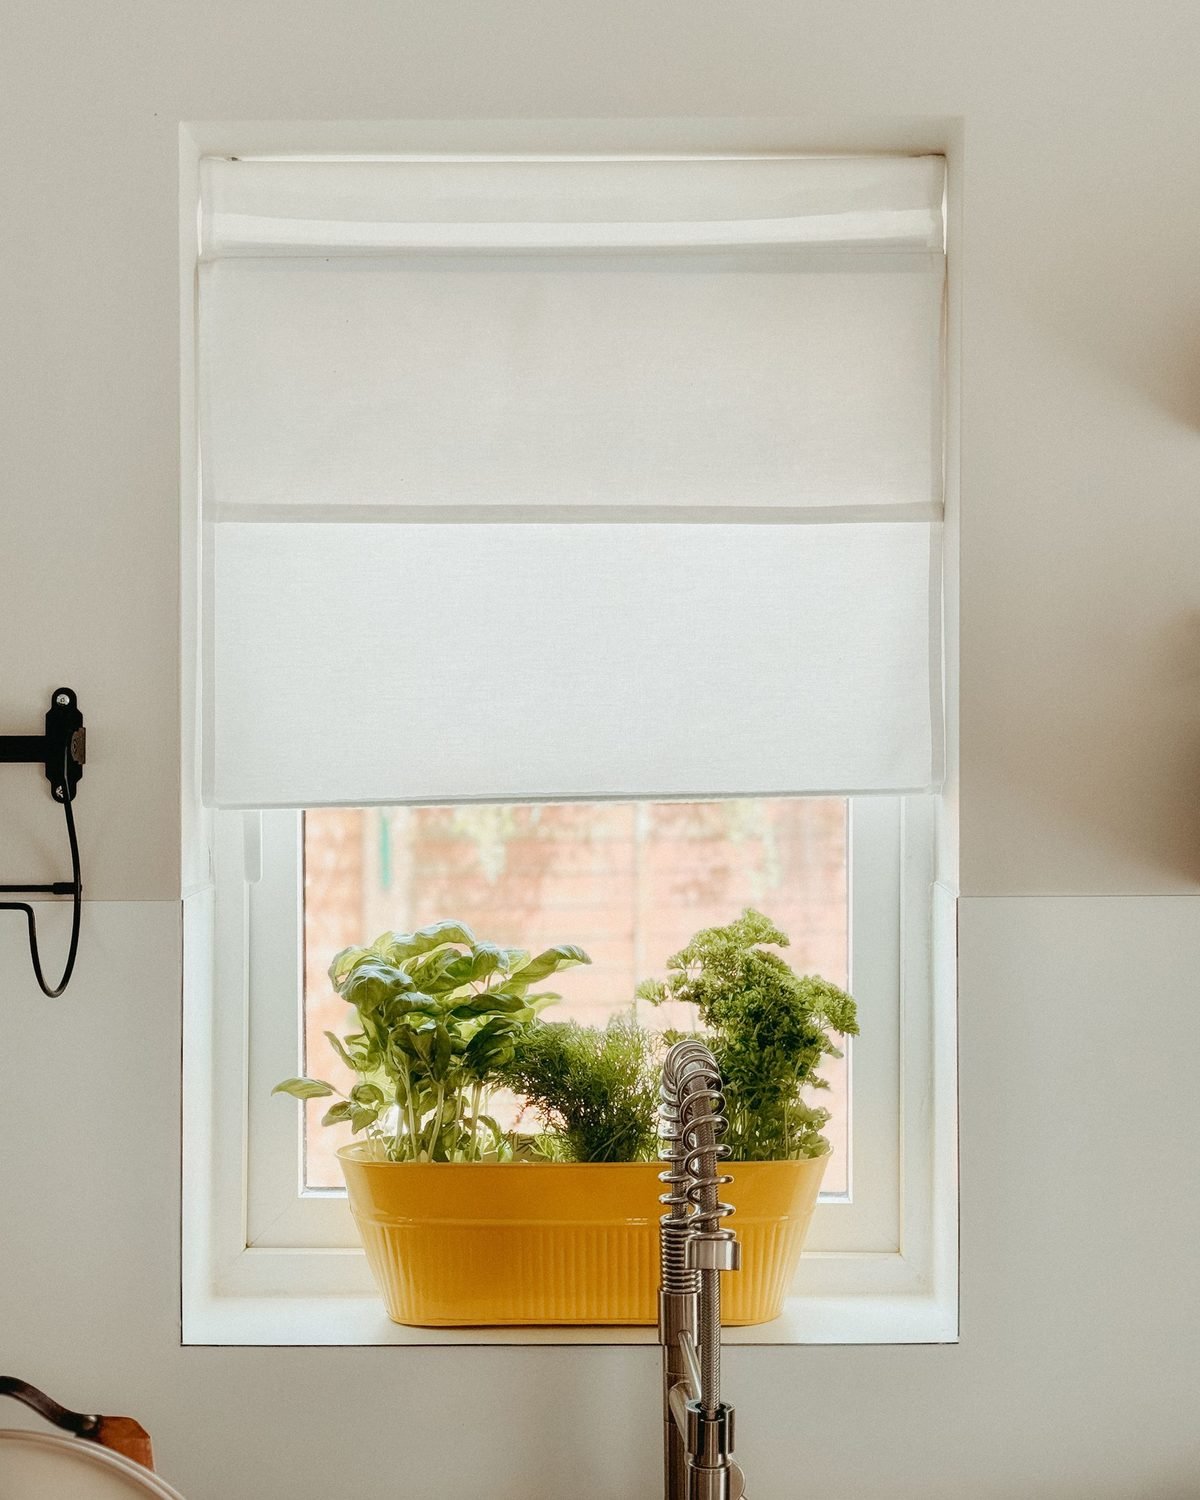
Fresh herbs make a rental kitchen feel alive, and they save you money on the little plastic packs from the store. Basil, parsley, chives and mint all grow well on a sunny windowsill.
How to do it: Choose small pots with drainage and a tray underneath to protect the sill. Water when the top inch of soil is dry and turn the pots weekly so the plants grow evenly.
No sun? A small countertop grow light or a self-watering herb kit works even in a dim kitchen.
Cost and time: $15 to $40, and 15 minutes.
How to undo it: Take the pots with you when you move. A windowsill herb planter or a set of small ceramic pots is a cheerful, practical kitchen upgrade.
How to Undo Everything Before Move-Out

The best renter friendly kitchen upgrades are the ones you can remove in a single afternoon. Plan for that from day one.
Start two weeks before your move-out inspection. Don’t save it for the last day. Adhesive takes time to remove carefully, and you may need to touch up a spot or two.
Work from the top down:
- Lights first. Remove under-cabinet lights, the plug-in pendant and any hooks. Patch tiny holes with spackle and a damp cloth.
- Hardware and fixtures. Reinstall the original cabinet knobs, faucet and cabinet doors. Use the labeled bags you saved.
- Walls. Peel off wallpaper and backsplash tile slowly, using a hair dryer on stubborn spots. Pull at a low angle, close to the wall.
- Counters and floors. Remove contact paper and floor tiles last. Clean off any residue with a citrus-based adhesive remover, then wash the area with warm soapy water.
- Clean everything. Wipe the inside of cabinets, the counters and the floor.
Compare to your before photos. Take matching after photos from the same angles. If something doesn’t look right, you still have time to fix it.
Keep receipts. If the landlord asks about the faucet or a light, receipts and photos show what you did and that you put everything back.
Budget Breakdown: What This Costs
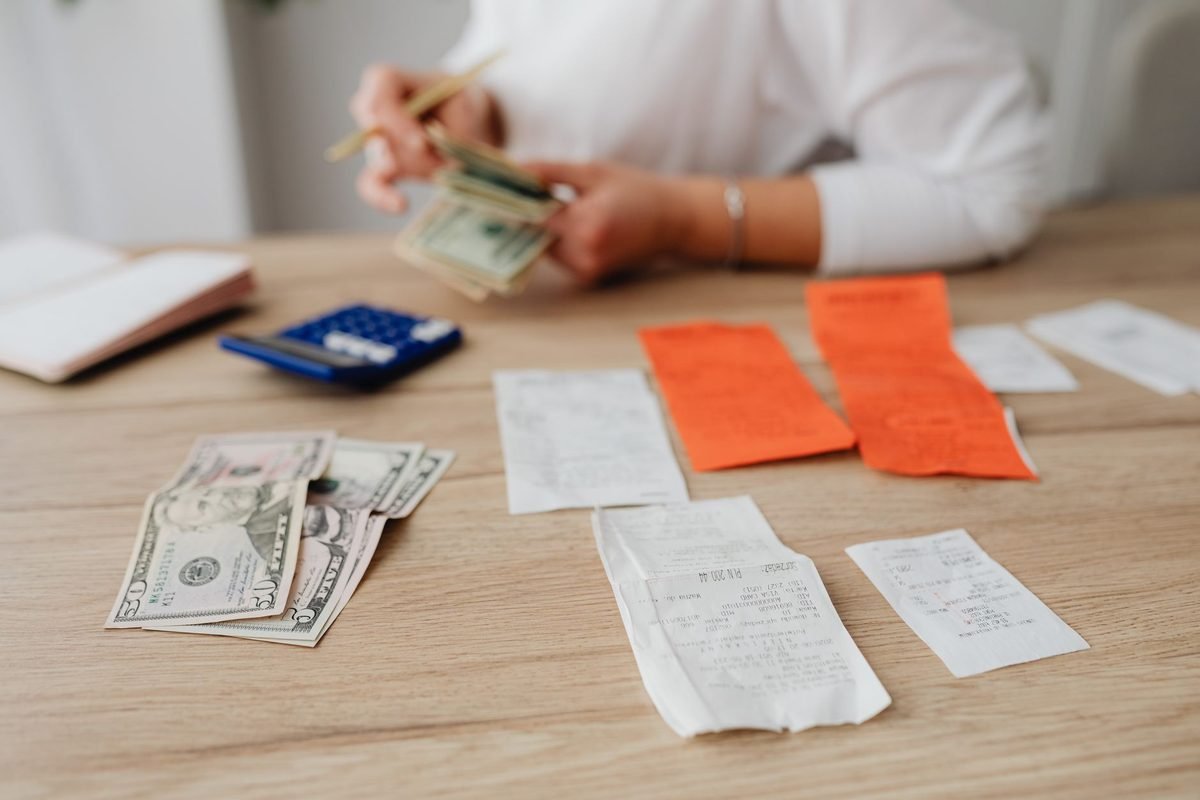
You don’t need to do all 17 ideas. Here’s what three levels of renter-friendly kitchen refresh can look like.
Under $50: the quick refresh
- Non-adhesive shelf liner ($15)
- Washable runner rug ($30)
- A few small herb pots (from what’s left)
$100 to $200: the noticeable change
- New cabinet hardware ($60)
- Stick-on under-cabinet lights ($35)
- Peel-and-stick backsplash for a small area ($60)
- Magnetic knife strip ($20)
$300 to $500: the full makeover
- Everything above, plus contact paper on the counters ($40)
- Removable wallpaper on one wall ($60)
- A pull-down faucet ($120)
- A plug-in pendant ($60)
- A freestanding rack ($80)
Spend on what moves with you. Hardware, lighting, a good faucet, racks and rugs go to your next home. Spend less on what stays, like contact paper and backsplash tile, because you’ll throw it away when you leave.
Dollar stores can also help with the little things. Our Dollar Tree kitchen organization hacks show how far a few dollars can go.
Mistakes to Avoid
A few common mistakes turn a cheap upgrade into an expensive deposit deduction. Avoid these.
Skipping the patch test. Some adhesives pull paint, especially on fresh or cheap flat paint. Always test in a hidden spot for 48 hours first.
Throwing away original parts. Losing the original knobs or faucet means buying replacements before you move out. Label every bag and store them in one box.
Using strong adhesive on surfaces that can’t handle it. Heavy-duty mounting tape can rip drywall paper. Use products labeled “removable” and follow the weight limits.
Putting vinyl near high heat. Contact paper and peel-and-stick tile can warp or melt near a stove or toaster. Leave a gap or use a heat-safe material.
Doing plumbing or electrical without permission. These upgrades are where landlords care most. A quick email avoids a problem later.
Sanding or scraping old paint. In older buildings, this can release lead dust. Stick to peel-and-stick and swap-out projects.
Leaving it until the last day. Rushed removal is when walls get damaged. Give yourself two weeks.
FAQ
What kitchen upgrades can I do in a rental?
Peel-and-stick backsplash, removable wallpaper, contact paper on counters, new cabinet hardware, shelf liner, under-cabinet lights, plug-in pendants, a washable runner, open shelving by removing doors and freestanding storage are all popular renter friendly kitchen upgrades. Ask before changing plumbing or electrical fixtures.
Is peel-and-stick backsplash really removable?
Usually, yes, if the wall paint is in good condition and fully cured. Test a single tile in a hidden spot first and use a hair dryer to warm the adhesive when you remove it.
Can I change the cabinet hardware in my apartment?
Most landlords are fine with it if you keep the originals and reinstall them before you move. Buy pulls with the same hole spacing so you don’t need to drill.
How can I make my rental kitchen look expensive?
Focus on lighting, hardware and the backsplash. Warm under-cabinet lights, matte black or brass pulls and a clean, modern backsplash make the biggest difference for the least money. Clear counters help too.
How do I add storage to a rental kitchen without drilling?
Use a freestanding rack, an over-the-sink dish rack, tension rods, adhesive hooks and cabinet shelf risers. Our small apartment hacks for renters have more no-drill storage ideas.
Will renter friendly kitchen upgrades affect my security deposit?
Not if you choose reversible products, keep the original parts, take before and after photos and remove everything carefully before your move-out inspection.
The Takeaway

A rental kitchen doesn’t have to feel like someone else’s. The right renter friendly kitchen upgrades let you change how it looks and works without risking your deposit.
Start with the changes that make the biggest difference for the least money: new hardware, under-cabinet lights, shelf liner and a washable runner. Then add a backsplash, a plug-in pendant or a better faucet if your budget allows. Keep every original part, take photos and plan your undo day early.
Pick one upgrade this weekend. Once you see how much better the kitchen feels, you’ll wonder why you waited so long.