Kitchen Organization Ideas for Pots and Pans: 12 Smart Ways for Small Kitchens
Disclosure: This post contains affiliate links. As an Amazon Associate I earn from qualifying purchases. If you buy through these links, I may earn a small commission at no extra cost to you. Read our full disclaimer.
These kitchen organization ideas for pots and pans are for anyone who opens a cabinet and gets hit by an avalanche of skillets, lids and baking sheets. In a small kitchen, cookware is usually the bulkiest thing you own, and it rarely comes with a good place to live. The result is a stacked, wobbly pile that you have to dig through every time you want to make dinner.
The good news is that you don’t need a bigger kitchen or a remodel to fix it. You need a short declutter, a few smart rules about where each piece goes and one or two simple organizers that match the space you actually have. Every idea below works in a rental, most cost less than $30 and many use space you’re probably ignoring right now, like the inside of a cabinet door, the wall above the stove or the drawer under your oven.
If your whole kitchen needs help, start with our small kitchen organization ideas on a budget and then come back here to tackle the cookware cabinet.
Quick answer: The best kitchen organization ideas for pots and pans in a small kitchen are to declutter down to the cookware you really use, nest pots by size with pan protectors, store lids separately on a door rack, file skillets upright in a pan organizer rack, turn a deep drawer into a pot drawer, hang everyday pans on a wall rail with S-hooks and move rarely used pieces to high shelves or the oven drawer.
The 12 ideas at a glance:
- Hang your most-used pans on a wall rail with S-hooks
- Nest pots and pans by size with pan protectors
- Give pot lids their own home on a door or lid rack
- Turn a deep drawer into a pot and pan drawer
- Stand frying pans upright in a pan organizer rack
- Add a freestanding metal shelf or baker’s rack
- Hang pans over a window or above the sink
- Use single wall hooks for heavy skillets
- Use the oven and oven drawer for baking pans
- Store sheet pans and baking trays upright
- Keep one everyday pan on the stovetop
- Move rarely used pots up high
Why Pots and Pans Take Over a Small Kitchen
Before you buy a single organizer, it helps to understand why cookware is so hard to store. Once you know the problem, the fixes make a lot more sense.
Pots and pans are awkward shapes. A skillet has a long handle that sticks out. A stockpot is tall and wide. A roasting pan is flat but huge. None of these shapes fit neatly next to each other, so they waste space in a cabinet no matter how you arrange them.
Small kitchens have deep, dark base cabinets. Most apartment kitchens put cookware in the lower cabinets. They’re deep, low and often blocked by plumbing or a corner. Anything at the back is basically gone, so people stack everything at the front instead.
Stacking creates a tower you have to unbuild. When you stack pots and pans, the one you need is always at the bottom. You lift off three pans, grab the one you want and then try to put the tower back. After a few weeks the tower turns into a pile.
Lids have no natural home. Lids are round, slippery and don’t stack well. They slide behind the pans, fall off stacks and end up in a random drawer. Many people own more lids than pans and still can’t find the right one.
Most of us own too much cookware. Sets often include pieces you never use, like a tiny saucepan or a second large skillet. Add a few gifts and some hand-me-downs and the cookware collection grows bigger than the cabinet.
That’s why the best kitchen organization ideas for pots and pans start with editing, then focus on storing things upright, using vertical space and giving lids a separate home.
Before You Start: Declutter Your Pots and Pans
Pull every pot, pan, lid and baking sheet out of your cabinets and line them up on the counter or the floor. It looks like a mess for 20 minutes, but it’s the fastest way to see what you actually own.
Match lids to pots. Put each lid on its pot. Any lid without a pot goes in a pile. Any pot without a lid gets a second look. You’ll be surprised how many orphan lids you’ve been storing.
Look for duplicates. Do you have three 10-inch skillets? Two medium saucepans that you use the same way? Keep the best one and let the others go. In a small kitchen, a duplicate is a luxury that costs you a whole shelf.
Check the condition. Scratched nonstick pans, warped baking sheets and pots with loose handles should go. Damaged nonstick coatings don’t cook well, and warped pans don’t sit flat on the stove.
Be honest about how you cook. If you never make stock, you may not need a giant stockpot. If you bake once a year, one sheet pan and one cake pan may be enough. Think about the meals you actually make each week.
A simple core cookware set for most small households looks like this:
- One 10- or 12-inch skillet
- One small nonstick pan for eggs
- One medium saucepan and one small saucepan with lids
- One Dutch oven or large pot for pasta and soup
- Two sheet pans and one baking dish
Donate the extras, recycle anything that’s broken and wipe out the empty cabinet before anything goes back in. Our room-by-room declutter checklist has a full kitchen list if you want to keep going after the cookware.
Sort Your Cookware by How Often You Use It
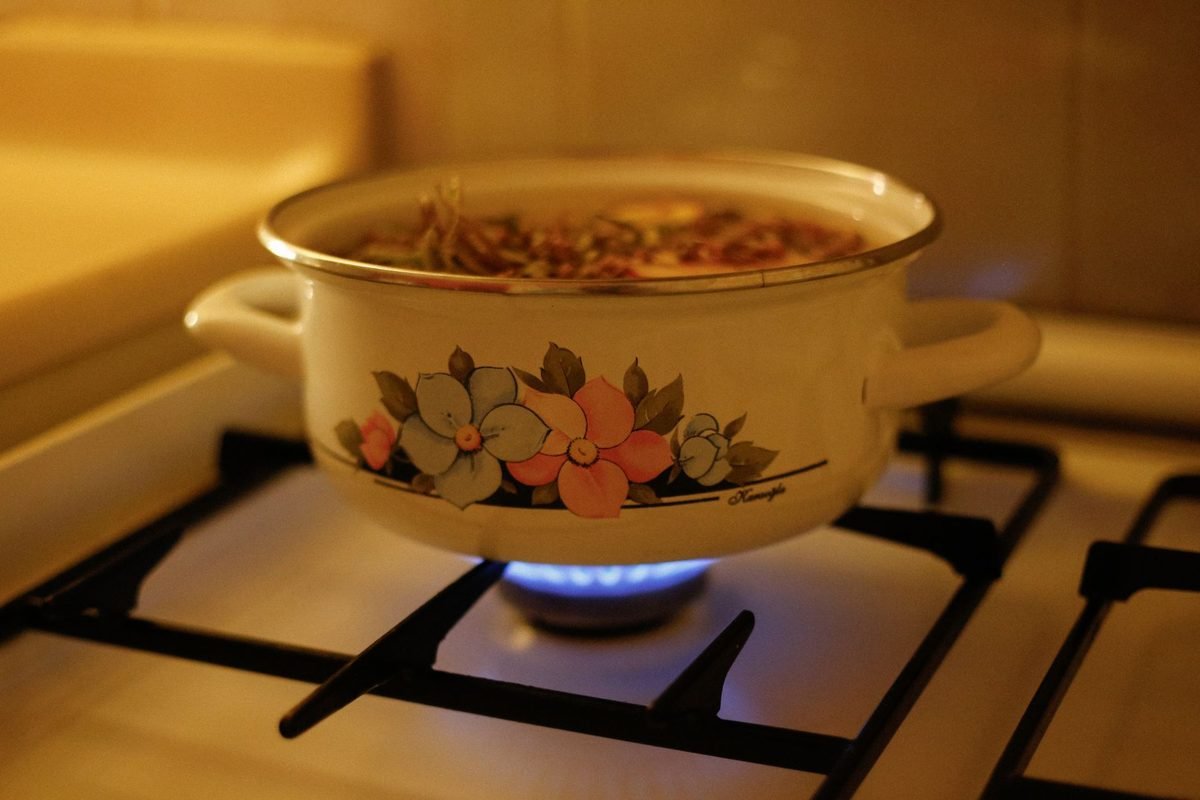
Now split what’s left into three groups. This decides where each piece will live.
Daily: the pans you reach for most days, usually one skillet, one saucepan and maybe a pot for pasta or rice. These get the easiest spots: near the stove, on a wall rail or in the front of a pull-out drawer.
Weekly: pieces you use once or twice a week, like a Dutch oven, a sheet pan or a large pot. These can go in the back of the cabinet, in the oven drawer or on a lower shelf of a rack.
Occasional: the roasting pan, the big stockpot, holiday baking pans and specialty pieces like a waffle iron or a griddle. These go up high, in a closet or in a labeled bin.
This one step solves a lot. When your daily pans are easy to grab and easy to put away, the system stays tidy because you’re not digging through the whole collection every night.
12 Kitchen Organization Ideas for Pots and Pans in a Small Kitchen
These ideas are ordered roughly from the easiest wins to the bigger changes. You don’t need all 12. Pick the three or four that fit your kitchen and your lease, then build around them.
1. Hang Your Most-Used Pans on a Wall Rail With S-Hooks
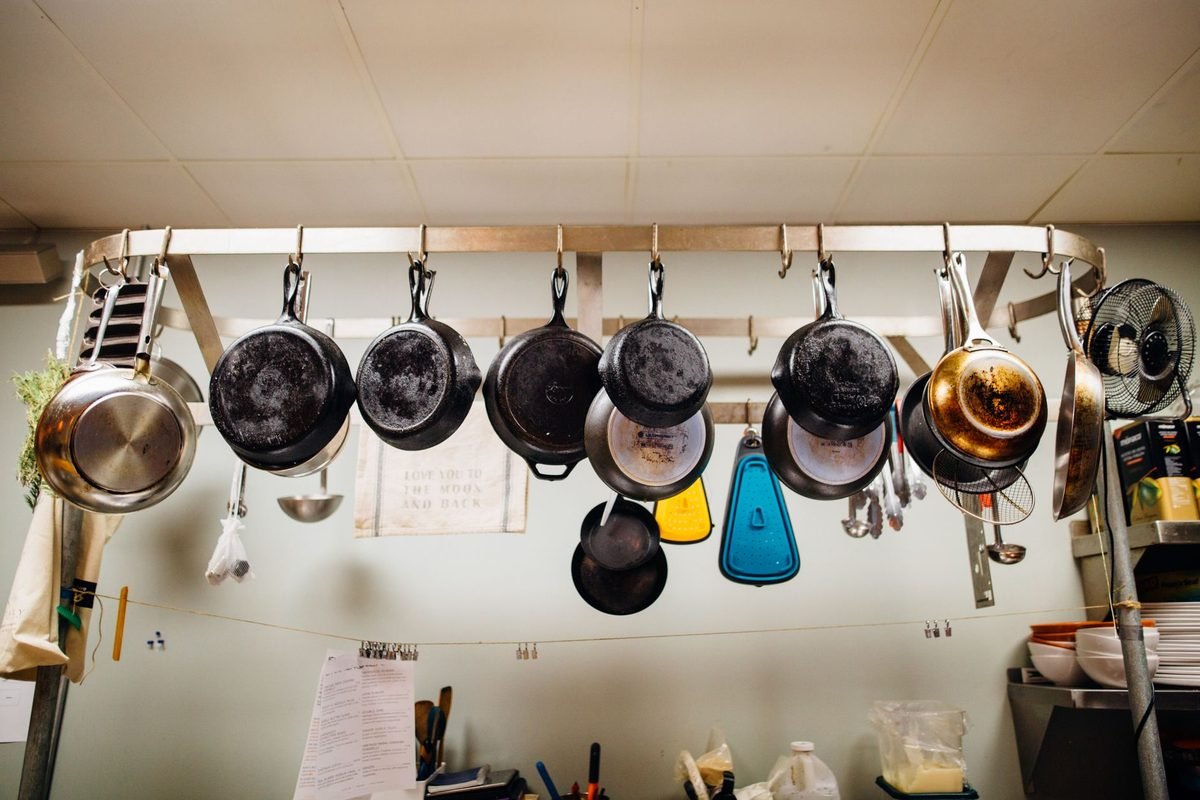
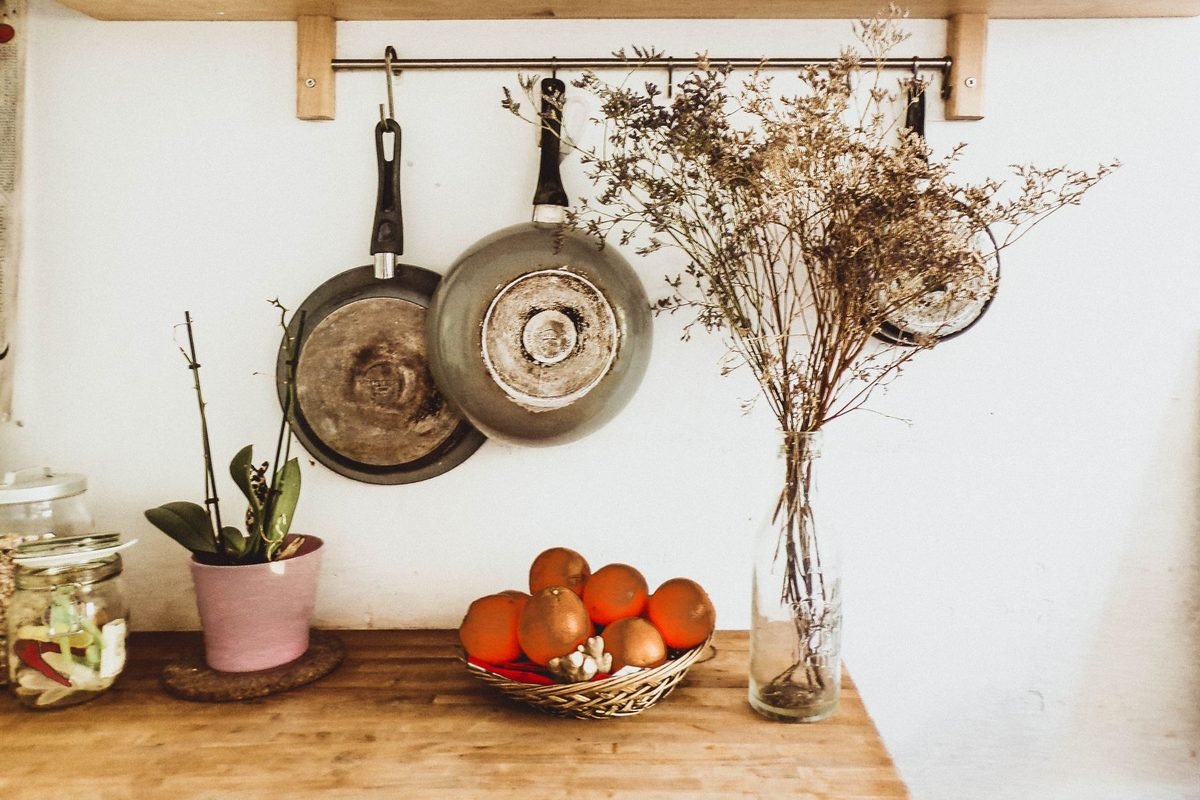
A wall rail is one of the most useful kitchen organization ideas for pots and pans because it takes your everyday cookware out of the cabinet completely. A simple steel rail with a handful of S-hooks can hold four to eight pans on a short stretch of wall.
Where to put it: The best spot is the wall next to the stove or the backsplash under the upper cabinets. That way, your pans hang right where you cook.
How to set it up: Install a kitchen wall rail with S-hooks and hang pans by their handle holes. Put the pans you use most at the end closest to the stove. Most skillets and saucepans have a hole in the handle. For pans without one, use a hook that cradles the handle.
Renter tip: Rails usually need two or three screws. Small screw holes are easy to patch with spackle when you move out, but check your lease first. If you can’t drill, try a heavy-duty adhesive rail rated for the weight, and only hang light pans on it.
Why it works: Hanging pans don’t scratch each other, they dry fully and you can see every piece at a glance. A neat row of pans also looks great, especially if they match.
2. Nest Pots and Pans by Size With Pan Protectors
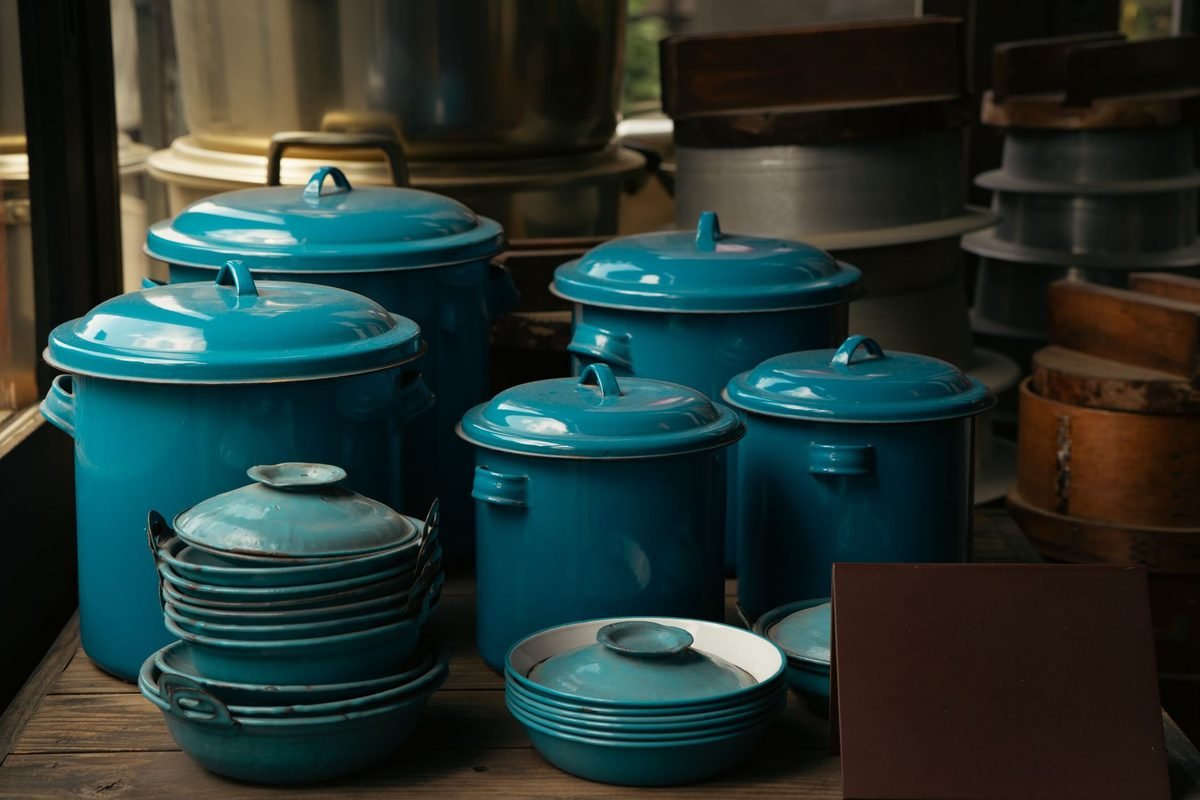
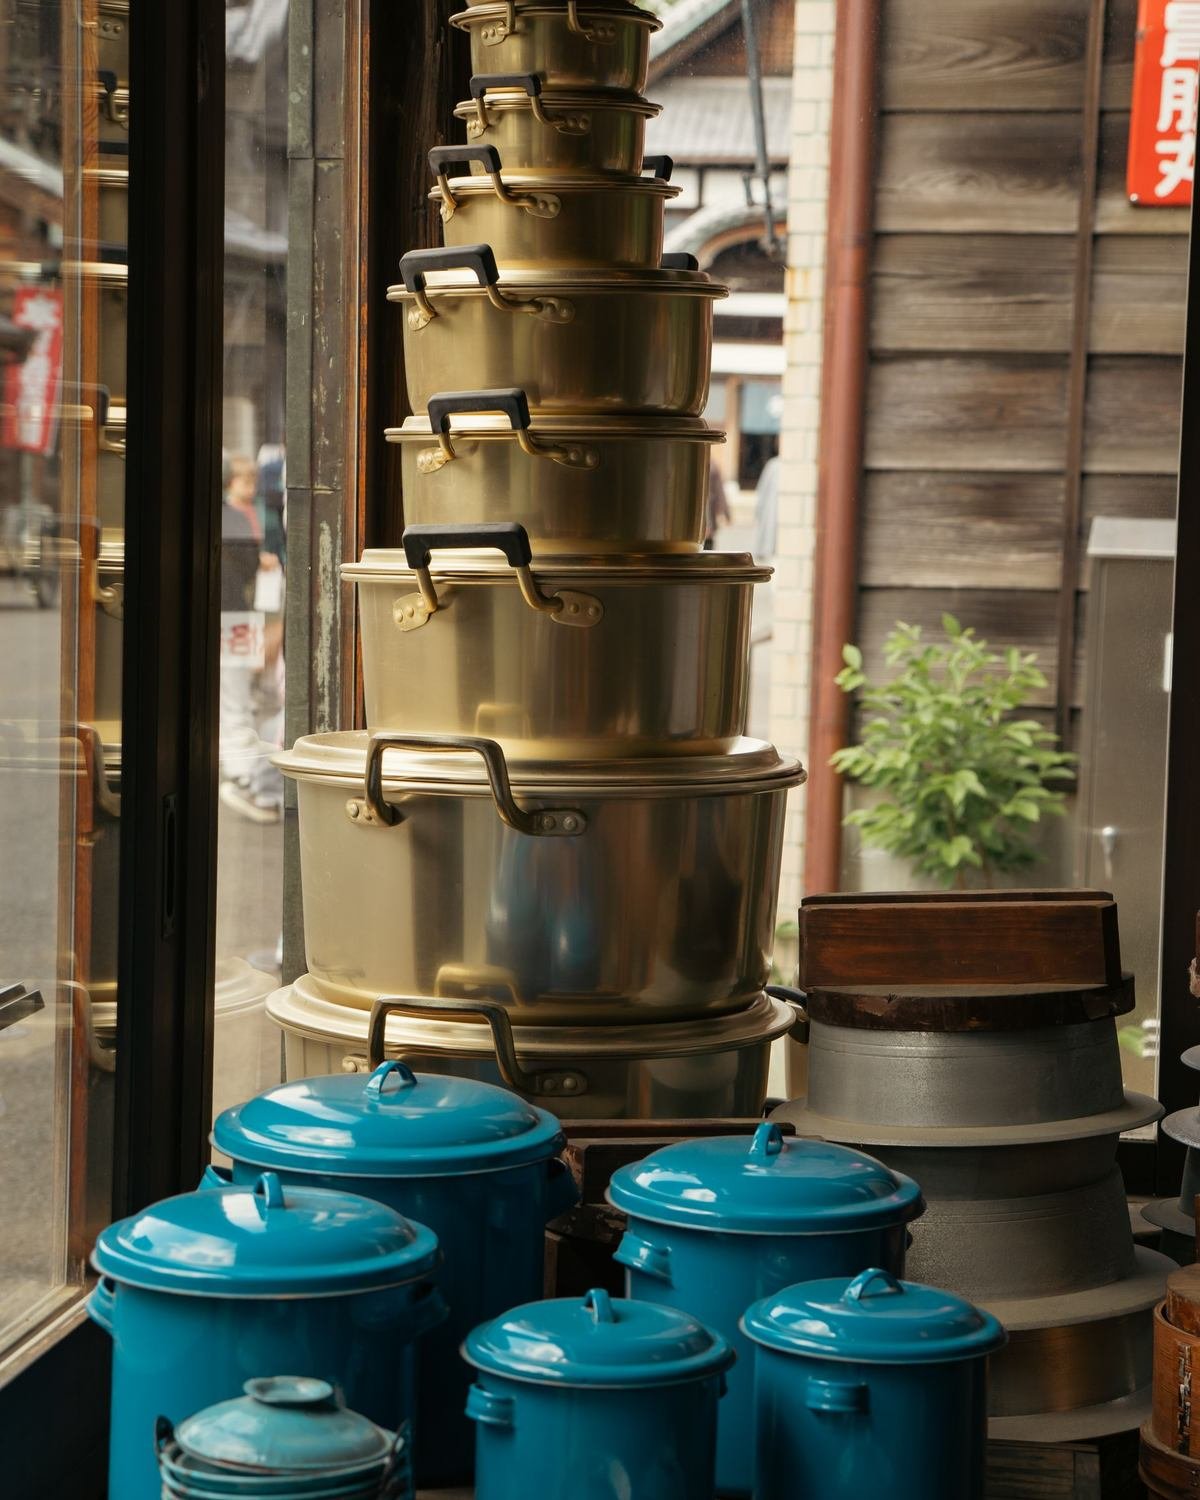
If you have to stack, stack smart. Nesting means putting smaller pots inside larger ones, like Russian dolls, so a full set of pots takes up the footprint of the biggest one.
How to nest: Start with your largest pot or Dutch oven. Put the next size inside it, then the next. Skillets nest the same way: largest on the bottom, smallest on top. Keep lids out of the nest. They break the stack and make it wobbly.
Protect the surfaces. Put a felt pan protector between each piece. These soft pads stop scratches on nonstick coatings and enamel. A folded paper towel works in a pinch, but felt protectors last for years and cost very little.
Keep stacks short. A nest of three or four pieces is easy to lift. A tower of eight is not. If you need more than one stack, make two short ones side by side instead of one tall one.
Best for: pots of the same brand or set, which are designed to nest neatly.
3. Give Pot Lids Their Own Home on a Door or Lid Rack
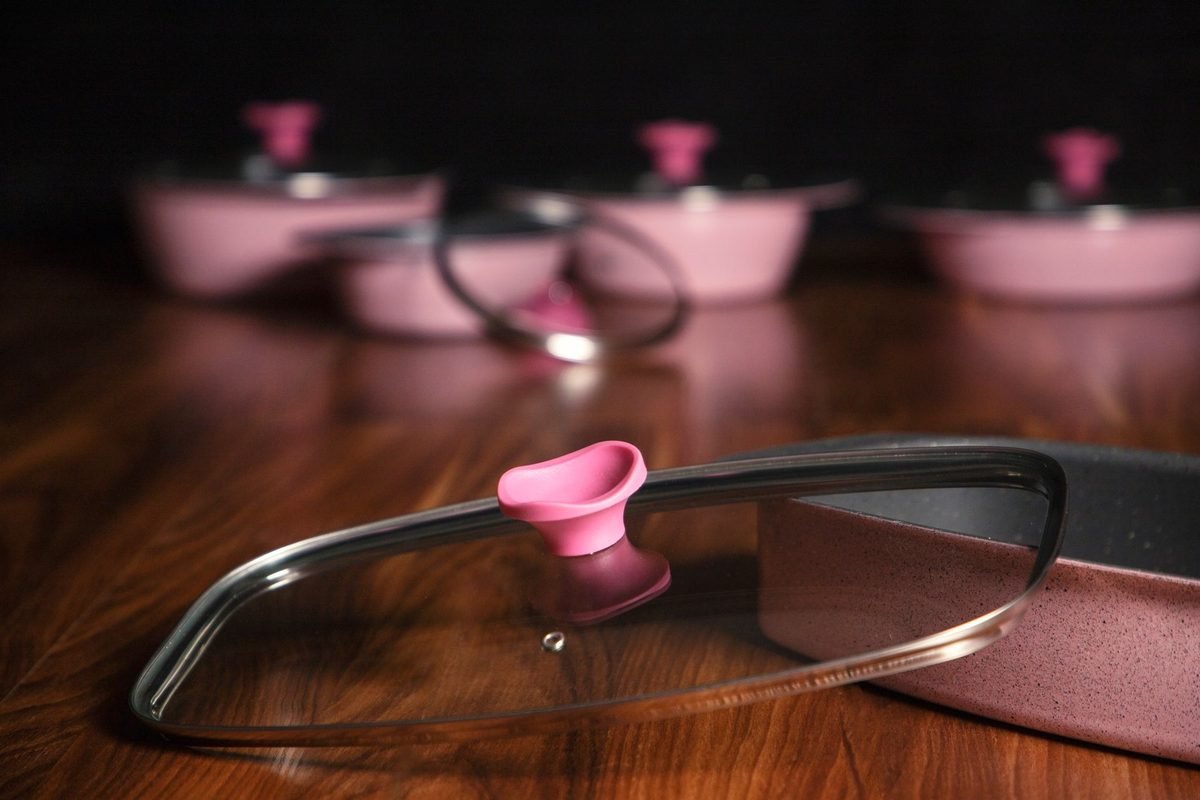
Lids cause more cabinet chaos than the pots themselves, so give them a separate spot. Once lids have their own home, the pots stack and nest much more neatly.
Option 1: the inside of a cabinet door. Mount a pot lid organizer for a cabinet door on the inside of the cabinet where you keep your pots. Lids slide into the slots and stand on their edges. Measure the door first so the rack doesn’t hit the shelves when you close it. Adhesive versions are available for renters.
Option 2: a lid rack inside the cabinet. A small pot lid holder rack sits on the cabinet floor or a shelf and holds lids upright like files. It’s perfect if your doors are too shallow for a door rack.
Option 3: a drawer divider. If you have a pot drawer (see idea 4), add a tension divider to make a lid slot at the back.
Tip: Only keep lids for pots you own. Universal glass lids that fit several sizes are a great way to cut down on lid clutter.
4. Turn a Deep Drawer Into a Pot and Pan Drawer
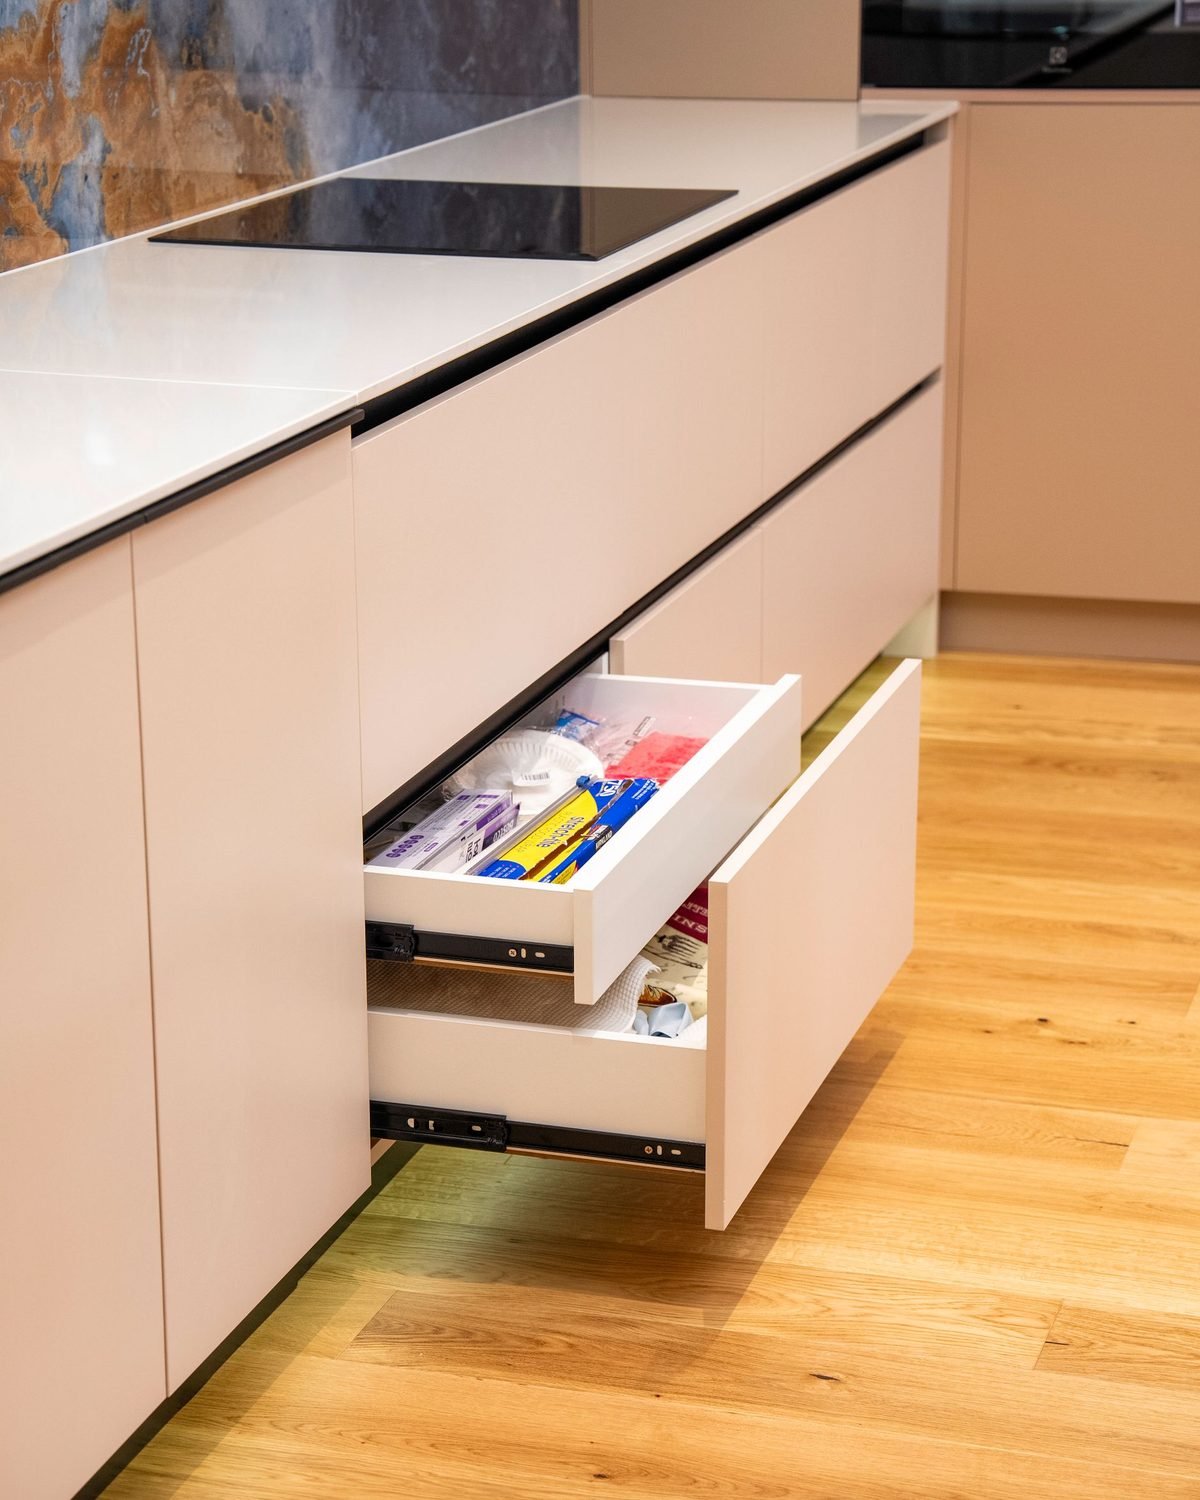
If you’re lucky enough to have deep drawers, they are the best place in the kitchen for cookware. You look down into a drawer and see everything at once, instead of crouching and peering into a dark cabinet.
How to set it up: Put pots in the drawer with their openings facing up and nest them by size. Stand lids upright along the back or side. If the drawer is wide, add a set of adjustable drawer dividers to keep each group in its own lane.
Try a pegboard drawer. A pegboard drawer organizer uses movable pegs to hold plates, pots and lids in place. It keeps everything from sliding around when you open and close the drawer, and you can rearrange the pegs any time.
No drawers? Add one. Many renters use a pull-out cabinet organizer in a base cabinet. These sliding baskets sit on the cabinet floor and act like a drawer, so you can pull the back of the cabinet out into the light. Many models install with no drilling, and you can take them with you when you move.
5. Stand Frying Pans Upright in a Pan Organizer Rack
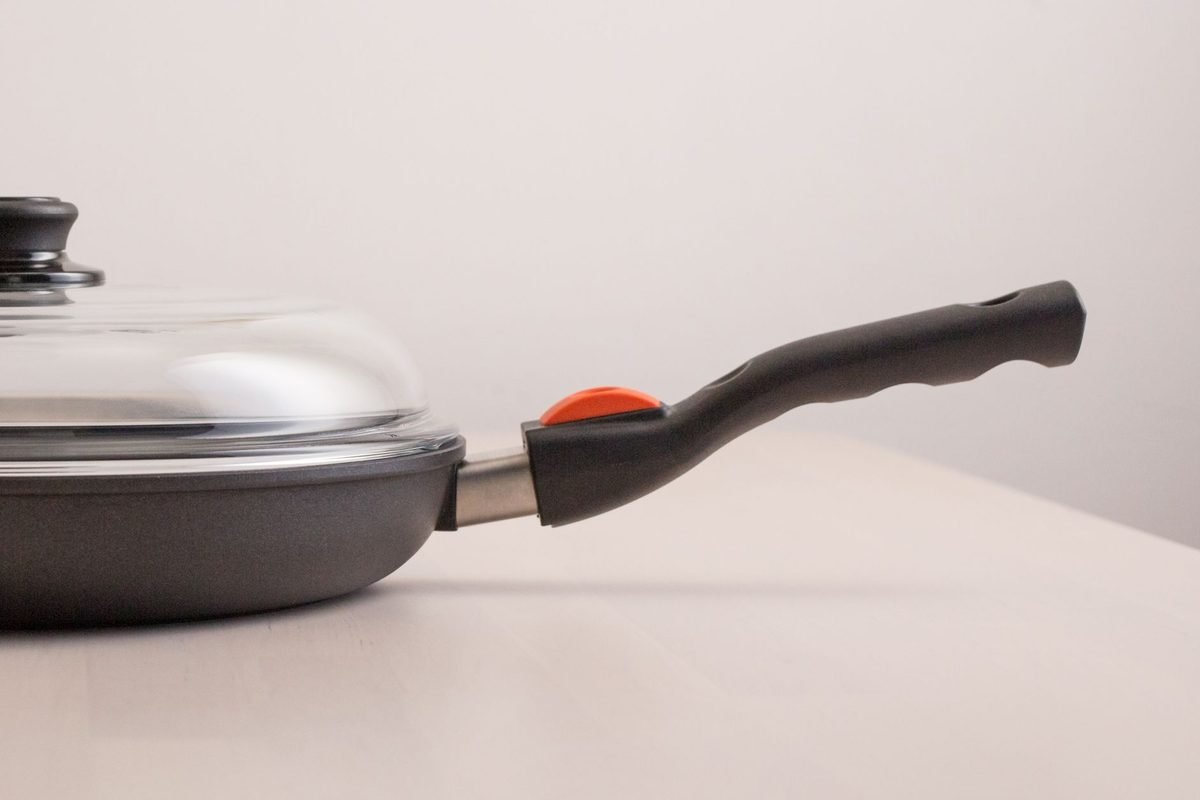
Frying pans are the worst stackers because their long handles stick out in different directions. The fix is to store them like files in a cabinet: standing on their edges, side by side.
How to set it up: Put a pan organizer rack on the floor of your base cabinet. Slide skillets into the slots with their handles pointing out toward you. Now you can grab any pan without moving the others.
Pick the right style. Adjustable racks let you change the gap between slots, which is handy if you own a mix of thin skillets and thick cast iron. Heavy-duty metal racks are better than thin wire ones if you have heavy pans.
Use it for more than skillets. A vertical rack also works for lids, sheet pans, cutting boards, cooling racks and baking dishes. Many people put two racks side by side: one for pans and one for lids and baking sheets.
Tip: Lay the rack lengthwise (front to back) in deep cabinets. The pans go in sideways, and you can see every handle the moment you open the door.
6. Add a Freestanding Metal Shelf or Baker’s Rack
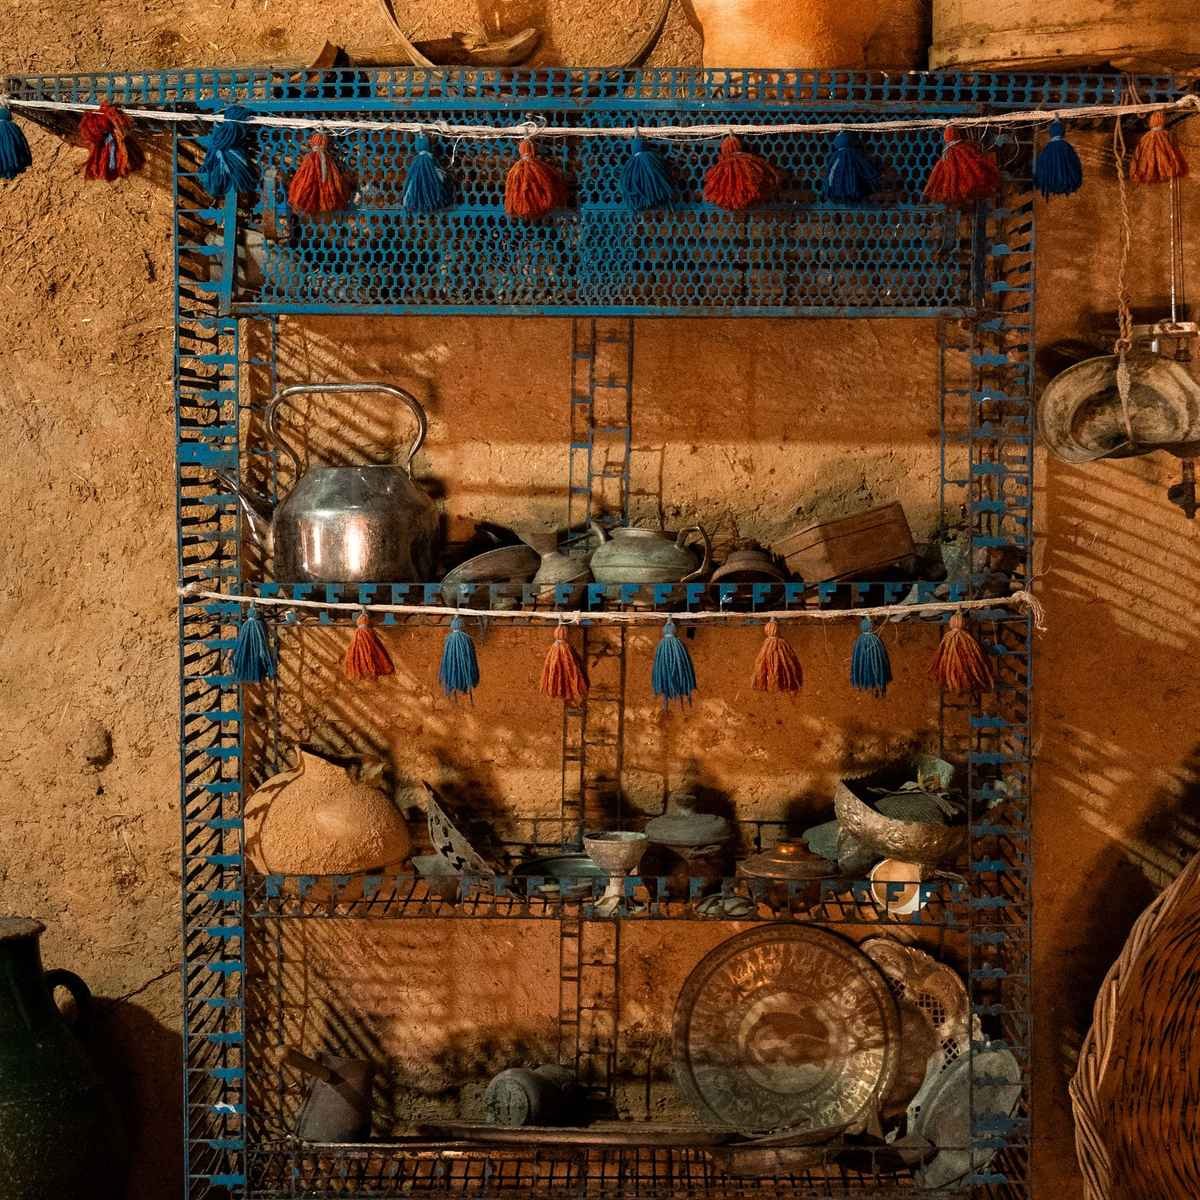
If your cabinets are full, add storage outside them. A narrow freestanding shelf or baker’s rack can hold your whole cookware collection in a footprint about the size of a stool.
Where to put it: Look for a gap at the end of the counter, a corner near the fridge or a spot next to the doorway. Even a 14- to 18-inch wide rack can hold a lot.
How to set it up: Put heavy pots and the Dutch oven on the bottom shelf, everyday pans at waist height and lighter or decorative pieces on top. Many racks have hooks along the sides for hanging skillets, spatulas and oven mitts.
Renter tip: A kitchen baker’s rack with hooks doesn’t need any drilling, and it moves with you to the next apartment. Choose one with adjustable feet so it sits level on older floors.
Keep it tidy. Open shelves show everything, so only store pieces you’d be happy for guests to see. Put mismatched or worn items in a wire basket on the bottom shelf.
7. Hang Pans Over a Window or Above the Sink
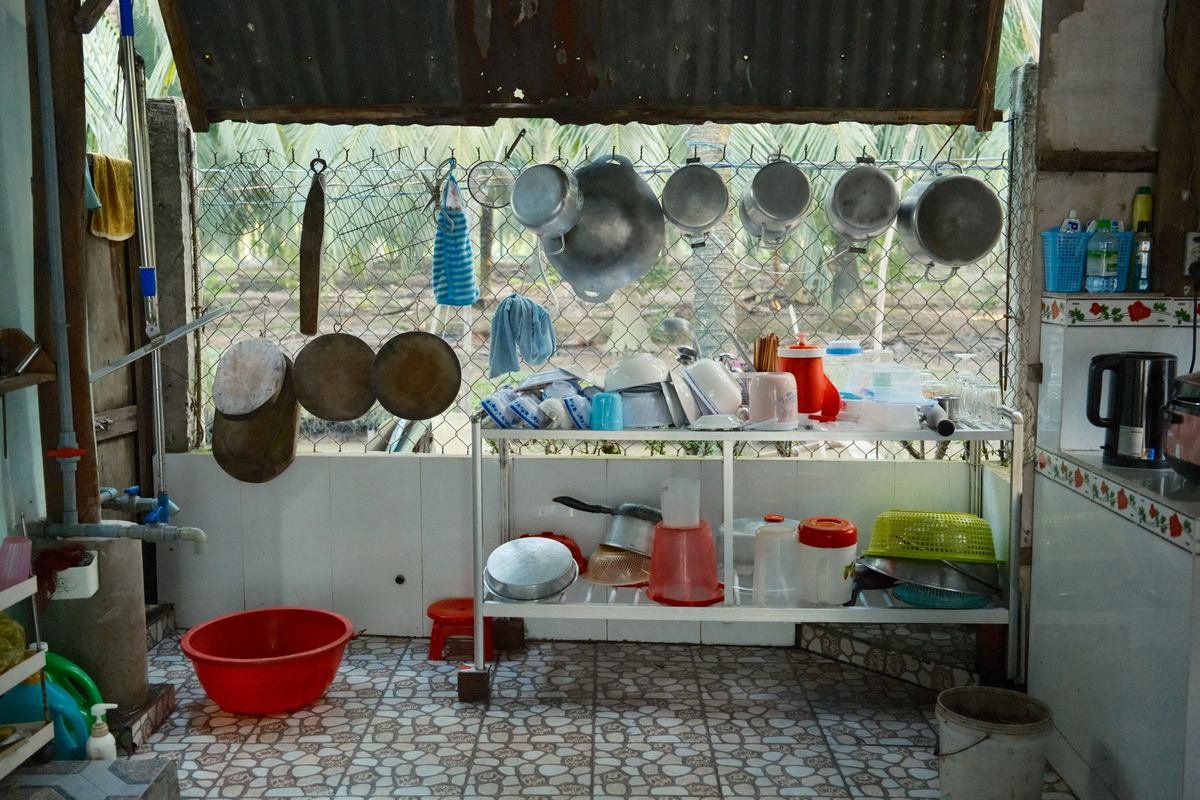
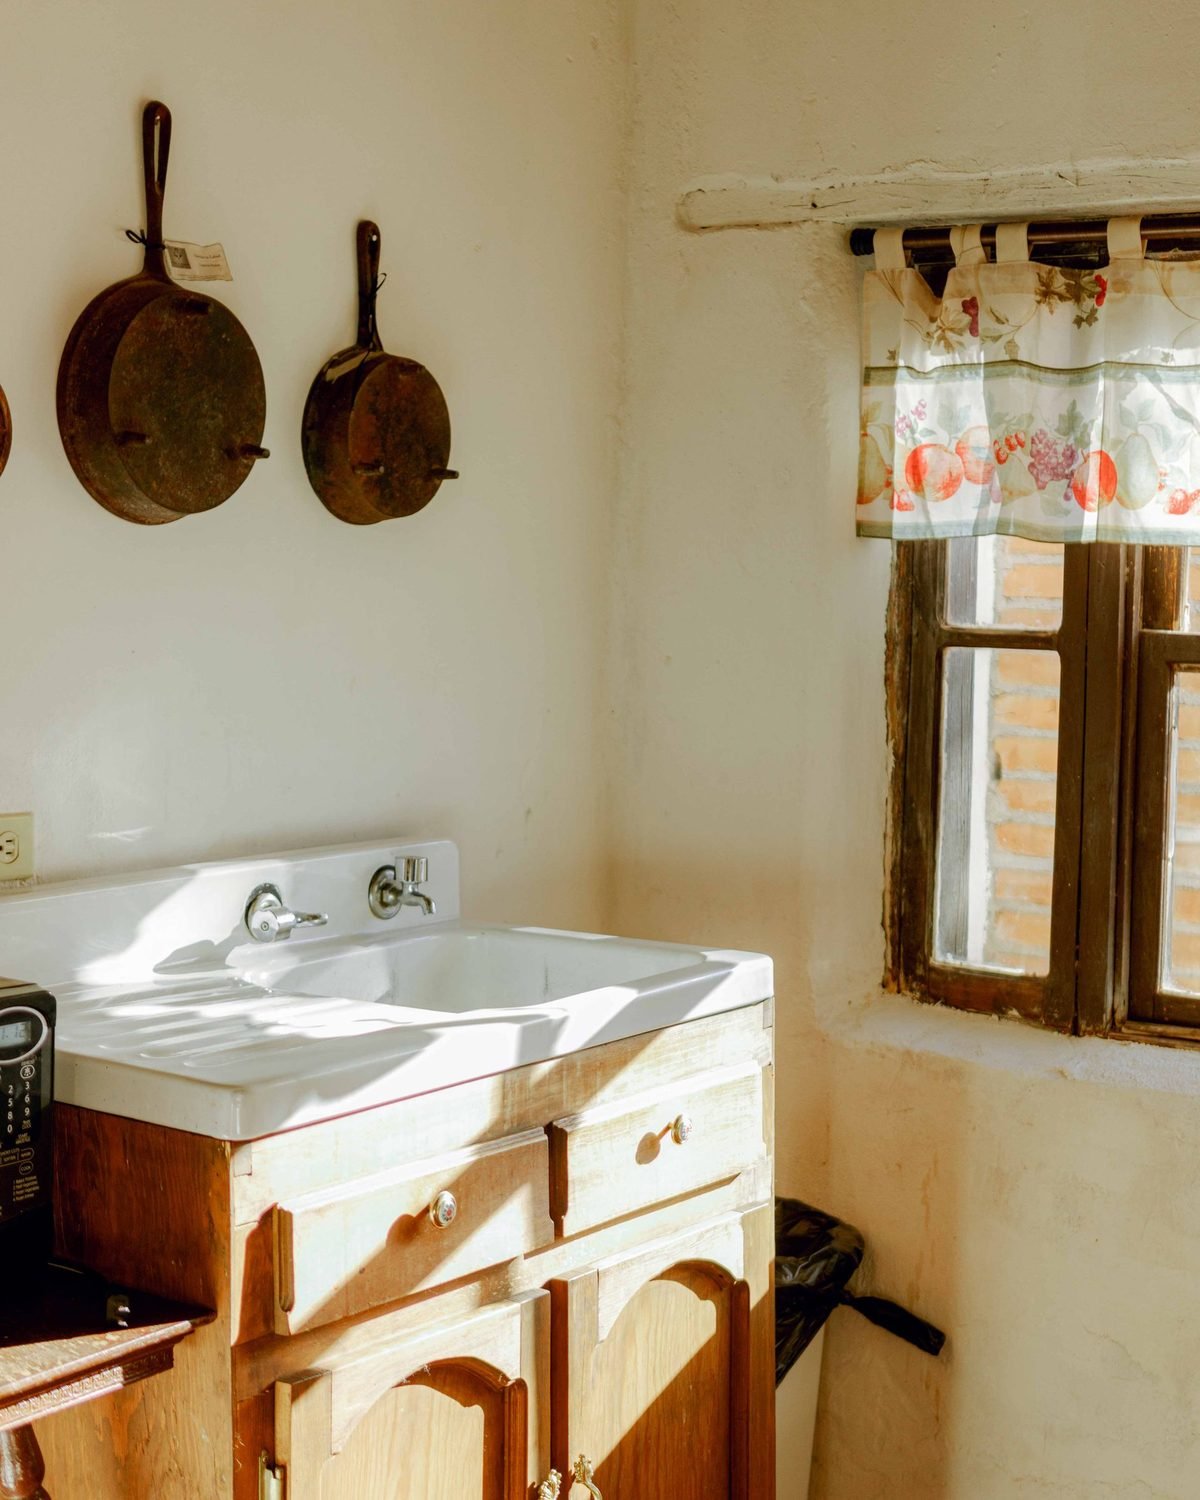
The space above a window or the sink is often empty. If your kitchen has no free wall for a rail, look up. A rail or a strong rod mounted above the window frame can hold a whole row of pans.
How to set it up: Mount a sturdy rod across the top of the window frame or the wall above the sink. Use S-hooks to hang lightweight pans and colanders. Keep heavy pots off it, since the rod has to carry the weight of everything you hang.
What about a ceiling pot rack? A ceiling pot rack is a classic way to free up a cabinet, especially over a kitchen island. It must be anchored into a ceiling joist, so in a rental, ask your landlord before you install one. If the answer is no, a window rod or a freestanding rack gives you a similar look.
Why it works: You get your pans out of the cabinet, they dry well in the air and the light, and they look like part of the decor.
8. Use Single Wall Hooks for Heavy Skillets
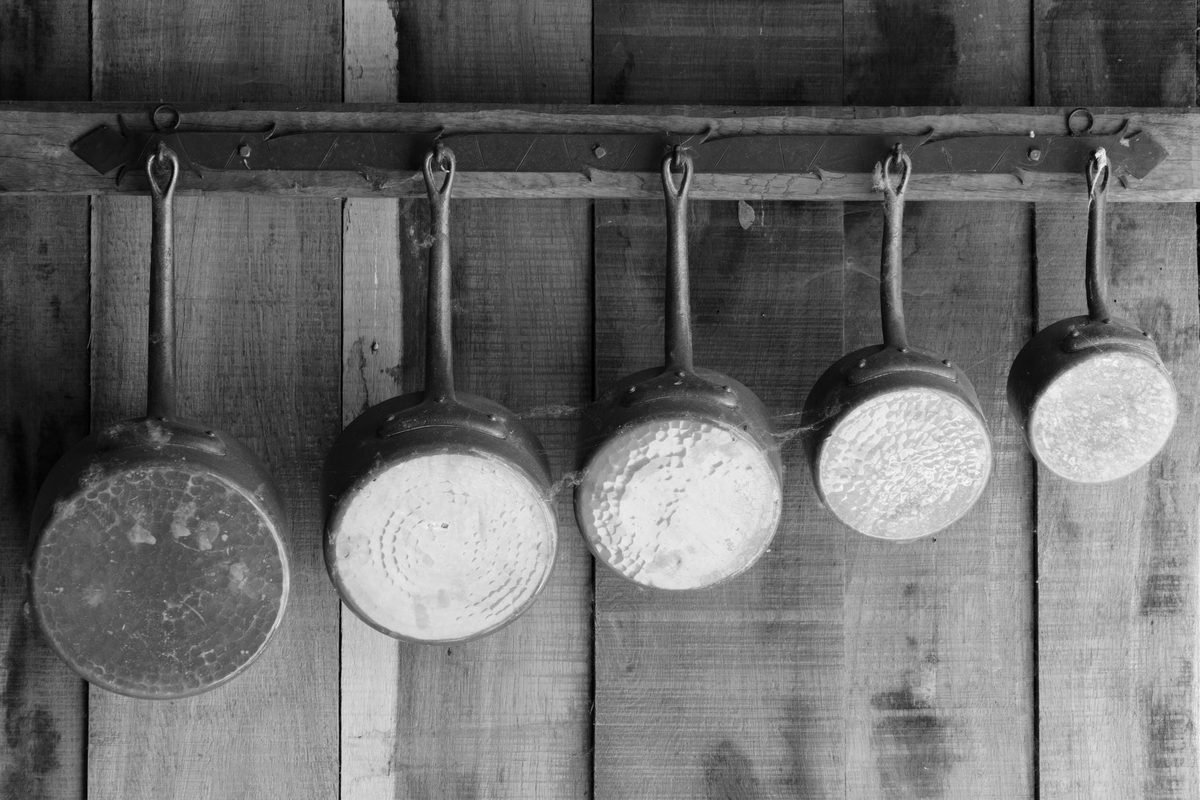
Heavy pans like cast iron skillets can be too much for a light rail. Individual hooks screwed into a stud or a solid wood strip can hold them safely.
How to set it up: Mount a wood strip or a row of heavy-duty wall hooks on the wall near the stove. Hang one pan per hook. Space the hooks so pans don’t bang into each other when you take one down.
Mix it with a magnetic strip. A magnetic strip next to the hooks can hold knives, small lids and metal utensils, so the whole cooking zone lives on one wall.
Renter tip: If you can’t drill, use a pegboard wall organizer that mounts with a few small screws, or a freestanding pegboard on the counter for lighter pans.
Best for: cast iron, carbon steel and copper pans, which also look beautiful hanging in a row. Hanging also lets cast iron dry fully, which matters for rust prevention. Lodge has a helpful guide to cast iron cleaning and care if you’re new to it.
9. Use the Oven and Oven Drawer for Baking Pans
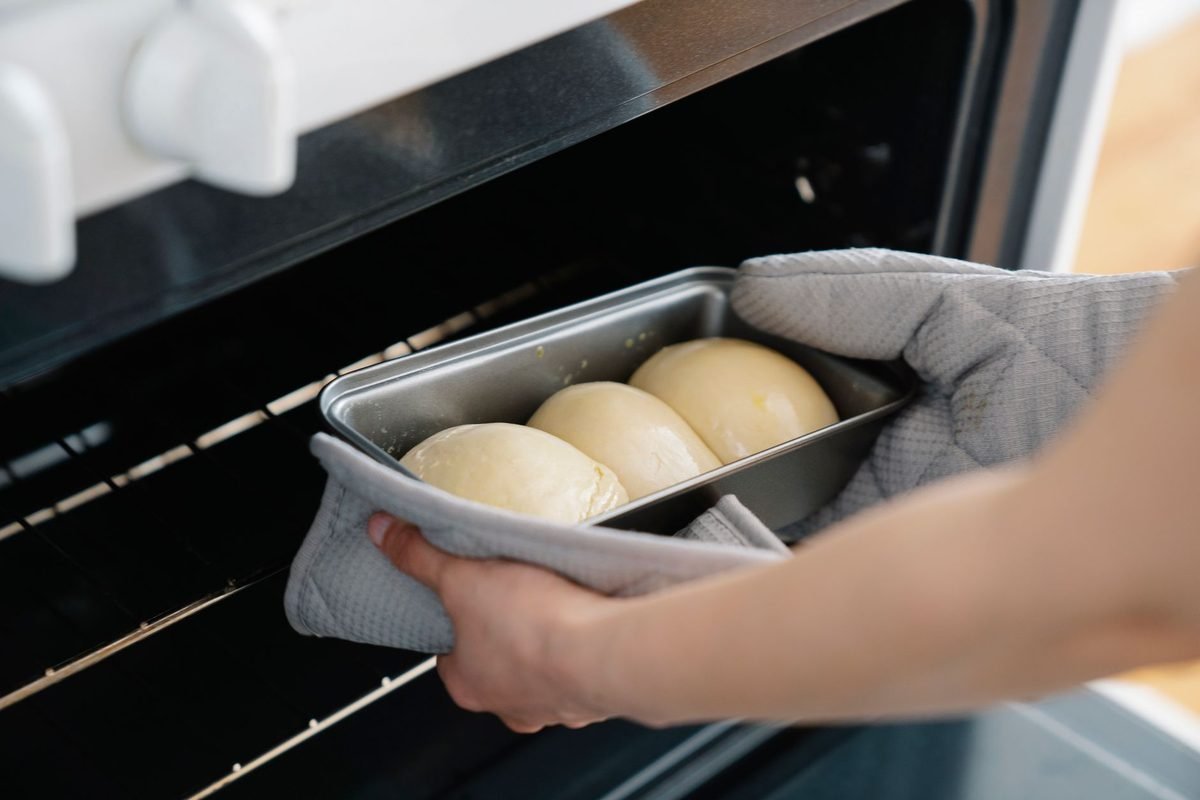
The oven is a big, empty metal box most of the day. Many small-kitchen cooks store a cast iron skillet or a sheet pan right inside it.
The oven drawer: The drawer under many ovens is meant for storage, not warming. It’s the perfect home for sheet pans, muffin tins, pizza pans, cooling racks and a roasting pan. Stand them upright with a slim bakeware organizer rack if the drawer is tall enough.
Inside the oven: You can keep a heavy cast iron skillet or Dutch oven inside the oven. It stays seasoned and out of the way.
Important safety rule: Always take everything out before you preheat. Put a sticky note on the oven door or the knob as a reminder, especially if you live with other people.
10. Store Sheet Pans and Baking Trays Upright
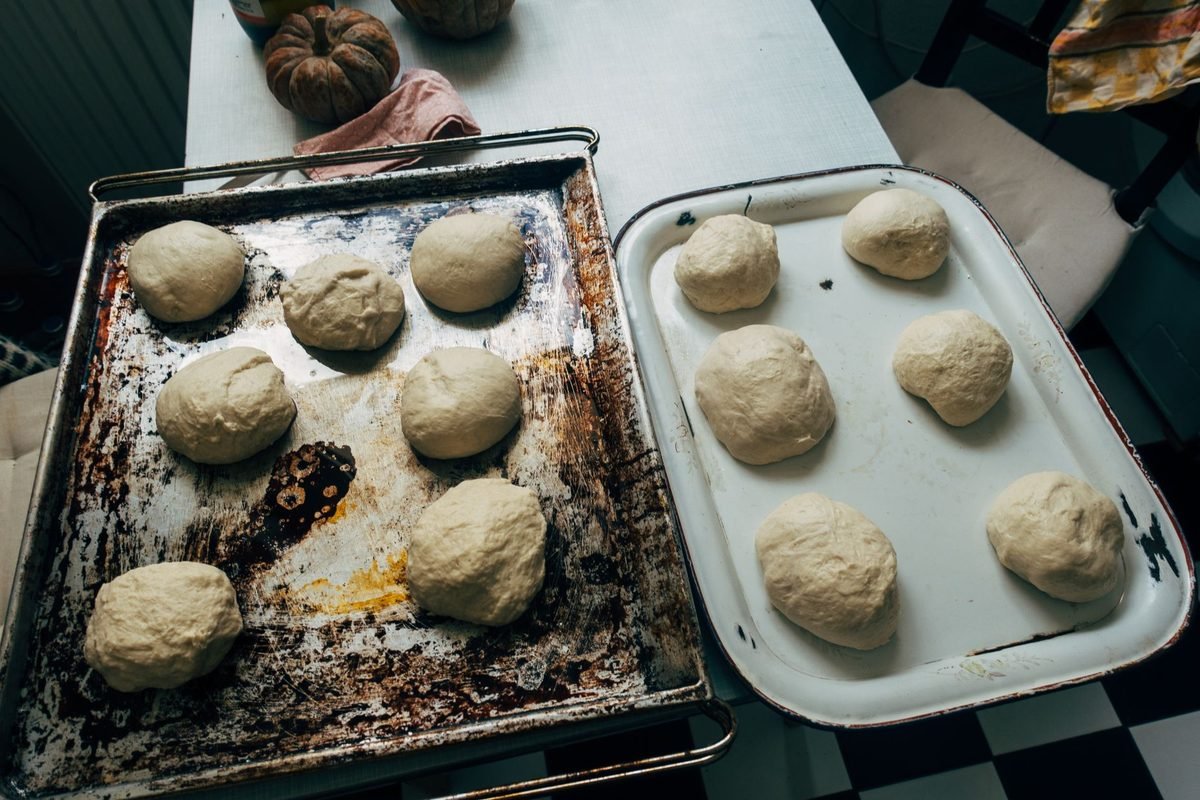
Flat items like sheet pans, baking trays, cutting boards and cooling racks are much easier to grab when they stand upright, like books on a shelf.
The tension rod trick: Put two or three short tension rods vertically inside a cabinet, wedged between the floor and the shelf above. They create slots for each pan. This is one of the cheapest, most renter-friendly kitchen organization ideas for pots and pans and bakeware.
Use the narrow cabinet. Many kitchens have a skinny cabinet next to the stove or above the fridge. It’s the ideal spot for trays and boards standing on their edges.
Tip: Put the pans you use most in front and the holiday bakeware in back.
11. Keep One Everyday Pan on the Stovetop
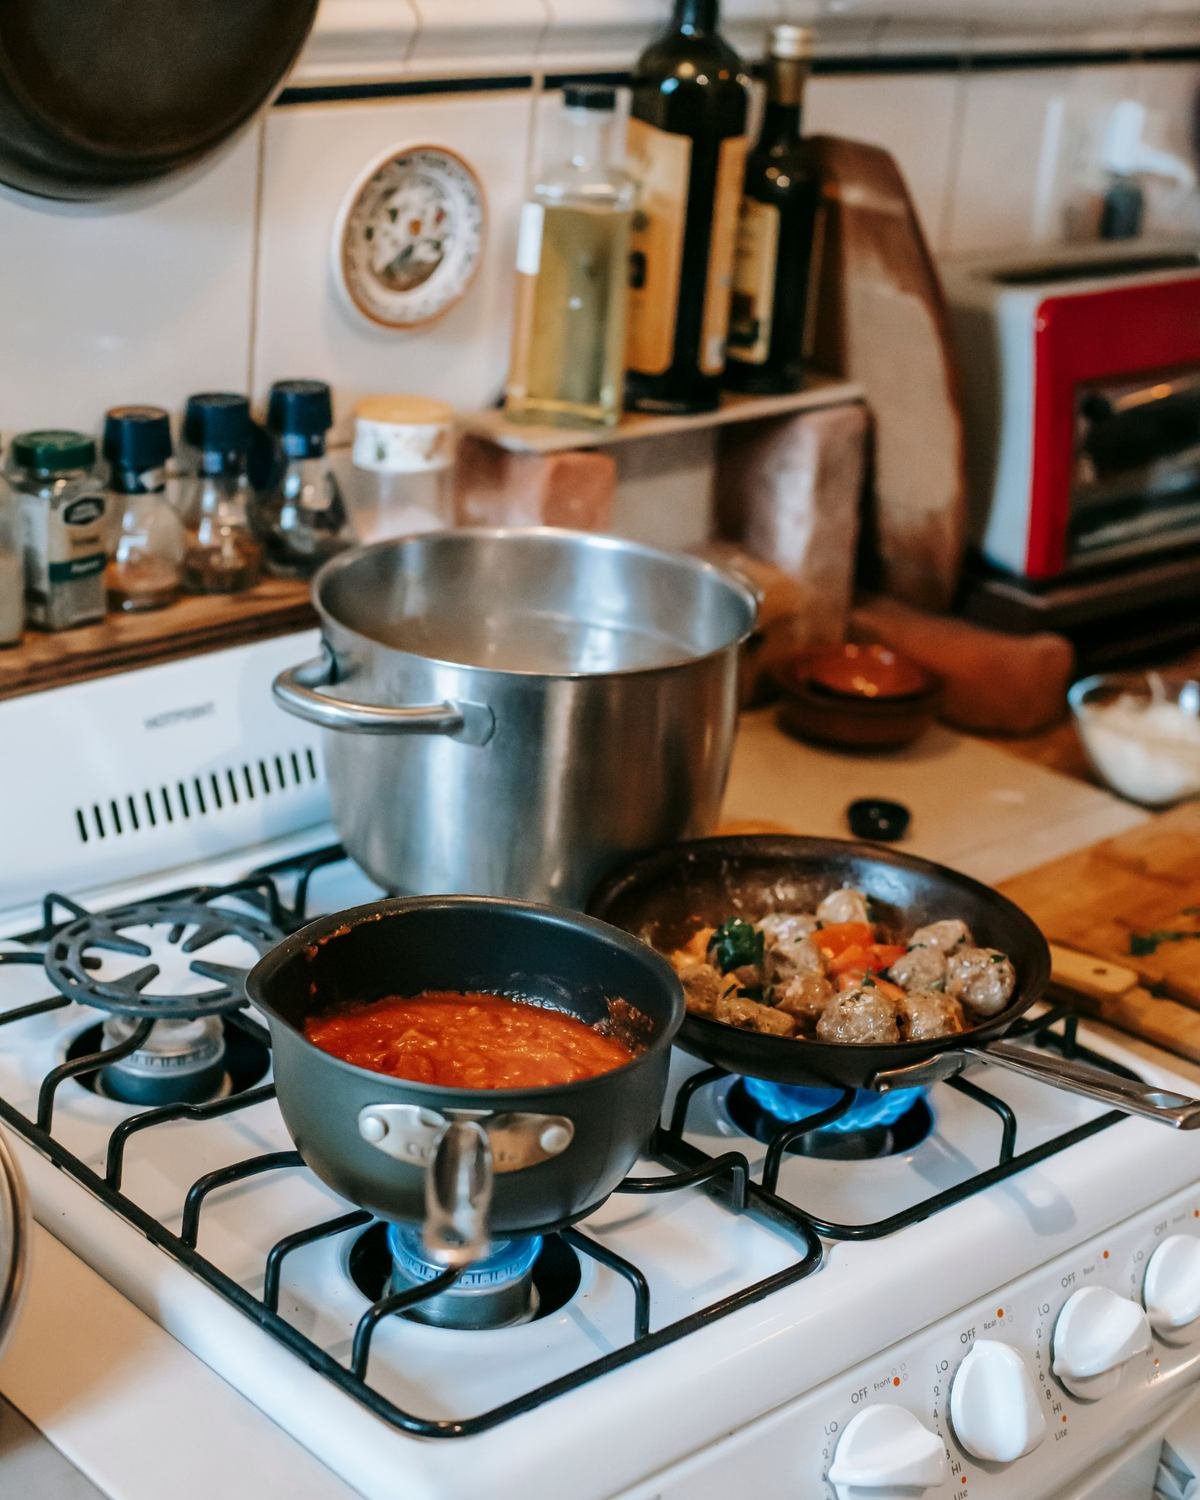
This sounds too simple to be a real idea, but it helps. Pick the one pan you use every day, usually a 10-inch skillet or a small saucepan, and let it live on a back burner.
Why it works: That pan never goes into the cabinet, so the rest of your cookware stays organized. You also save a few minutes every day, since you don’t need to dig out the pan you use most.
Make it look intentional. Choose a good-looking pan, like an enameled Dutch oven or a cast iron skillet. Keep the stovetop clean around it so it feels styled, not cluttered.
Bonus: A stovetop cover can turn a gas stove into extra counter space when you’re not cooking.
12. Move Rarely Used Pots Up High
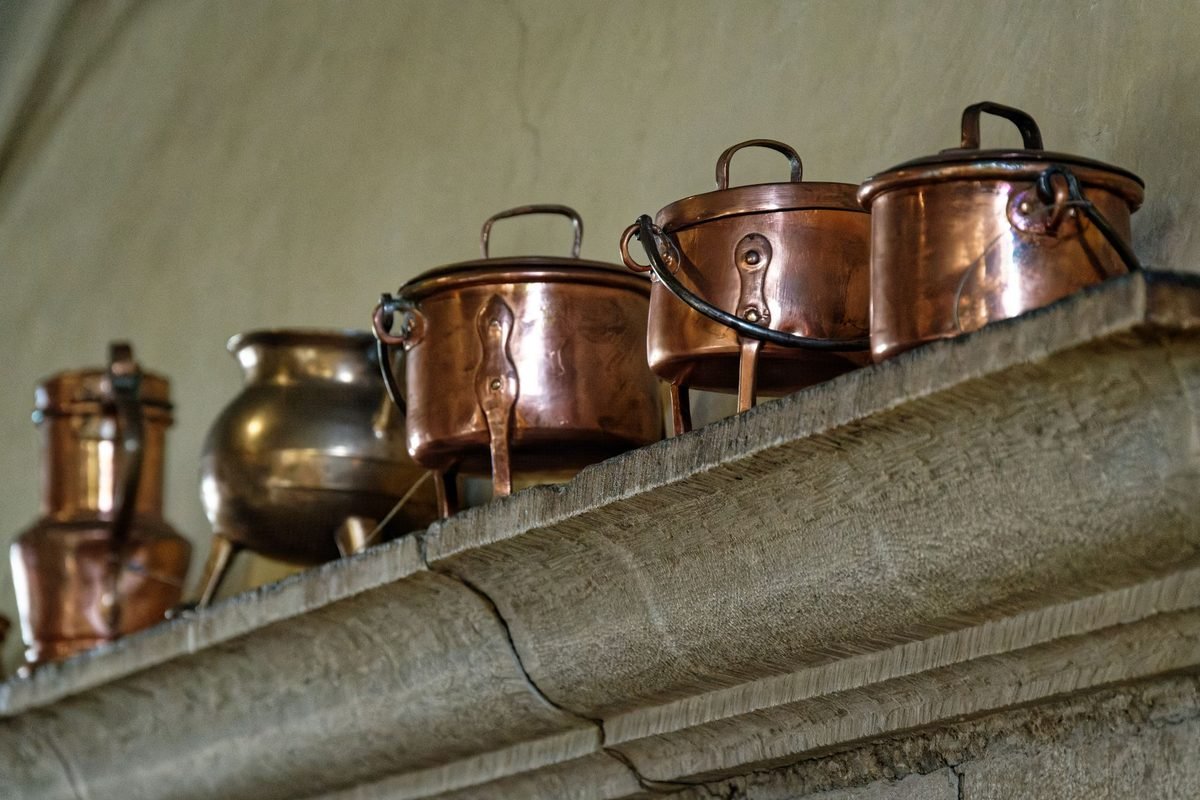
The top shelf of your upper cabinets, the space above the fridge and the top of the cabinets are perfect for the cookware you use a few times a year.
What goes up high: the large stockpot, the roasting pan, a canning pot, holiday cake pans and anything seasonal.
How to set it up: Put smaller items in a storage bin with a handle so you can pull it down in one move. Label the front so you know what’s inside without climbing up. Keep a folding step stool nearby.
Look beyond the kitchen. If your kitchen is truly tiny, store a few occasional pieces in a hall closet or under the bed. Our small apartment storage ideas on a budget have more ideas for squeezing storage out of every room.
How to Choose the Right Pots and Pans Storage for Your Kitchen
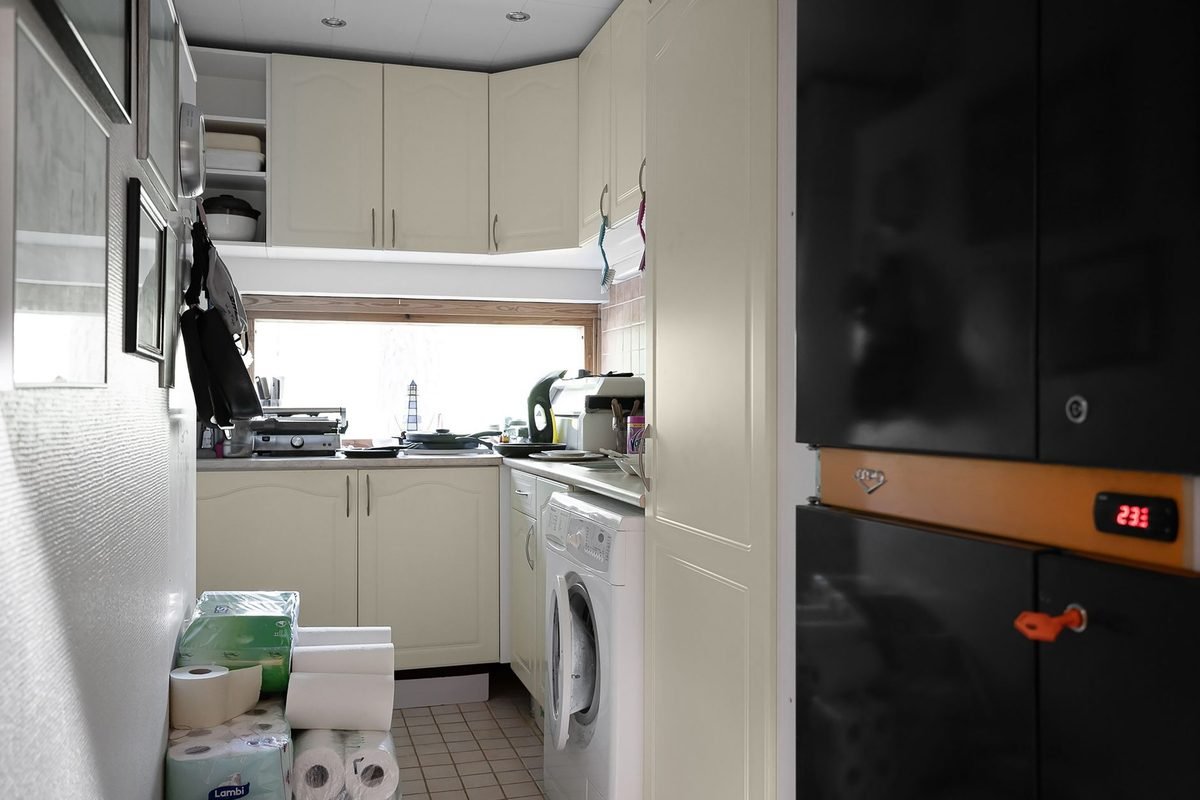
Every kitchen is different. Here’s how to match the ideas to the space you have.
Galley kitchen: Use the walls. A wall rail near the stove (idea 1), a window rod (idea 7) and upright racks in the base cabinets (ideas 5 and 10) work well in long, narrow kitchens.
Studio or tiny kitchen with very few cabinets: Bring in a freestanding baker’s rack (idea 6), keep your everyday pan on the stove (idea 11) and store occasional pieces outside the kitchen (idea 12).
Kitchen with deep base cabinets: Add pull-out organizers (idea 4), a pan organizer rack (idea 5) and a door-mounted lid rack (idea 3).
Kitchen with deep drawers: Make a pot drawer with dividers or pegs (idea 4) and keep lids standing in a separate slot.
Kitchen with an island: If your landlord allows it, a ceiling pot rack (idea 7) over the island gives you a lot of storage with a classic look.
Corner cabinet: Use a lazy Susan for pots or put the occasional cookware in the back corner and the everyday pieces up front.
If you’re renting, our list of renter-friendly kitchen upgrades shows more ways to improve your kitchen without losing your deposit.
What to Buy (and What to Skip)
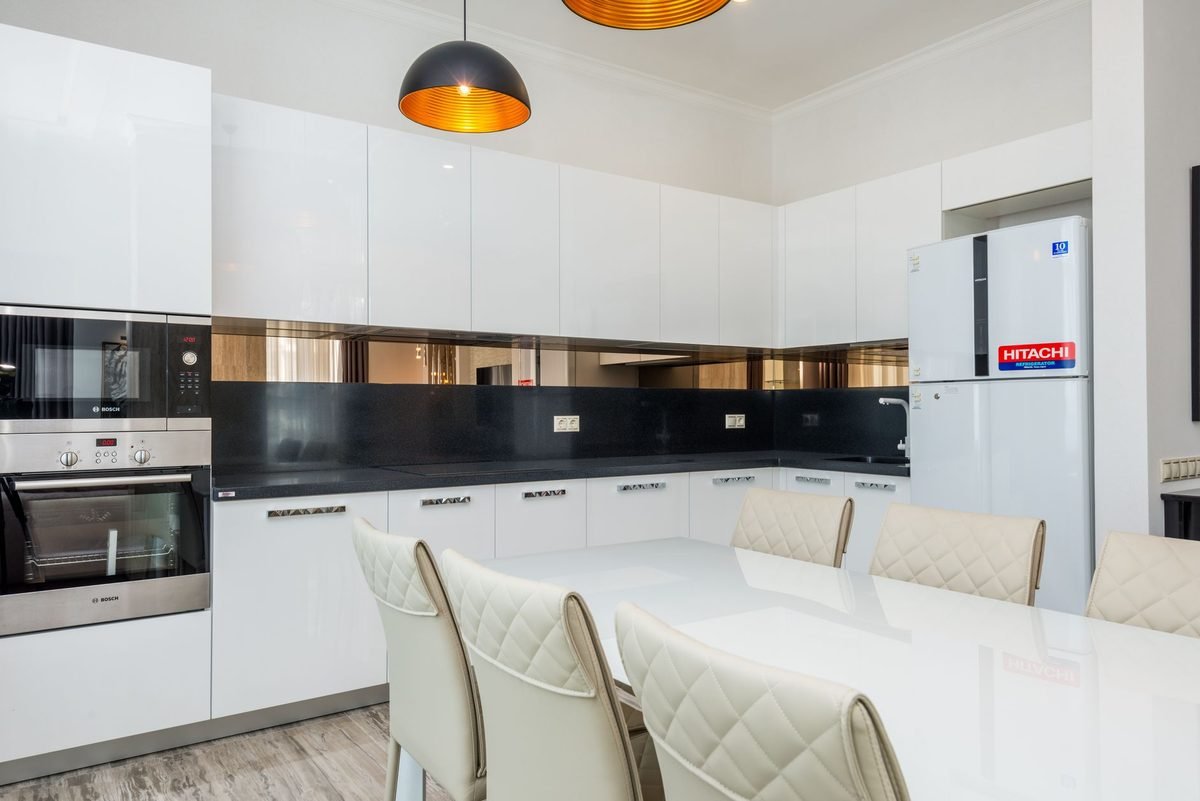
Organizers can help, but they can also become clutter. Buy only what solves a problem you actually have.
Worth buying:
- A vertical pan organizer rack for skillets and lids
- Felt pan protectors if you stack nonstick or enamel pots
- A door-mounted or freestanding lid rack
- A pull-out cabinet organizer if your base cabinets are deep
- A wall rail with S-hooks if you have a free wall near the stove
Usually not worth it:
- Huge cookware sets with pieces you’ll never use
- Thin wire racks that bend under cast iron
- Organizers you haven’t measured for
- Decorative bins that hide what’s inside
Always measure first. Measure the inside width, depth and height of the cabinet, and note the hinges, the pipes and the shelf lip. Write it down and take it with you when you shop.
Shop on a budget. Dollar stores sell tension rods, wire racks and plastic bins that work well for cookware. Check our Dollar Tree kitchen organization hacks for cheap ideas that really work.
How to Keep Pots and Pans Organized
Organizing is the easy part. Keeping it that way takes a few small habits.
Put pans away dry. Wash, dry and put cookware back the same day. Wet pans stacked together can rust or develop water spots, and a pile of clean pans on the drying rack becomes a second storage spot.
One in, one out. When you buy a new pan, donate or toss an old one. This keeps your cookware collection from creeping back up.
Reset every month. Take two minutes to straighten the pot drawer, put lids back on their rack and check that each pan is in its zone.
Re-check every season. Twice a year, ask yourself if there’s any cookware you haven’t used in six months. If not, it’s probably time to let it go.
Label the zones. If you share the kitchen, a small label on the shelf (“skillets,” “lids,” “sheet pans”) helps everyone put things back in the right place.
Common Mistakes to Avoid
Buying organizers before you declutter. You’ll end up with racks that don’t fit what you own. Edit first, then shop.
Stacking everything in one tower. Tall stacks are heavy and hard to unbuild. Keep stacks to three or four pieces, or store pans upright.
Storing lids on the pots. It looks tidy but makes the stack tall, slippery and hard to nest. Give lids a separate home.
Ignoring the walls. In a small kitchen, wall space is storage. A rail, a few hooks or a pegboard can free up a whole cabinet.
Hanging heavy pans on weak hooks. Check the weight rating of every rail, rod and adhesive hook. Cast iron is much heavier than it looks.
Putting daily pans in the hardest spot. The pans you use every day belong in the easiest place to reach, not in the back corner of the cabinet.
FAQ: Organizing Pots and Pans in a Small Kitchen
What is the best way to store pots and pans in a small kitchen?
The best way is to use a mix of methods: nest pots by size, store frying pans upright in a pan organizer rack, keep lids on a door rack and hang everyday pans on a wall rail. Move rarely used pieces to high shelves or the oven drawer.
How do I organize pots and pans without a cabinet?
Use the walls and open shelves. A wall rail with S-hooks, a pegboard, a freestanding baker’s rack and a pot rack over a window all work without cabinets. Keep your everyday pan on the stove.
Where should I store pot lids?
Store lids separately from pots, standing upright on a lid rack, a door-mounted lid organizer or in a slot inside a pot drawer.
How do I stop pots and pans from scratching each other?
Put felt pan protectors or a paper towel between stacked pieces, keep stacks short or store pans upright so they don’t touch.
Is it OK to store pots and pans in the oven?
Yes, many people store a cast iron skillet or sheet pans in the oven or the oven drawer. Just remove everything before you preheat the oven.
How many pots and pans do I really need?
Most small households need a large skillet, a small nonstick pan, two saucepans, a Dutch oven or large pot, two sheet pans and a baking dish. Anything else is optional.
Final Thoughts on Kitchen Organization Ideas for Pots and Pans
You don’t need a big kitchen to have organized cookware. Start by decluttering, split your pots and pans into daily, weekly and occasional groups and then pick the kitchen organization ideas for pots and pans that fit your space. For most small kitchens, a pan organizer rack, a lid rack and a wall rail make the biggest difference.
Tackle one cabinet this weekend and see how much easier dinner feels when every pan has a place. When you’re done, keep going with our fridge organization ideas or our guide to small kitchen organization on a budget.