How to Organize a Small Kitchen in 10 Easy Steps
Disclosure: This post contains affiliate links. As an Amazon Associate I earn from qualifying purchases. If you buy through these links, I may earn a small commission at no extra cost to you. Read our full disclaimer.
If you’re wondering how to organize a small kitchen without a renovation, a big budget or a weekend lost to Pinterest rabbit holes, you’re in the right place. Small kitchens aren’t hard to organize because they’re small. They’re hard because most of us try to fix them in the wrong order. We buy bins before we declutter, stack things on the counter because the cabinets are full and then wonder why the room feels cramped again a week later.
This guide walks you through the whole process step by step, in the order that actually works. You’ll empty and clean one zone at a time, cut the extras, plan simple zones, clear your counters and then give every cabinet, drawer and shelf a clear job. At the end, you’ll set up a few small habits that keep the kitchen tidy without daily effort.
Everything here is renter-friendly. You won’t need a drill, a contractor or a landlord’s permission. Most steps cost nothing, and the few products mentioned are optional helpers, not requirements. If you want a list of quick, cheap fixes instead of a full process, our roundup of small kitchen organization ideas on a budget is a great companion to this guide.
Quick answer: To organize a small kitchen, work in this order: (1) empty and clean one zone at a time, (2) declutter duplicates and unused gadgets, (3) map simple zones for prep, cooking, cleaning and storage, (4) clear the countertops, (5) store items in cabinets by how often you use them, (6) sort drawers with dividers, (7) organize under the sink, (8) use walls and doors for vertical storage, (9) tidy the pantry and fridge and (10) label shelves and set up a 10-minute daily reset.
The 10 steps at a glance:
- Empty and clean one zone at a time
- Declutter duplicates and unused gadgets
- Map your kitchen zones
- Clear the countertops
- Organize cabinets by how often you use them
- Sort drawers and tame the junk drawer
- Organize under the sink
- Use walls and doors for vertical storage
- Tidy the pantry and fridge
- Label everything and set up a daily reset
Why a Small Kitchen Gets Cluttered So Fast
A small kitchen can look great on Sunday and feel chaotic by Wednesday. That isn’t a personal failing. It’s the result of a few predictable problems that every compact kitchen shares.
The counter is the only landing zone. In a big kitchen, groceries, mail and bags can land on an island or a side table. In a small kitchen, the counter is the only flat surface, so everything ends up there, including the things that have nothing to do with cooking.
Cabinets are full of things you don’t use. Most kitchens hold duplicate spatulas, mugs from old jobs, a bread maker that comes out once a year and a stack of takeout containers without lids. These items take the best shelf space, which pushes the everyday things onto the counter.
There’s no buffer space. Bigger homes have a pantry closet, a garage shelf or a basement to absorb extra paper towels and bulk buys. A small apartment kitchen doesn’t, so every shopping trip shows up right away.
Things don’t have a home. If the cutting board doesn’t have a set spot, it lives wherever it was last used. If the lids don’t have a home, they end up in three different cabinets. Small kitchens punish homeless items faster than big ones do.
Nobody resets the room. Cooking creates mess, and that’s normal. The problem starts when the mess from one meal is still there when you start the next one.
The good news is that every one of these problems has a simple fix. Learning how to organize a small kitchen is really about fixing them in the right order, which is exactly what the 10 steps below do.
What You Need Before You Start
You don’t need to buy anything before you start. In fact, buying organizers first is one of the most common mistakes. Here is the short list of what helps:
- Three or four boxes or bags. Label them Keep, Donate, Trash and Relocate. The Relocate box is for things that belong in another room, like batteries, tools or mail.
- A cleaning spray, a cloth and a vacuum. You’ll wipe each shelf while it’s empty.
- A tape measure. Measure cabinet depth and height before you buy any bins or risers, so they actually fit.
- A notebook or your phone. Jot down what you need to buy and which zone each item belongs in.
- A timer. Working in 20- to 30-minute blocks keeps the job from feeling endless.
- Optional: a label maker or a roll of masking tape and a marker for labels later.
How long does it take? For most small kitchens, plan on one full weekend, or about 30 minutes a day for one to two weeks. Breaking it up is completely fine. The only rule is to finish one zone before you start the next, so you never have the whole kitchen torn apart at once.
Pick a starting point. Start with the zone that bothers you most. For most people that’s the counter by the stove or the cabinet that hits you with falling containers every time you open it. A quick win there will give you the energy to keep going.
How to Organize a Small Kitchen in 10 Easy Steps
Here is the full process. Follow the steps in order, because each one makes the next one easier. Decluttering before you plan zones means you only plan space for things you’ll keep. Planning zones before you put things away means everything lands in the right place the first time.
1. Empty and Clean One Zone at a Time

Don’t empty the entire kitchen at once. In a small space, that creates a mountain of stuff with nowhere to go, and you’ll end up shoving it all back in. Instead, work one zone at a time: one cabinet, one drawer or one section of counter.
Take everything out of that zone and put it on the table or a cleared counter. Then clean the empty space. Wipe the shelves, vacuum crumbs out of corners and check for leaks or sticky spots. This is also a good time to add a washable shelf liner, which protects rental cabinets and makes future cleaning faster.
While the zone is empty, look at it with fresh eyes. Is the shelf too tall for what’s on it? Is the cabinet next to the stove or across the room? These details matter in the planning step, so make a quick note.
Tip: Set a 20-minute timer for each zone. Most single cabinets or drawers can be emptied, cleaned and sorted in that time, and stopping on time keeps you from burning out.
2. Declutter Duplicates and Unused Gadgets
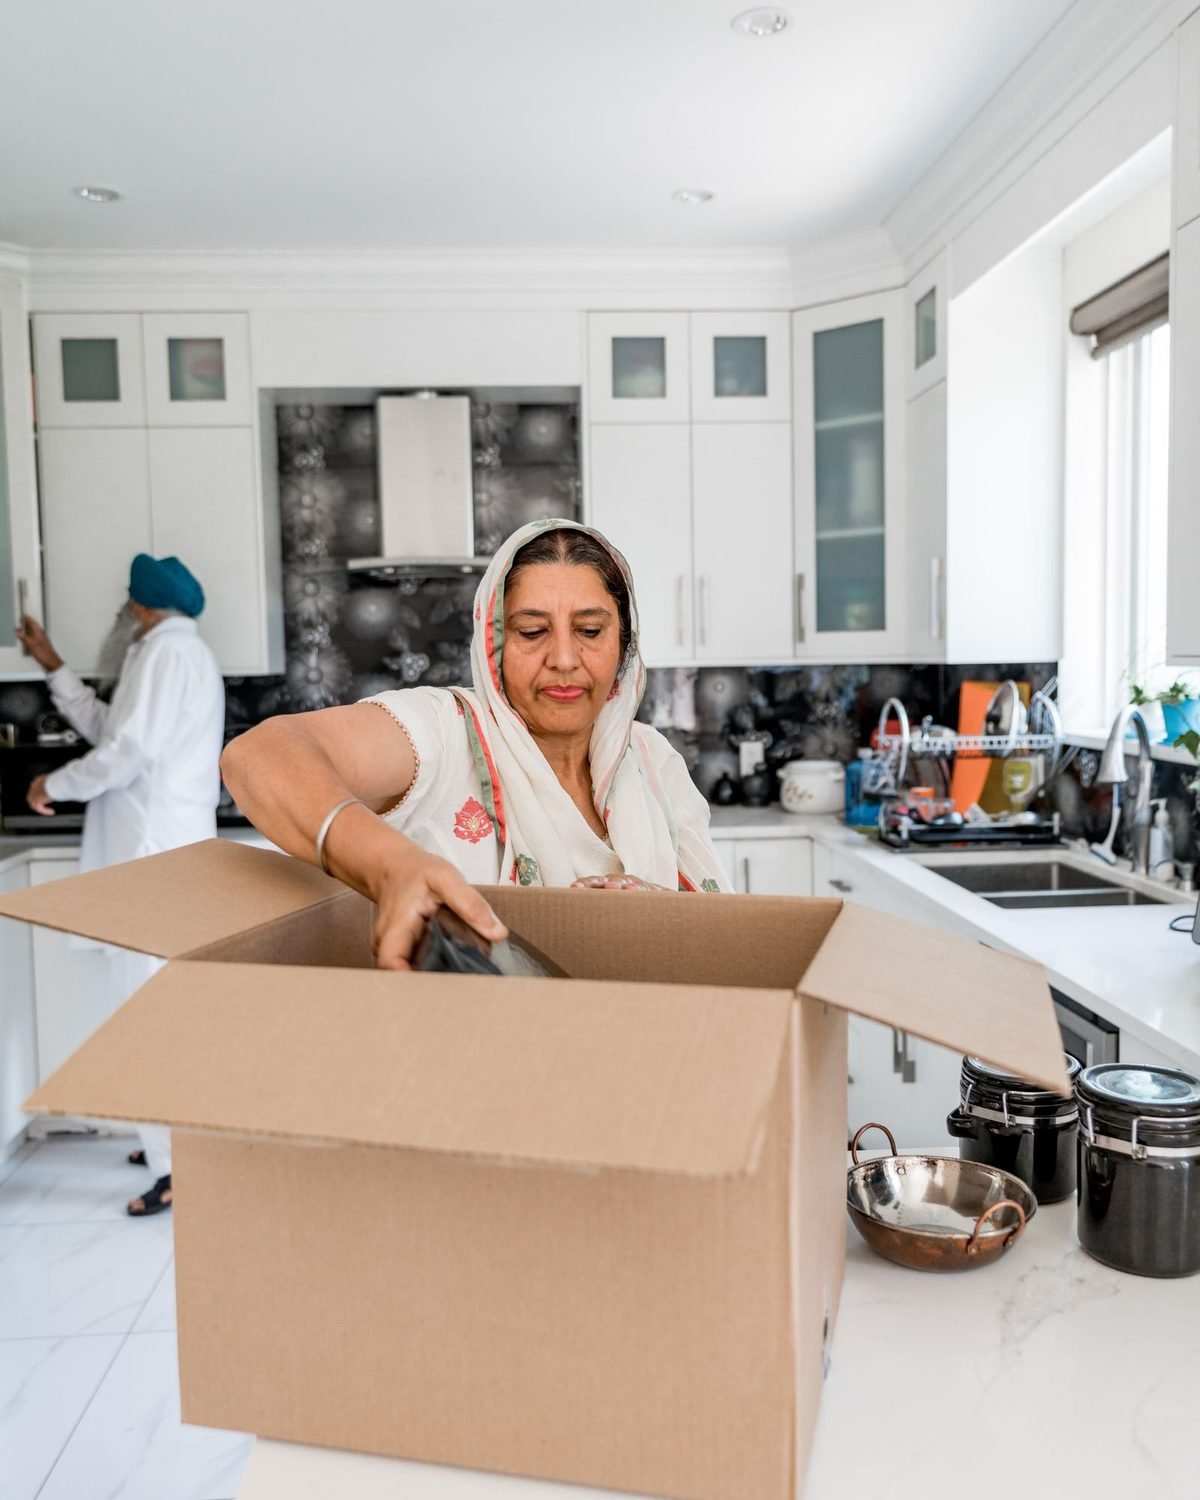
Before anything goes back in, sort it. This is the step that creates real space, and it matters more in a small kitchen than in any other room. Every item you let go of frees up room for the things you use every day.
Use your four boxes and ask a few simple questions about each item:
- Have I used this in the last six months? If not, and it isn’t seasonal, it’s a strong candidate to donate.
- Do I have more than one? Most kitchens need one can opener, one or two good spatulas and one set of measuring cups. Keep your favorite and donate the rest.
- Does it do only one job? Single-use gadgets like avocado slicers, egg separators and banana holders take space a small kitchen can’t spare.
- Is it broken, chipped or missing parts? Containers without lids and lids without containers go straight to recycling.
- Does it belong in the kitchen at all? Batteries, tools, chargers and paperwork go in the Relocate box.
Be realistic about your mugs, water bottles and takeout containers. These three categories quietly fill entire cabinets. A good rule is to keep only as many mugs as you can use in two days and only the food containers that have matching lids.
Unopened, shelf-stable food in good condition can often go to a local food bank. The EPA has a helpful guide to donating food that explains how it works. If you’d like more help deciding what to keep, our declutter checklist room by room includes a full kitchen list.
3. Map Your Kitchen Zones

Now that you know what you’re keeping, decide where things will live. Professional organizers call this zoning, and it’s the heart of any plan for how to organize a small kitchen. A zone is just an area with one job.
Most small kitchens need five zones, and mapping them is the easiest way to organize a small kitchen for good:
- Prep zone: the longest stretch of counter. Cutting boards, knives, mixing bowls and measuring tools live here.
- Cooking zone: next to the stove. Pots, pans, cooking utensils, oils and spices live within one step of the burners.
- Cleaning zone: around the sink. Dish soap, sponges, dish towels, trash bags and cleaning supplies live here.
- Dish zone: near the dishwasher or drying rack. Plates, bowls, glasses and silverware live here so unloading takes seconds.
- Food storage zone: the pantry shelf, a cabinet or a rolling cart, plus the fridge.
Sketch your kitchen on a piece of paper and mark where each zone will go. In a galley or one-wall kitchen, zones may overlap, and that’s fine. The goal is simply to answer the question “where does this go?” before you put anything back.
Also mark a small landing spot for things that aren’t kitchen items but always end up there, like keys or mail. If you don’t plan for them, they’ll take over the prep zone.
4. Clear the Countertops
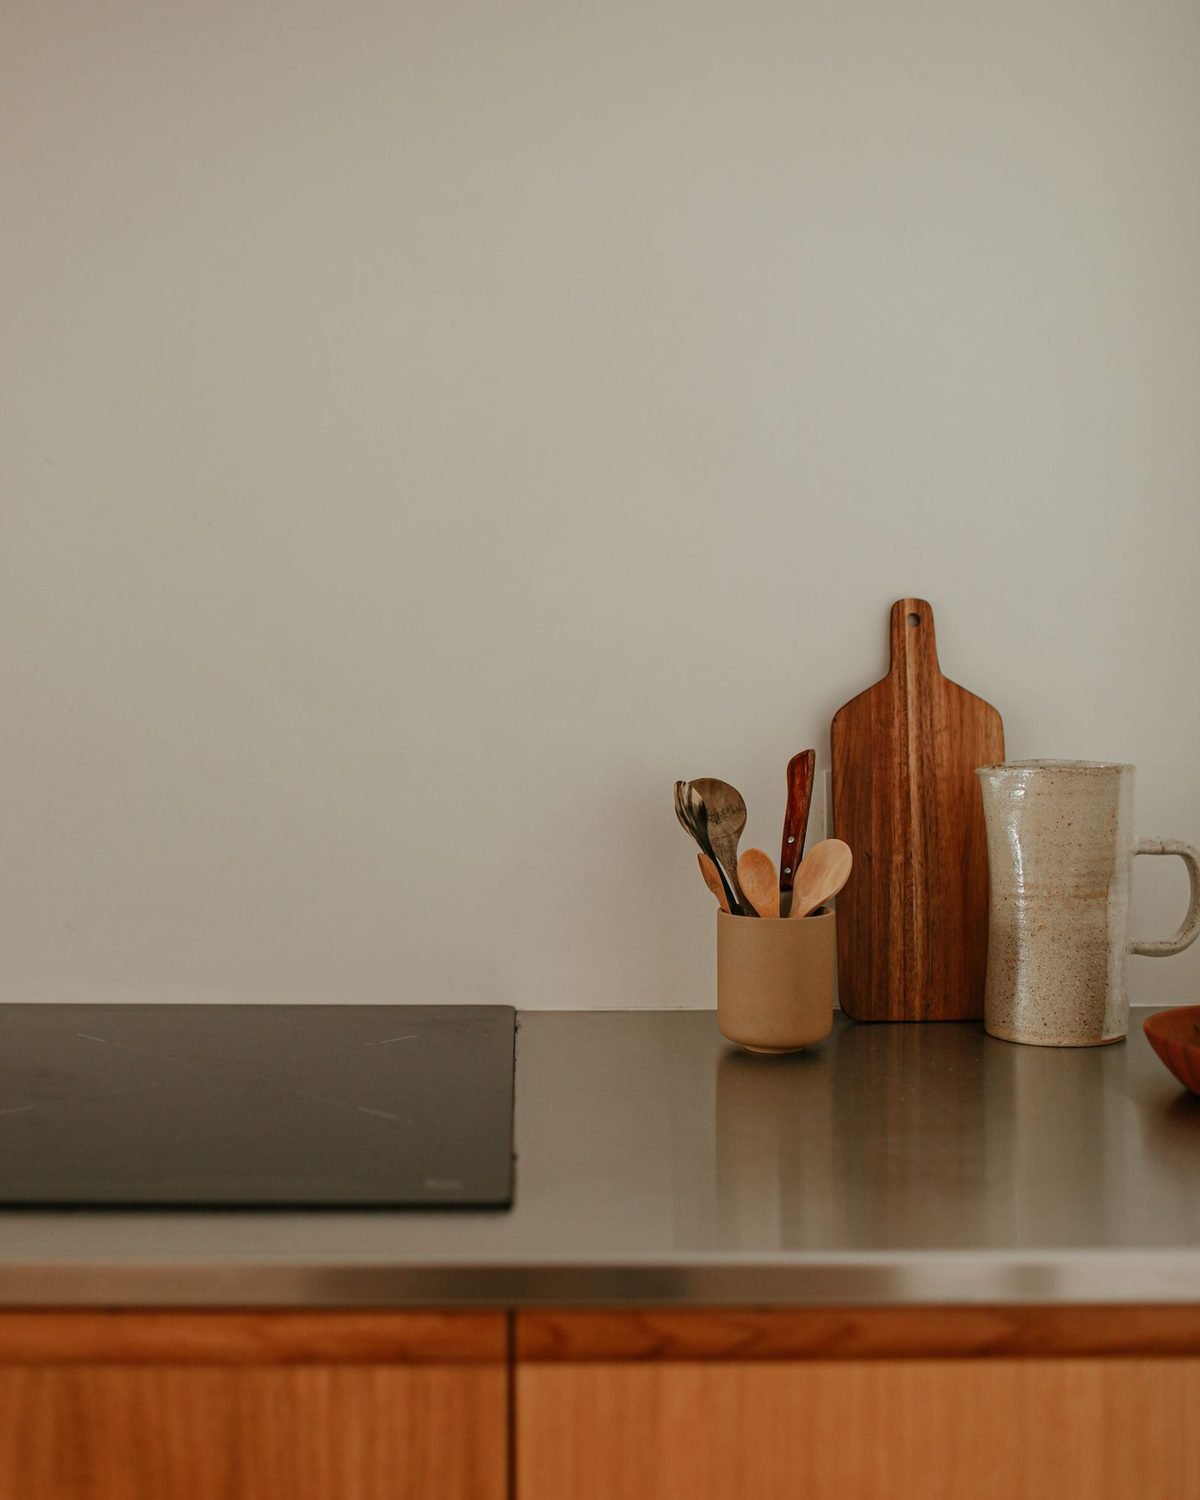
Clear counters make a small kitchen look twice as big, and they make cooking much easier. The goal isn’t an empty counter like a magazine photo. It’s a counter that holds only what you use every day.
Start with everything off the counter. Then put back only the items you use daily. For most people, that’s the coffee maker or kettle, a utensil crock by the stove, a cutting board and maybe a fruit bowl. Everything else needs a home in a cabinet, drawer or on the wall.
Small appliances are the biggest counter hogs. If you use the toaster, blender or air fryer less than a few times a week, store it in a lower cabinet or on a high shelf. If you use several appliances every day, group them into one “station” in a corner so the rest of the counter stays open for prep.
A few renter-friendly helpers can make counters work harder:
- A utensil crock next to the stove keeps spatulas and spoons in reach.
- A small tray groups oil, salt and pepper so the counter looks tidy and wipes clean fast.
- A cutting board that fits over the sink adds instant prep space when you need it.
5. Organize Cabinets by How Often You Use Them
Cabinets are where a small kitchen usually wastes the most space. The fix is to store things by how often you use them, not by what they are or where they happened to land when you moved in.
Think of each cabinet in three levels:
- Prime space (eye level to waist level, front of shelf): daily items such as everyday plates, bowls, glasses and the pan you use most.
- Secondary space (high shelves and the back of shelves): weekly or monthly items like the roasting pan, serving platters and the extra coffee filters.
- Deep storage (top of the cabinets or the highest shelf): seasonal and rarely used items such as holiday dishes and the turkey pan.
Most cabinets have wasted air space above short stacks of plates or mugs. A shelf riser doubles that space without tools. For deep corner cabinets, a turntable brings items from the back to the front with a spin.
Pots and pans are the hardest items to store. Store them upright with a pan organizer rack instead of nesting them, so you can grab one without lifting three. Keep lids in a separate holder or on the inside of the cabinet door.
Tip: Store plates and glasses closest to the dishwasher or drying rack. Unloading becomes a two-minute job, and you’re far more likely to do it right away.
6. Sort Drawers and Tame the Junk Drawer

In a small kitchen, drawers turn into chaos because they’re easy to close. Out of sight, small items pile on top of each other until you have to dig for a simple peeler. Dividers fix this fast, because they give every small item its own spot.
Give each drawer one job: one for silverware, one for cooking utensils, one for wraps and foil, one for dish towels. An expandable drawer organizer fits most rental drawers and adjusts as your needs change.
Then face the junk drawer. Every kitchen has one, and that’s fine, as long as it has limits. Empty it fully, toss dried-up pens and mystery keys and relocate anything that belongs elsewhere. Then use small clear drawer bins to give tape, scissors, batteries, rubber bands and takeout menus their own sections. When a section is full, something has to go.
Use the shallow top drawers for the things you reach for most and the deep bottom drawers for bulky items like mixing bowls, food storage containers or small appliances. Deep drawers work best with items standing upright or in labeled bins, so you can see everything when you open them.
7. Organize Under the Sink
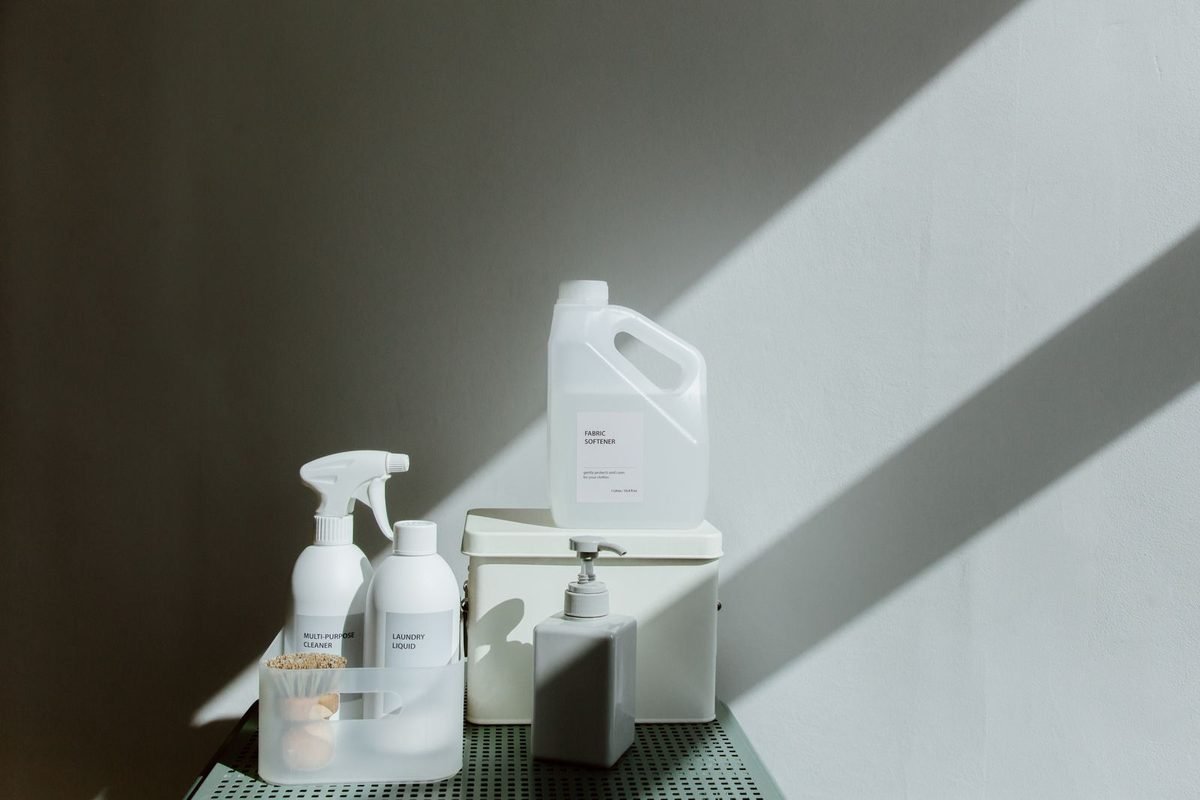
The cabinet under the sink is often the messiest spot in a small kitchen. It’s dark, awkward and full of pipes, so bottles get shoved in wherever they fit. A little structure makes it one of the most useful cabinets you have.
Empty it completely and check for leaks before you put anything back. A small waterproof drip tray protects rental cabinets from spills and makes leaks easier to spot.
Then use the space around the pipes:
- A two-tier under-sink organizer doubles the usable space and works around the pipes.
- A cleaning caddy holds the sprays you use most and lifts out in one move.
- A tension rod across the top lets you hang spray bottles by their triggers.
- Adhesive hooks inside the door hold rubber gloves and a scrub brush.
Keep only the products you actually use under the sink. Extra refills can live on a high shelf, and anything harsh should stay out of reach of kids and pets. Store trash bags in the bottom of the trash can or in a slim dispenser on the door so a new bag is always ready.
8. Use Walls and Doors for Vertical Storage
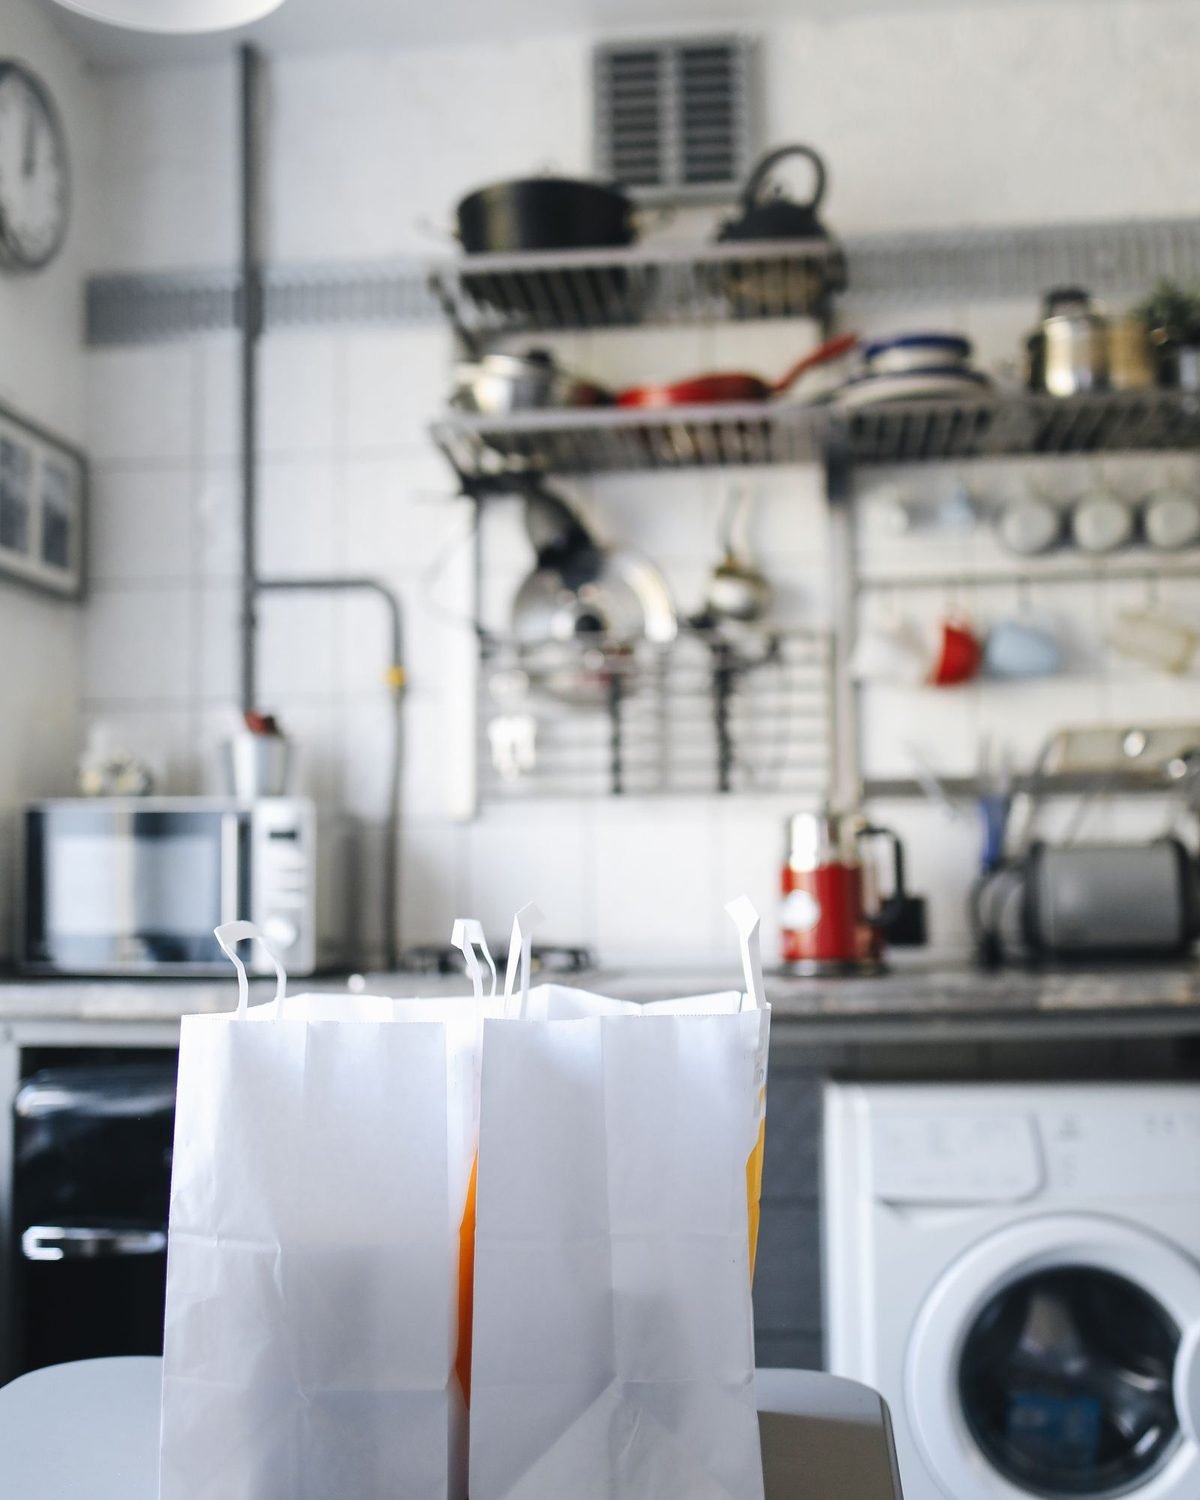
When your floor and counters are maxed out, the walls are your best friend. Most small kitchens have plenty of empty wall space between the counter and the upper cabinets, on the side of the fridge and on the backs of doors.
Renter-friendly ideas that don’t need a drill:
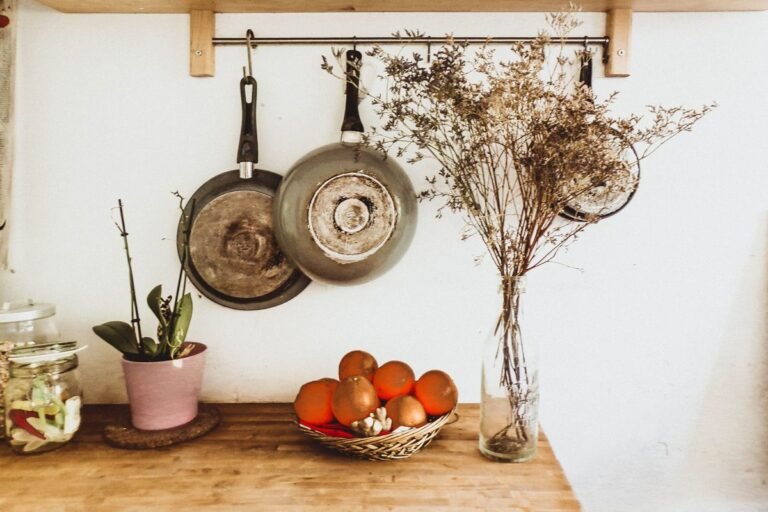
- A rail with S-hooks above the counter for mugs, utensils and pot holders. Many adhesive rails hold more weight than you’d expect.
- A magnetic knife strip frees up an entire drawer or a bulky knife block. Choose an adhesive magnetic knife strip if you can’t drill.
- Magnetic racks on the side of the fridge for spices, foil and paper towels. A magnetic spice rack is one of the best small kitchen buys.
- An over-the-door organizer on the pantry door or a closet door for snacks, wraps and cleaning supplies.
- A floating shelf above the counter for everyday dishes or cookbooks, if your lease allows small nail holes.
Keep the wall storage tidy by limiting it to things you use often. A wall full of rarely used items quickly looks cluttered, and in a small kitchen, visual clutter feels almost as heavy as physical clutter. For more renter-safe projects, see our renter-friendly kitchen upgrades.
9. Tidy the Pantry and Fridge
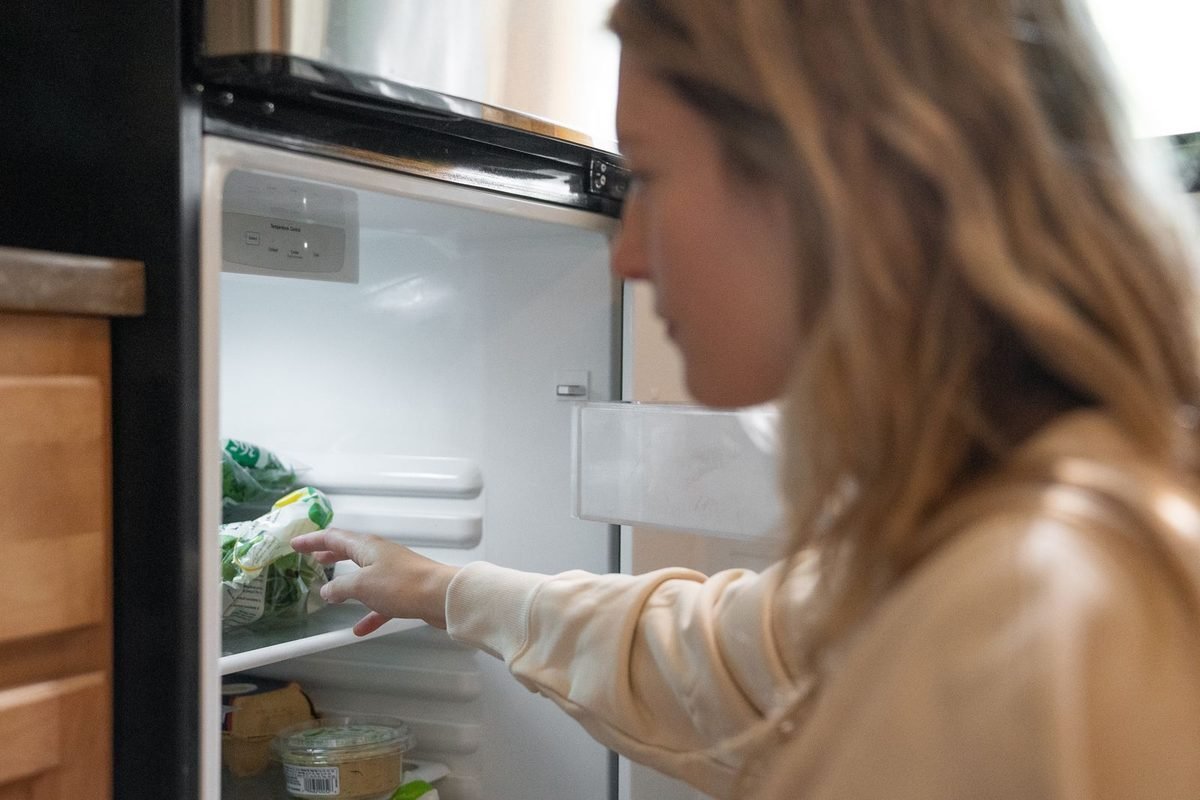
Food storage needs its own step in any small kitchen organization plan, because it changes every week. Start with the pantry, whether that’s a closet, one cabinet or a rolling cart.
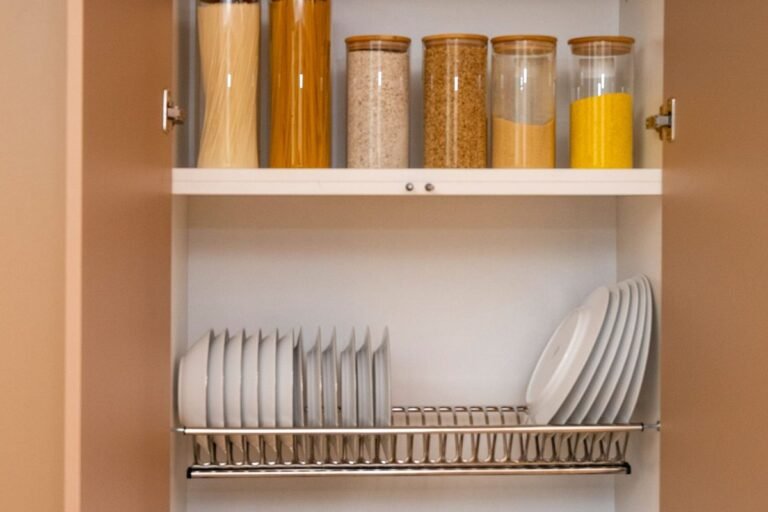
Pantry: Pull everything out, check dates and toss anything expired. Group what’s left by category, such as breakfast, baking, snacks, pasta and grains, and canned goods. Store the most-used categories at eye level. Decanting a few staples into clear airtight containers saves space and shows you when you’re running low. Use a can rack so you can see every can at once. If your pantry is tiny or deep, our guides to tiny pantry ideas and how to organize a small pantry with deep shelves go into much more detail.
Fridge: Empty one shelf at a time, wipe it clean and put food back by zone: ready-to-eat food and leftovers on the top shelves, dairy in the middle, raw meat on the bottom shelf and produce in the drawers. Clear fridge bins make it easy to pull out a whole category at once. The FDA explains safe fridge temperatures (40°F or below), which is worth checking while the shelves are empty. Our full guide to fridge organization ideas shows how to keep each shelf working.
Tip: Keep an “eat first” bin in the fridge for leftovers and food that needs to be used soon. It cuts food waste and keeps forgotten containers from piling up in the back.
10. Label Everything and Set Up a Daily Reset
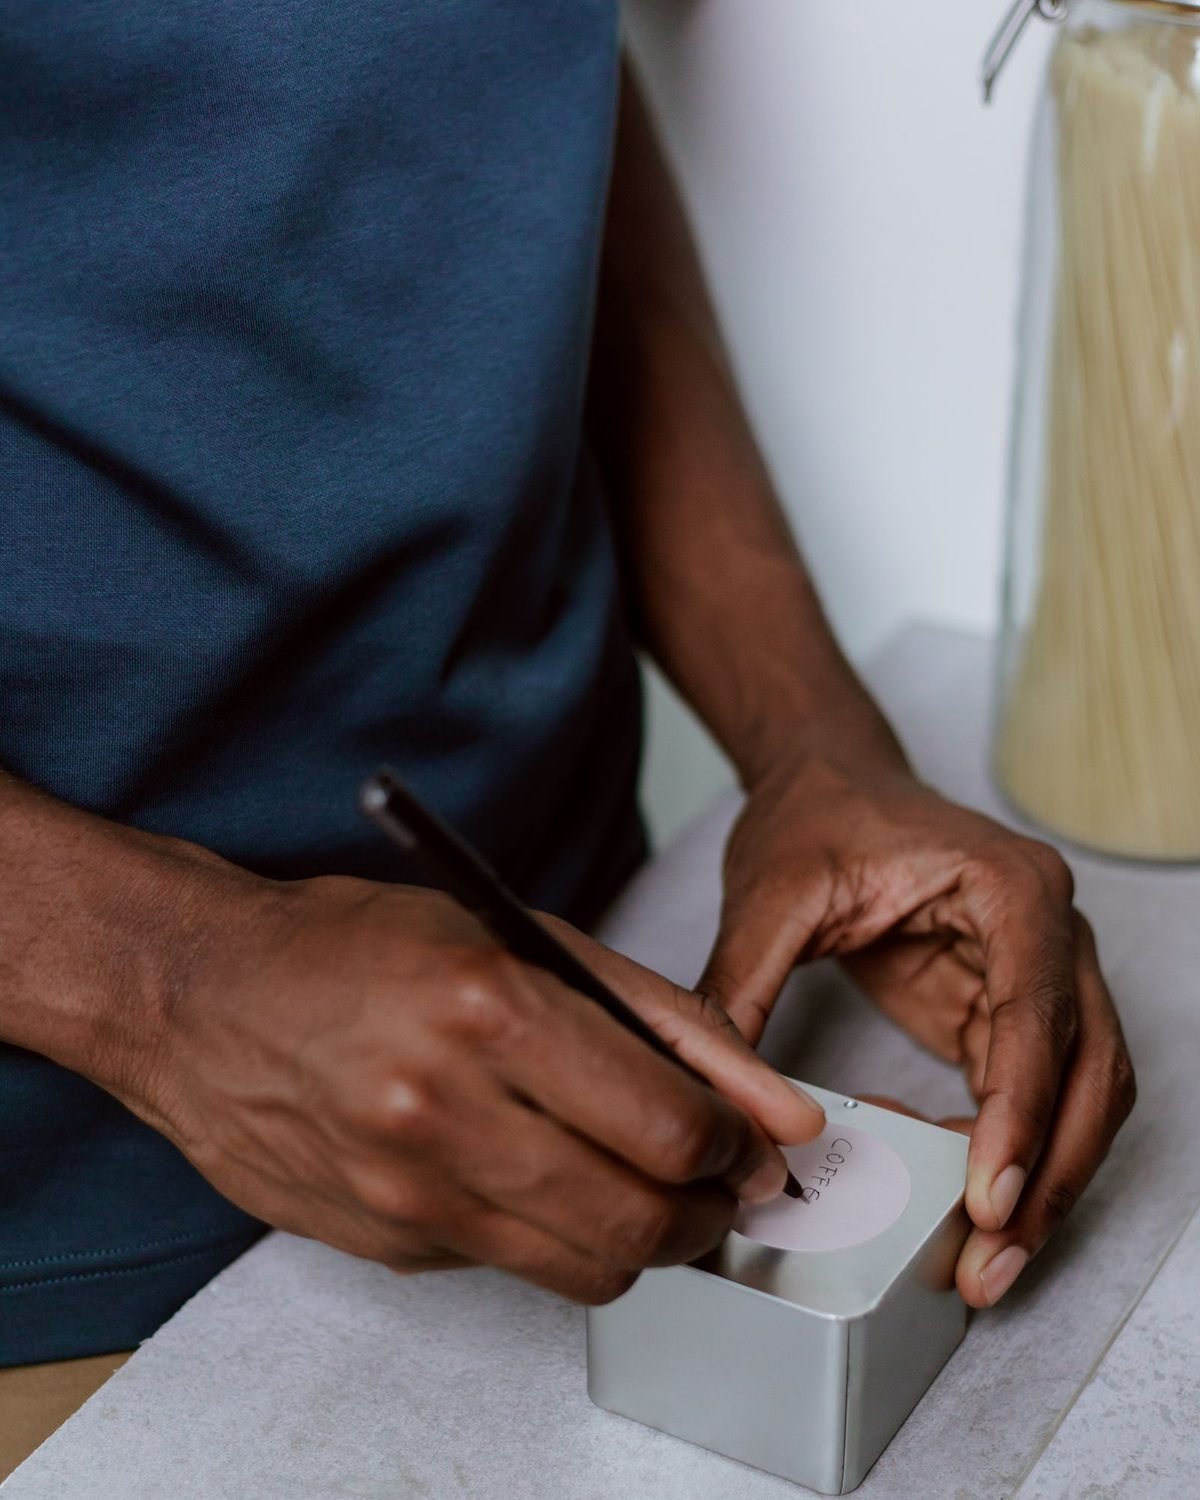
Labels are what make your small kitchen system last. They tell everyone in the house where things go, and they keep you from stuffing the wrong items into the wrong spots on a busy night.
Label pantry bins, shelf edges, under-sink baskets and drawer sections. You don’t need a fancy system. Masking tape and a marker work fine, though a label maker or chalkboard labels look a little neater. Keep the words simple: “Snacks,” “Baking,” “Lids,” “Trash Bags.”
Then set up a 10-minute daily reset. Every evening, put away anything on the counter that has a home, load or run the dishwasher, wipe the counters and stove and take out the trash if it’s full. That’s it. This tiny habit is the difference between a kitchen you organized once and a kitchen that stays organized. If you like checklists, our daily cleaning checklist builds the reset right into your evening routine.
A Simple Weekend Plan to Organize Your Small Kitchen

If you’d rather finish the job in one weekend, here is a realistic schedule. Each block is about two hours, with breaks in between.
Saturday morning: clear and declutter
- Empty, clean and declutter the counters and the cabinets around the stove (Steps 1 and 2).
- Take the donate box to the car right away so it actually leaves the house.
Saturday afternoon: plan and sort cabinets
- Sketch your zones (Step 3).
- Clear the counters and decide which appliances stay out (Step 4).
- Put dishes, pots and pans back by how often you use them (Step 5).
Sunday morning: drawers, sink and walls
- Sort every drawer and tame the junk drawer (Step 6).
- Reset the under-sink cabinet (Step 7).
- Add hooks, rails or racks for vertical storage (Step 8).
Sunday afternoon: food and finishing touches
- Clean out the pantry and fridge (Step 9).
- Add labels and write down your daily reset (Step 10).
- Make a short shopping list for any organizers you still need, now that you know exactly what fits.
If a full weekend isn’t realistic, spread the same blocks over two weeks. Doing one zone a day for 20 minutes works just as well. If you enjoy a challenge format, our January organization challenge gives you a day-by-day plan for the whole home, kitchen included.
Small Kitchen Organization Tips for Renters
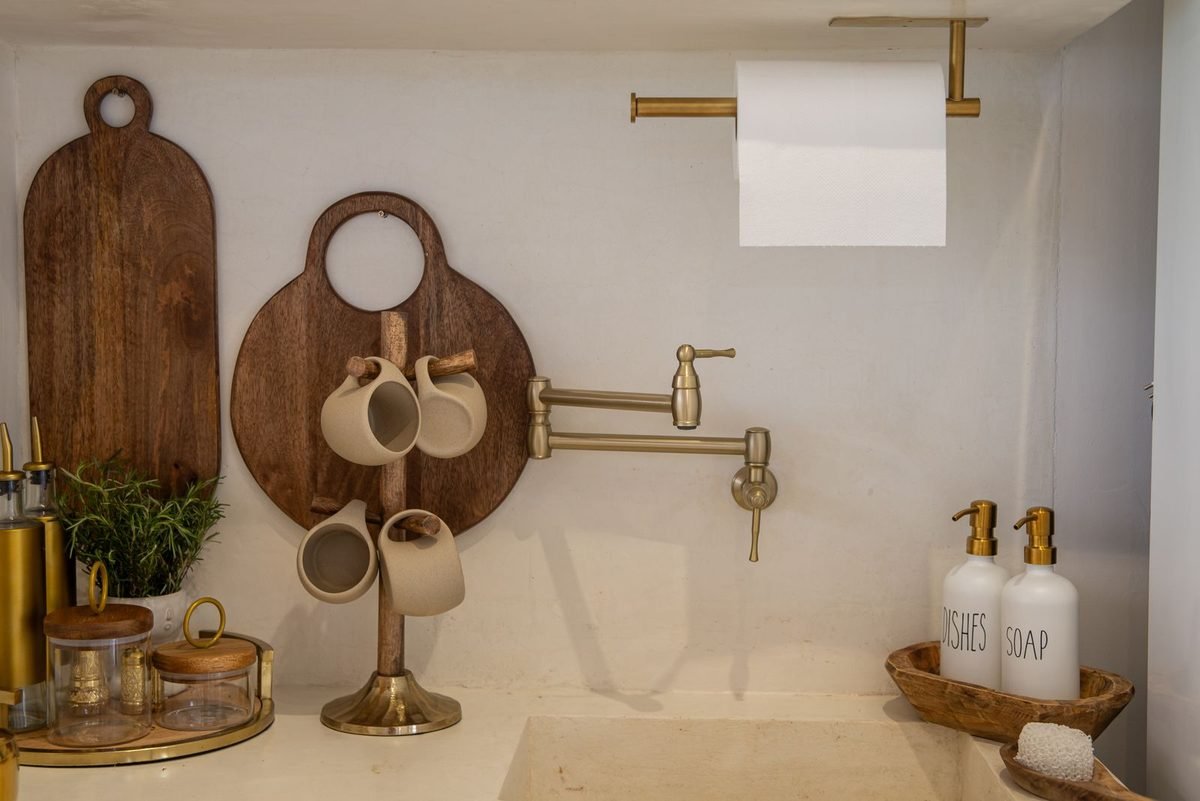
Renting adds a few extra rules. You can’t remove cabinet doors, add shelves wherever you like or replace the dated backsplash. You can still make a rental kitchen work beautifully with a few tricks.
Use removable hardware. Adhesive hooks, tension rods, magnetic racks and over-the-door organizers all leave no damage when used correctly. Test adhesive products on a hidden spot first, and follow the removal instructions when you move out.
Add storage with furniture. A slim rolling cart fits in the gap beside the fridge or next to the counter and adds three shelves of storage. A small kitchen cart with a butcher-block top adds prep space and storage at the same time and moves with you to your next apartment.
Use the top of the fridge carefully. It’s tempting storage, but heat from the fridge can damage food and small appliances. Use it for a basket of lightweight, rarely used items like extra paper towels or party supplies.
Protect surfaces. Shelf liners, drip trays and felt pads protect the landlord’s cabinets and help you get your deposit back.
Keep a “move-out kit.” Store the original hardware, any knobs you swap out and the packaging for removable products in one labeled bag, so restoring the kitchen is easy when you leave.
For a bigger list of no-drill projects, our small apartment hacks for renters covers every room, not just the kitchen.
Small Kitchen Organization Mistakes to Avoid
Even with the right steps, a few common mistakes can undo your hard work. Watch out for these:
Buying organizers before decluttering. Bins and baskets feel productive, but they often end up holding things you don’t need. Declutter and measure first, then buy only what solves a real problem.
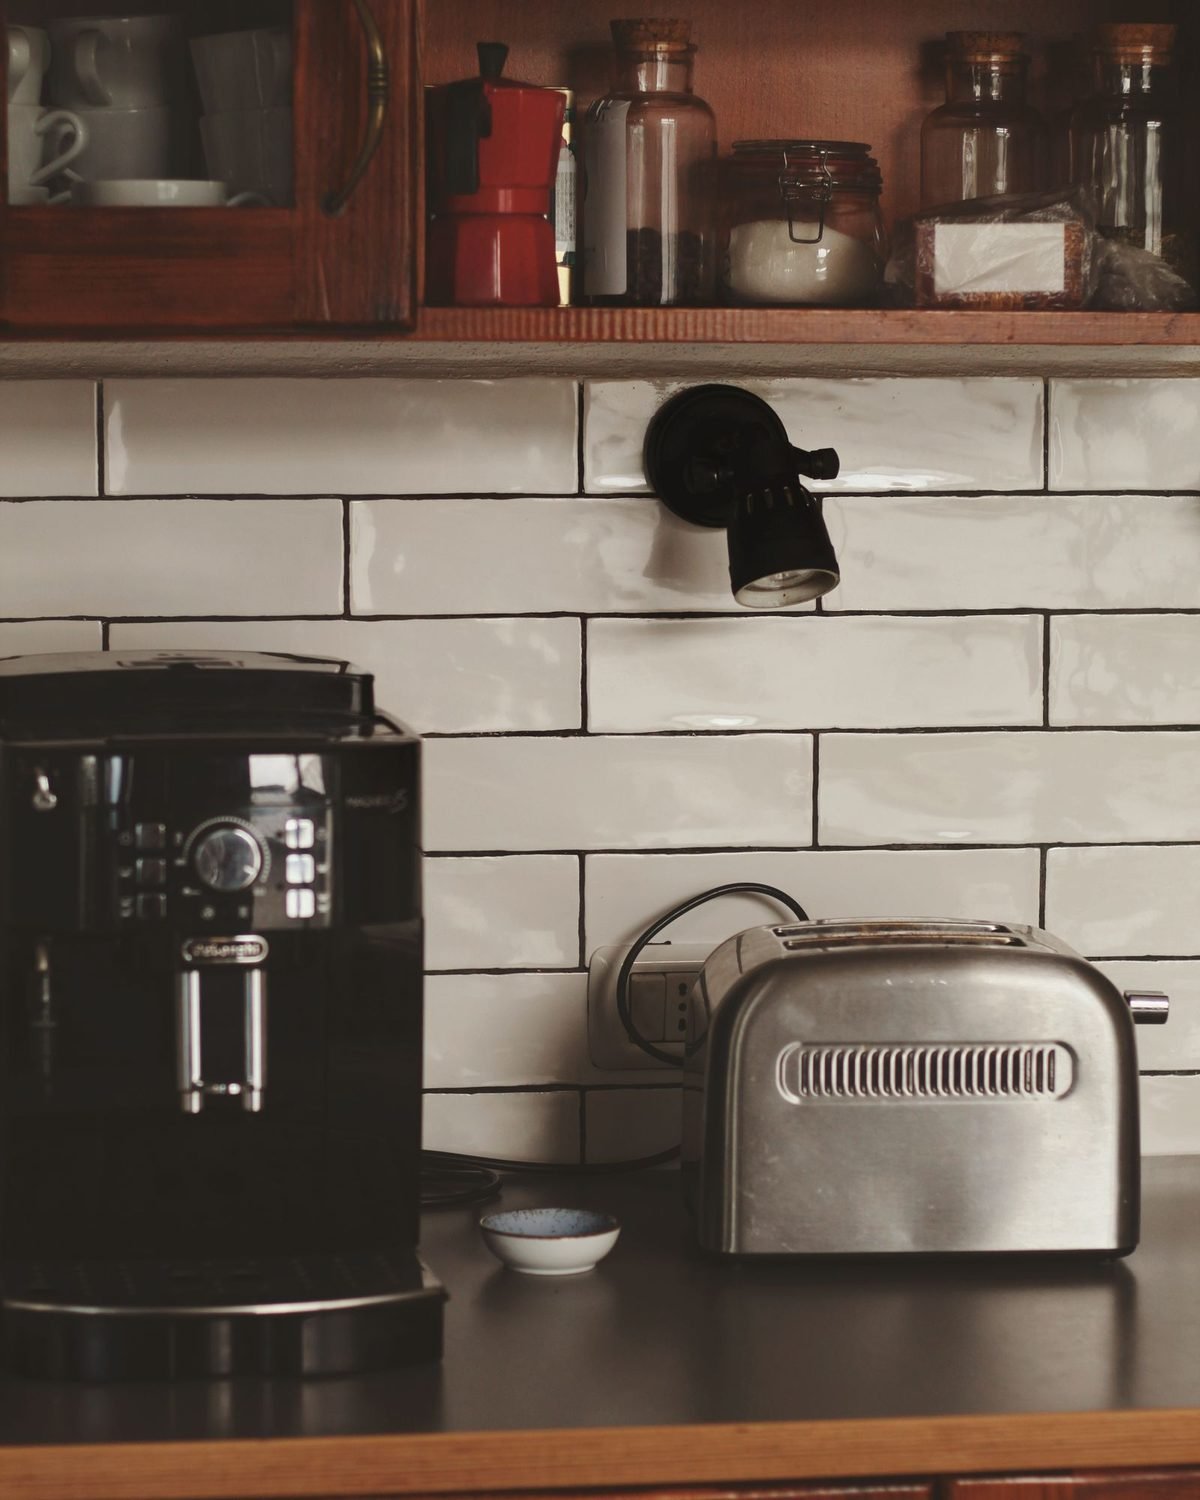
Leaving every appliance on the counter. The toaster, blender, stand mixer and coffee maker can eat up half the counter in a small kitchen. Keep out only what you use daily.
Ignoring the backs of doors and walls. Many people only think about shelves and drawers. Doors and walls are free storage in a small kitchen, and they’re often completely empty.
Storing by category instead of by use. It might seem logical to keep all the glassware together, but if you only use two glasses every day, they should be in the easiest spot, and the fancy glasses can go up high.
Organizing for a perfect life instead of your real one. If you never bake, the baking sheets don’t need prime space. Organize around what you actually cook and eat each week.
Skipping the daily reset. Without a quick daily tidy, even a perfectly organized small kitchen slides back into chaos in a few days.
How to Keep a Small Kitchen Organized

Organizing is a project. Staying organized is a habit. Here are the small routines that keep your small kitchen working after the big clean-out.
Put groceries away right away. Unpack straight into the right zones, and move older food to the front as you go. It takes five minutes and keeps the counter from becoming a storage shelf.
Follow a one-in, one-out rule. When a new mug, gadget or container comes in, an old one goes out. In a small kitchen, this simple rule stops slow clutter creep.
Do a weekly fridge check. Before your weekly grocery trip, clear out old leftovers, wipe up spills and make your shopping list from what’s left. This saves money and space.
Keep a running grocery list. A list on the fridge or in your phone means you buy what you need and stop overbuying duplicates that crowd the pantry.
Do a monthly mini-declutter. Once a month, take 15 minutes to check one cabinet, one drawer and the pantry for items that have crept back in. Our realistic cleaning schedule shows how to fit tasks like this into a normal week.
Reset after every big cooking day. After holidays or meal prep, do a slightly bigger reset: run all the dishes, wipe the counters and put the extra serving pieces back in deep storage.
FAQ: How to Organize a Small Kitchen
What is the first step to organize a small kitchen?
Start by emptying and cleaning one zone at a time, then declutter before you put anything back. Decluttering first means you only plan space for the things you actually use, which is the most important part of any small kitchen plan.
How do I organize a small kitchen with no pantry?
Choose one cabinet, a slim rolling cart or an over-the-door organizer as your pantry. Group food by category, decant a few staples into clear containers and use a can rack and shelf risers to see everything at once.
How can I make my small kitchen look bigger?
Keep the counters as clear as possible, store appliances you don’t use daily and use light colors and good lighting. Adding stick-on under-cabinet lights and a matching set of containers also makes a small kitchen feel calmer and larger.
Where should I put small appliances in a small kitchen?
Keep daily-use appliances on the counter, grouped in one corner. Store the rest in lower cabinets, on a high shelf or on a rolling cart that can tuck into a gap when you’re not using it.
How do I organize pots and pans in a small kitchen?
Store them upright in a pan organizer rack instead of stacking them, keep lids in a separate holder or on the inside of the cabinet door and hang a few of your most-used pans on a wall rail if you have the space.
How long does it take to organize a small kitchen?
Most small kitchens take one weekend, or about 30 minutes a day for one to two weeks. The daily reset afterward only takes about 10 minutes.
Final Thoughts on How to Organize a Small Kitchen
Now you know how to organize a small kitchen from start to finish. The secret isn’t more cabinets or expensive containers. It’s doing the steps in the right order: empty and clean one zone, declutter, plan your zones, clear the counters and then give every cabinet, drawer and wall a clear job. Labels and a 10-minute daily reset keep it that way.
Start small. Pick one drawer or one cabinet tonight and finish it. Tomorrow, do the next one. In a week or two, you’ll have a kitchen that’s easier to cook in, easier to clean and much more pleasant to walk into every morning.
Ready for more? Browse our small kitchen organization ideas on a budget for quick, cheap upgrades, or try these Dollar Tree kitchen organization hacks to finish the job for just a few dollars.